Welcome to the first in our mini-series about visible mending. We’ll be using different methods of darning, Sashiko embroidery, statement patchwork and other decorative mends.
Visible mending has become increasingly popular as we look more towards sustainable fashion and crafting. We’re beginning to recognise the joy in caring for much loved garments, while also injecting some new energy into them!
The first project
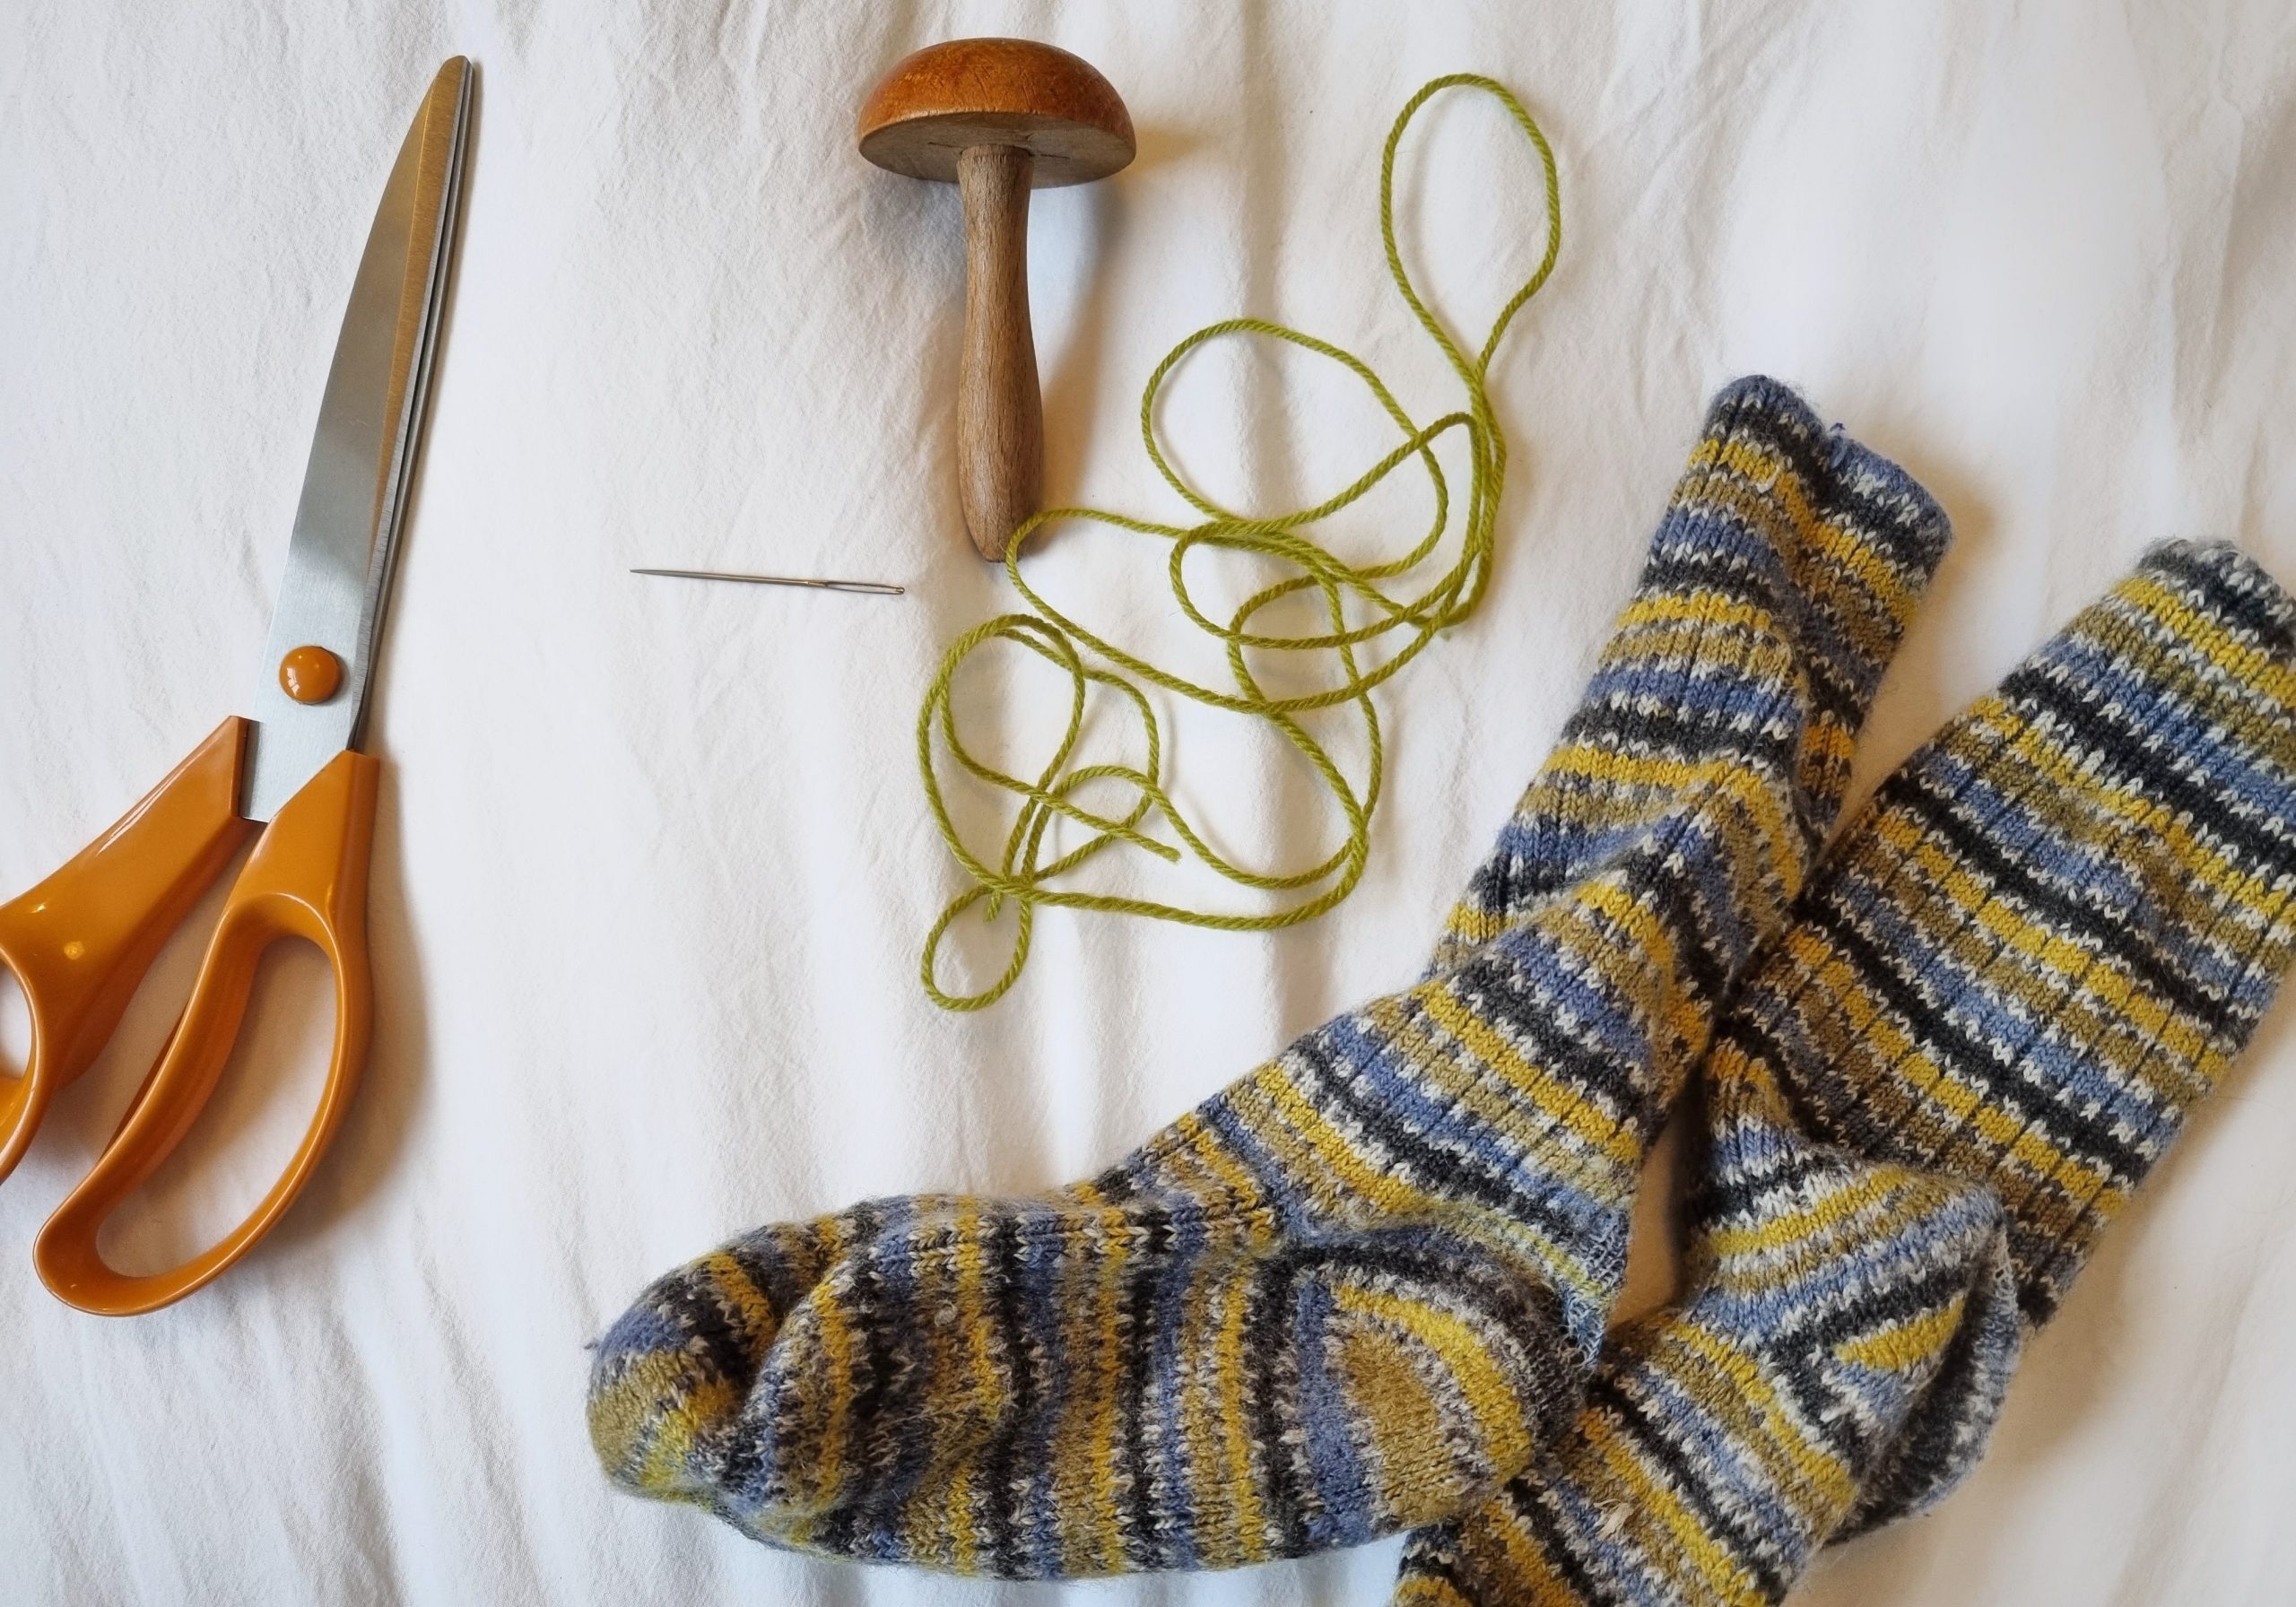
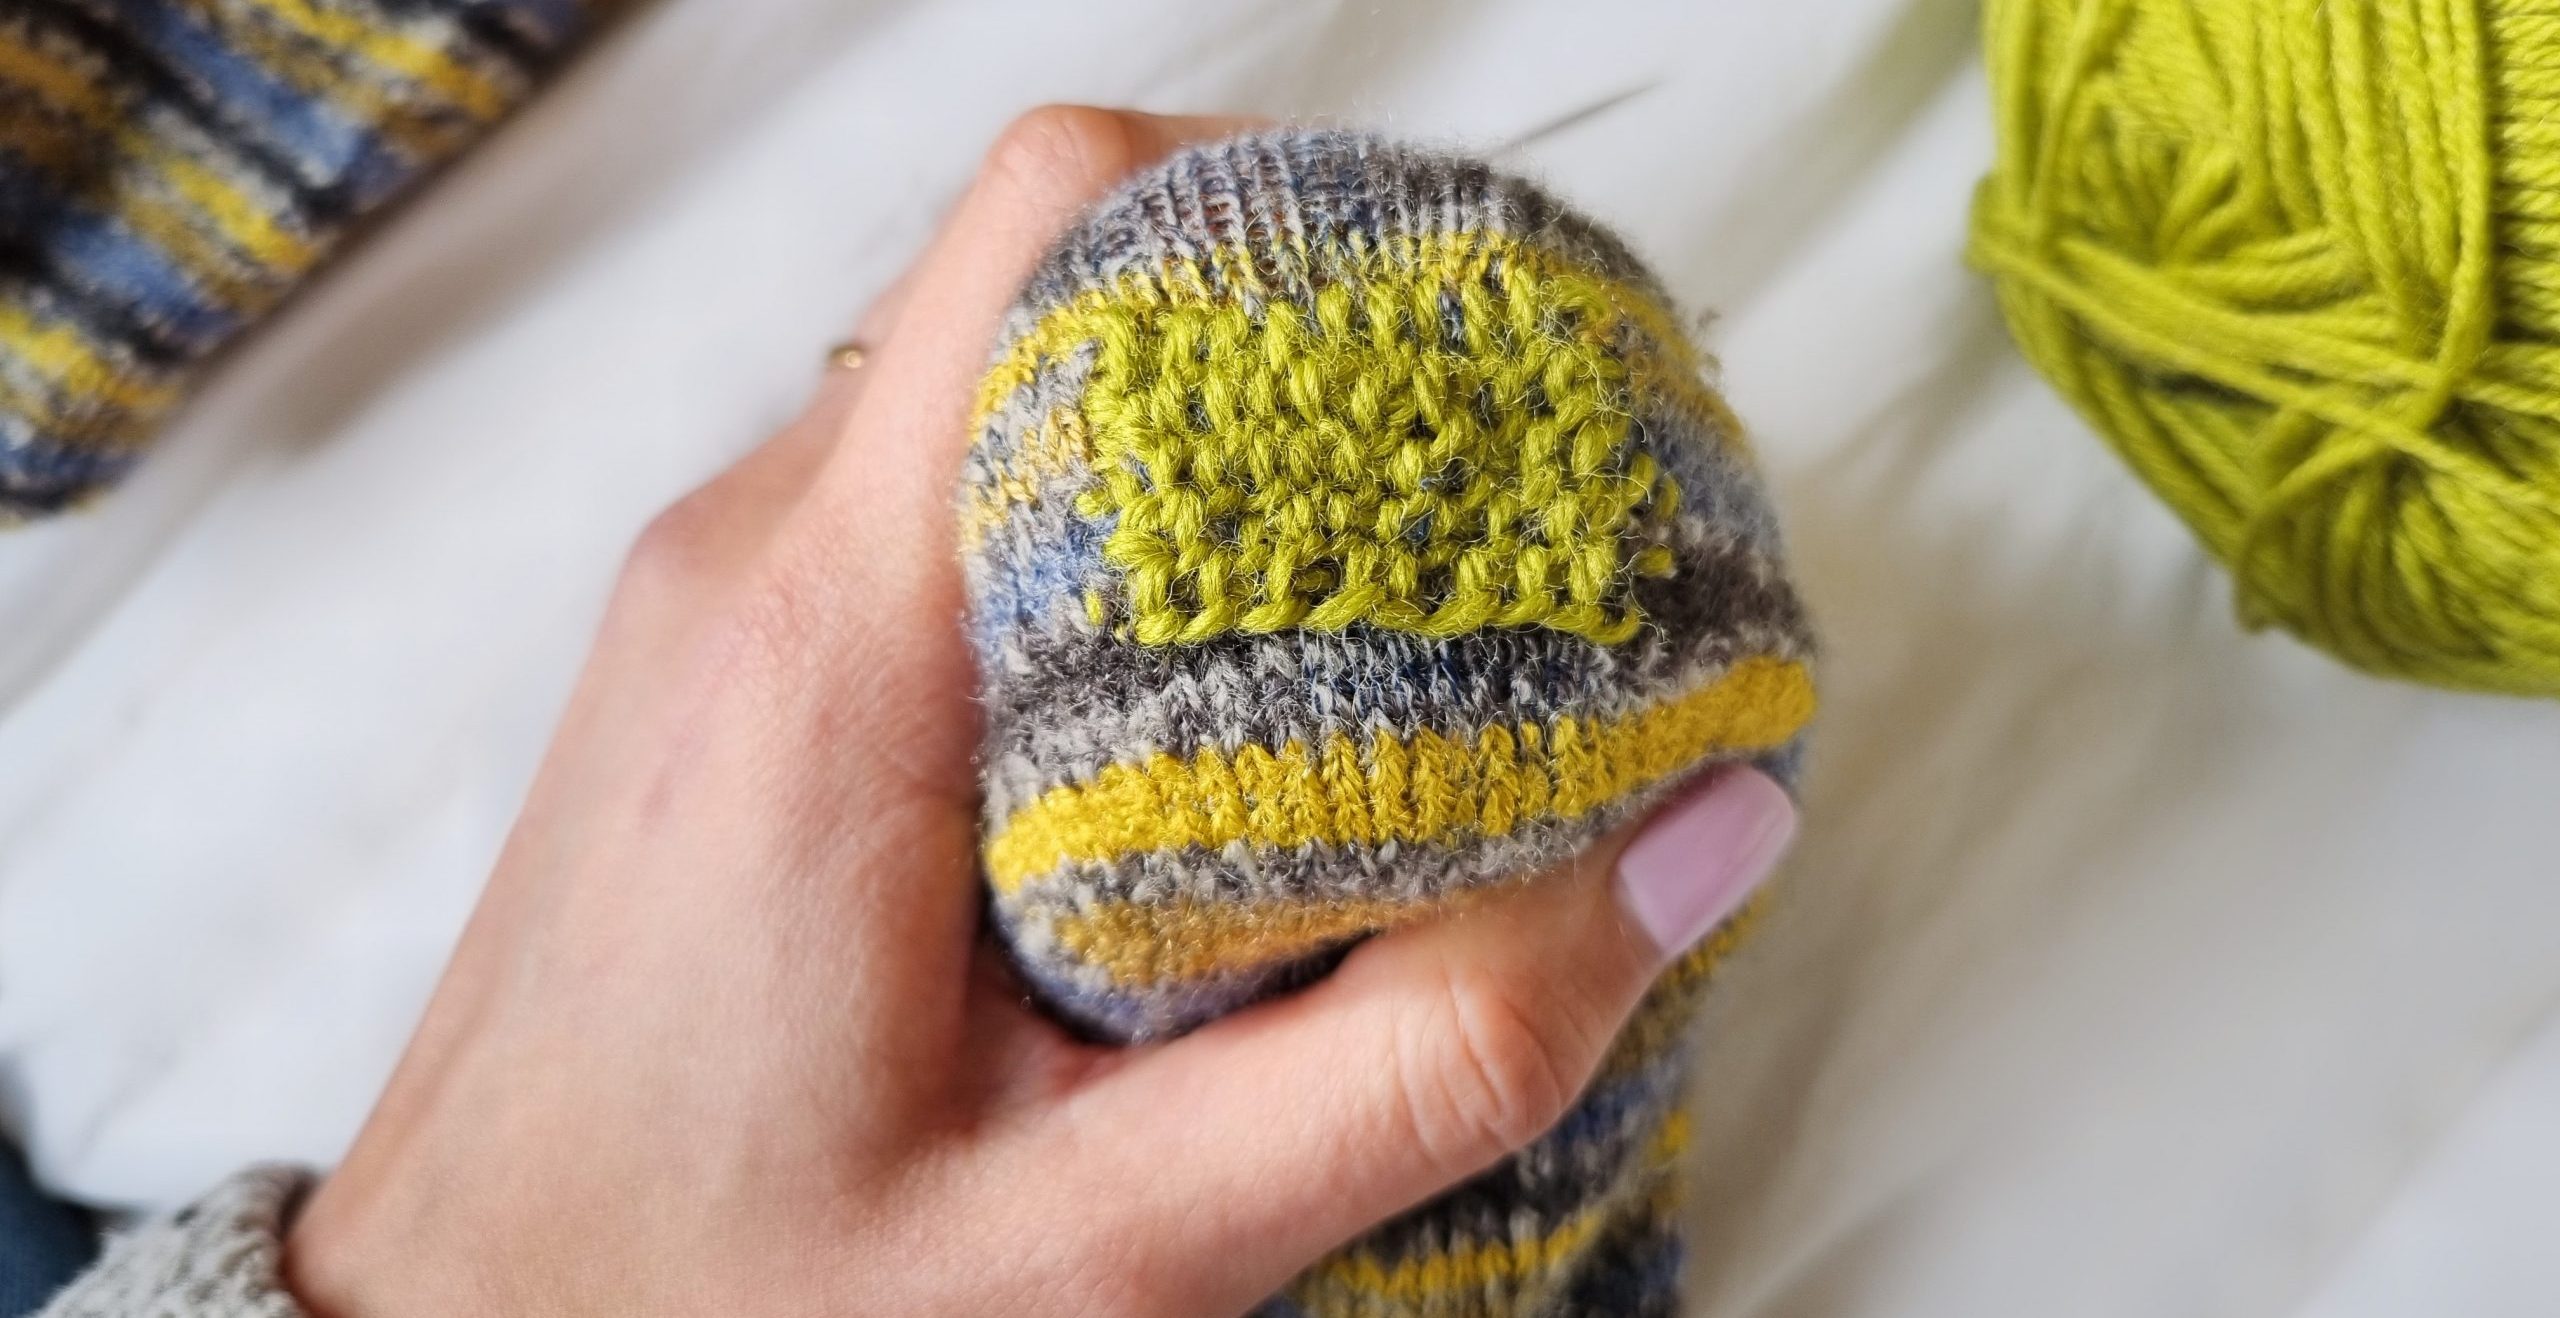
For this first week, I’m going over the basics of the the ‘Scotch’ darning methods to patch up some well-worn wool socks. They need a strong, reinforced heel to wear with boots.
‘Scotch’ darning is similar to weaving, and creates a nice, strong patch for heels or elbow patches. It doesn’t need any prep work, and can be used on irregular holes as well as thinning patches.
You’ll need
- A knitted garment with a hole/thinning patch
- Scrap yarn or darning thread
- Darning or tapestry needle
- Darning mushroom
- Scissors
A note on the materials I chose
My yarn is thicker than the sock yarn, but I wanted it to be robust (and so you could see what I was doing). It’s better to choose a yarn that has good stitch definition, is strong and isn’t too fluffy or likely to tear.

Darning mushrooms are lovely little things that provide you with a surface to work on. You place them inside the sock or jumper, with the hole laid on top.
Start visible mending
Place your darning mushroom (or similar) inside your work. It helps to secure it around the stem with an elastic band or hair tie to stop your work slipping.
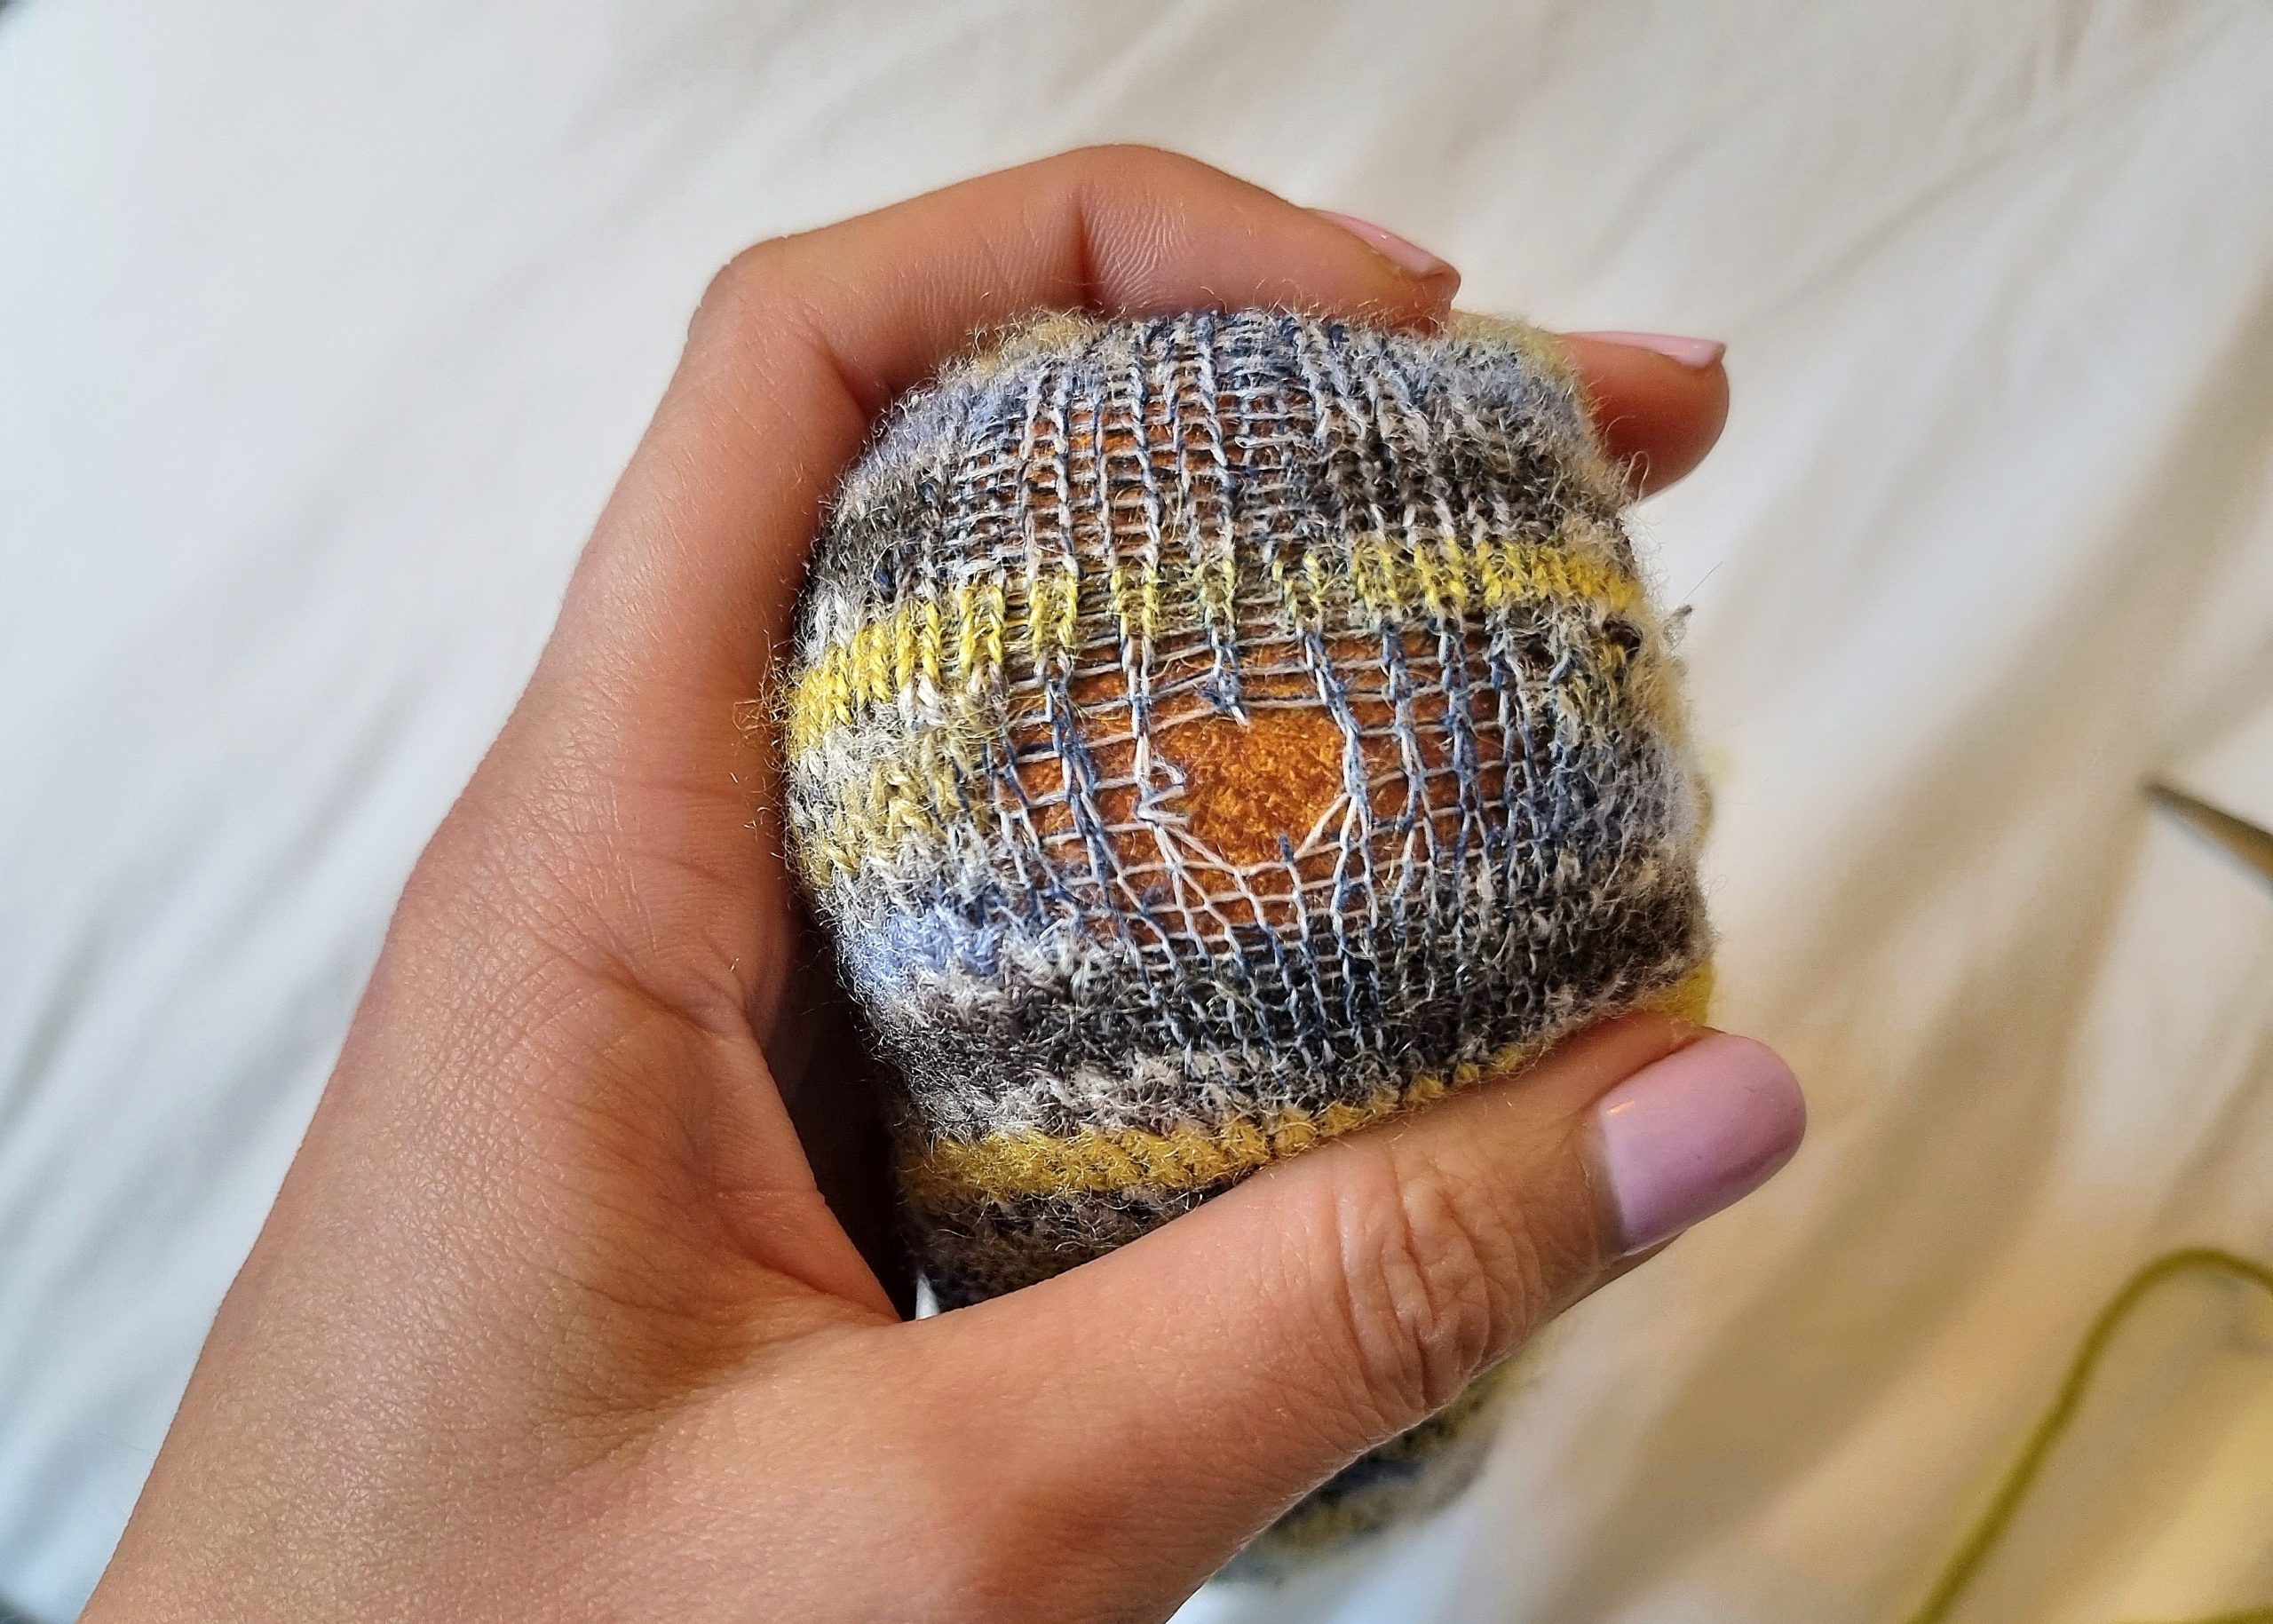
Starting horizontally from the top right of the patch, weave your yarn over and under the stitches to create a running stitch, like this. Leave a little tail of yarn long enough to weave in later.
Starting from the left this time, do the same for the stitches in the row below.
Now comes the weaving part. Starting from the side your working yarn is on (it’ll be the right side if you’ve only done 2 rows), insert your needle underneath the stitches you’ve made in the top and second rows (without coming up in between).
Pull through, and feed your needle through the loop of yarn as you do. This creates a little secured stitch/knot, and joins the two horizontal rows together.
Once you’ve done the first knot, move one stitch to the left and repeat. Keep moving along the stitches to your left.
Once you’ve done that, weave a third horizontal line. If you get to a gap, go straight over without pulling too tight.
Now join the second and third rows by picking up the bottom loop of the knot in the second row, and going under the third row – making a knot as you did before. This time you’ll be working from left to right.
Keep working down the patch with new horizontal lines and knots.
It should start to look like this. For the last row, do exactly as you have before.
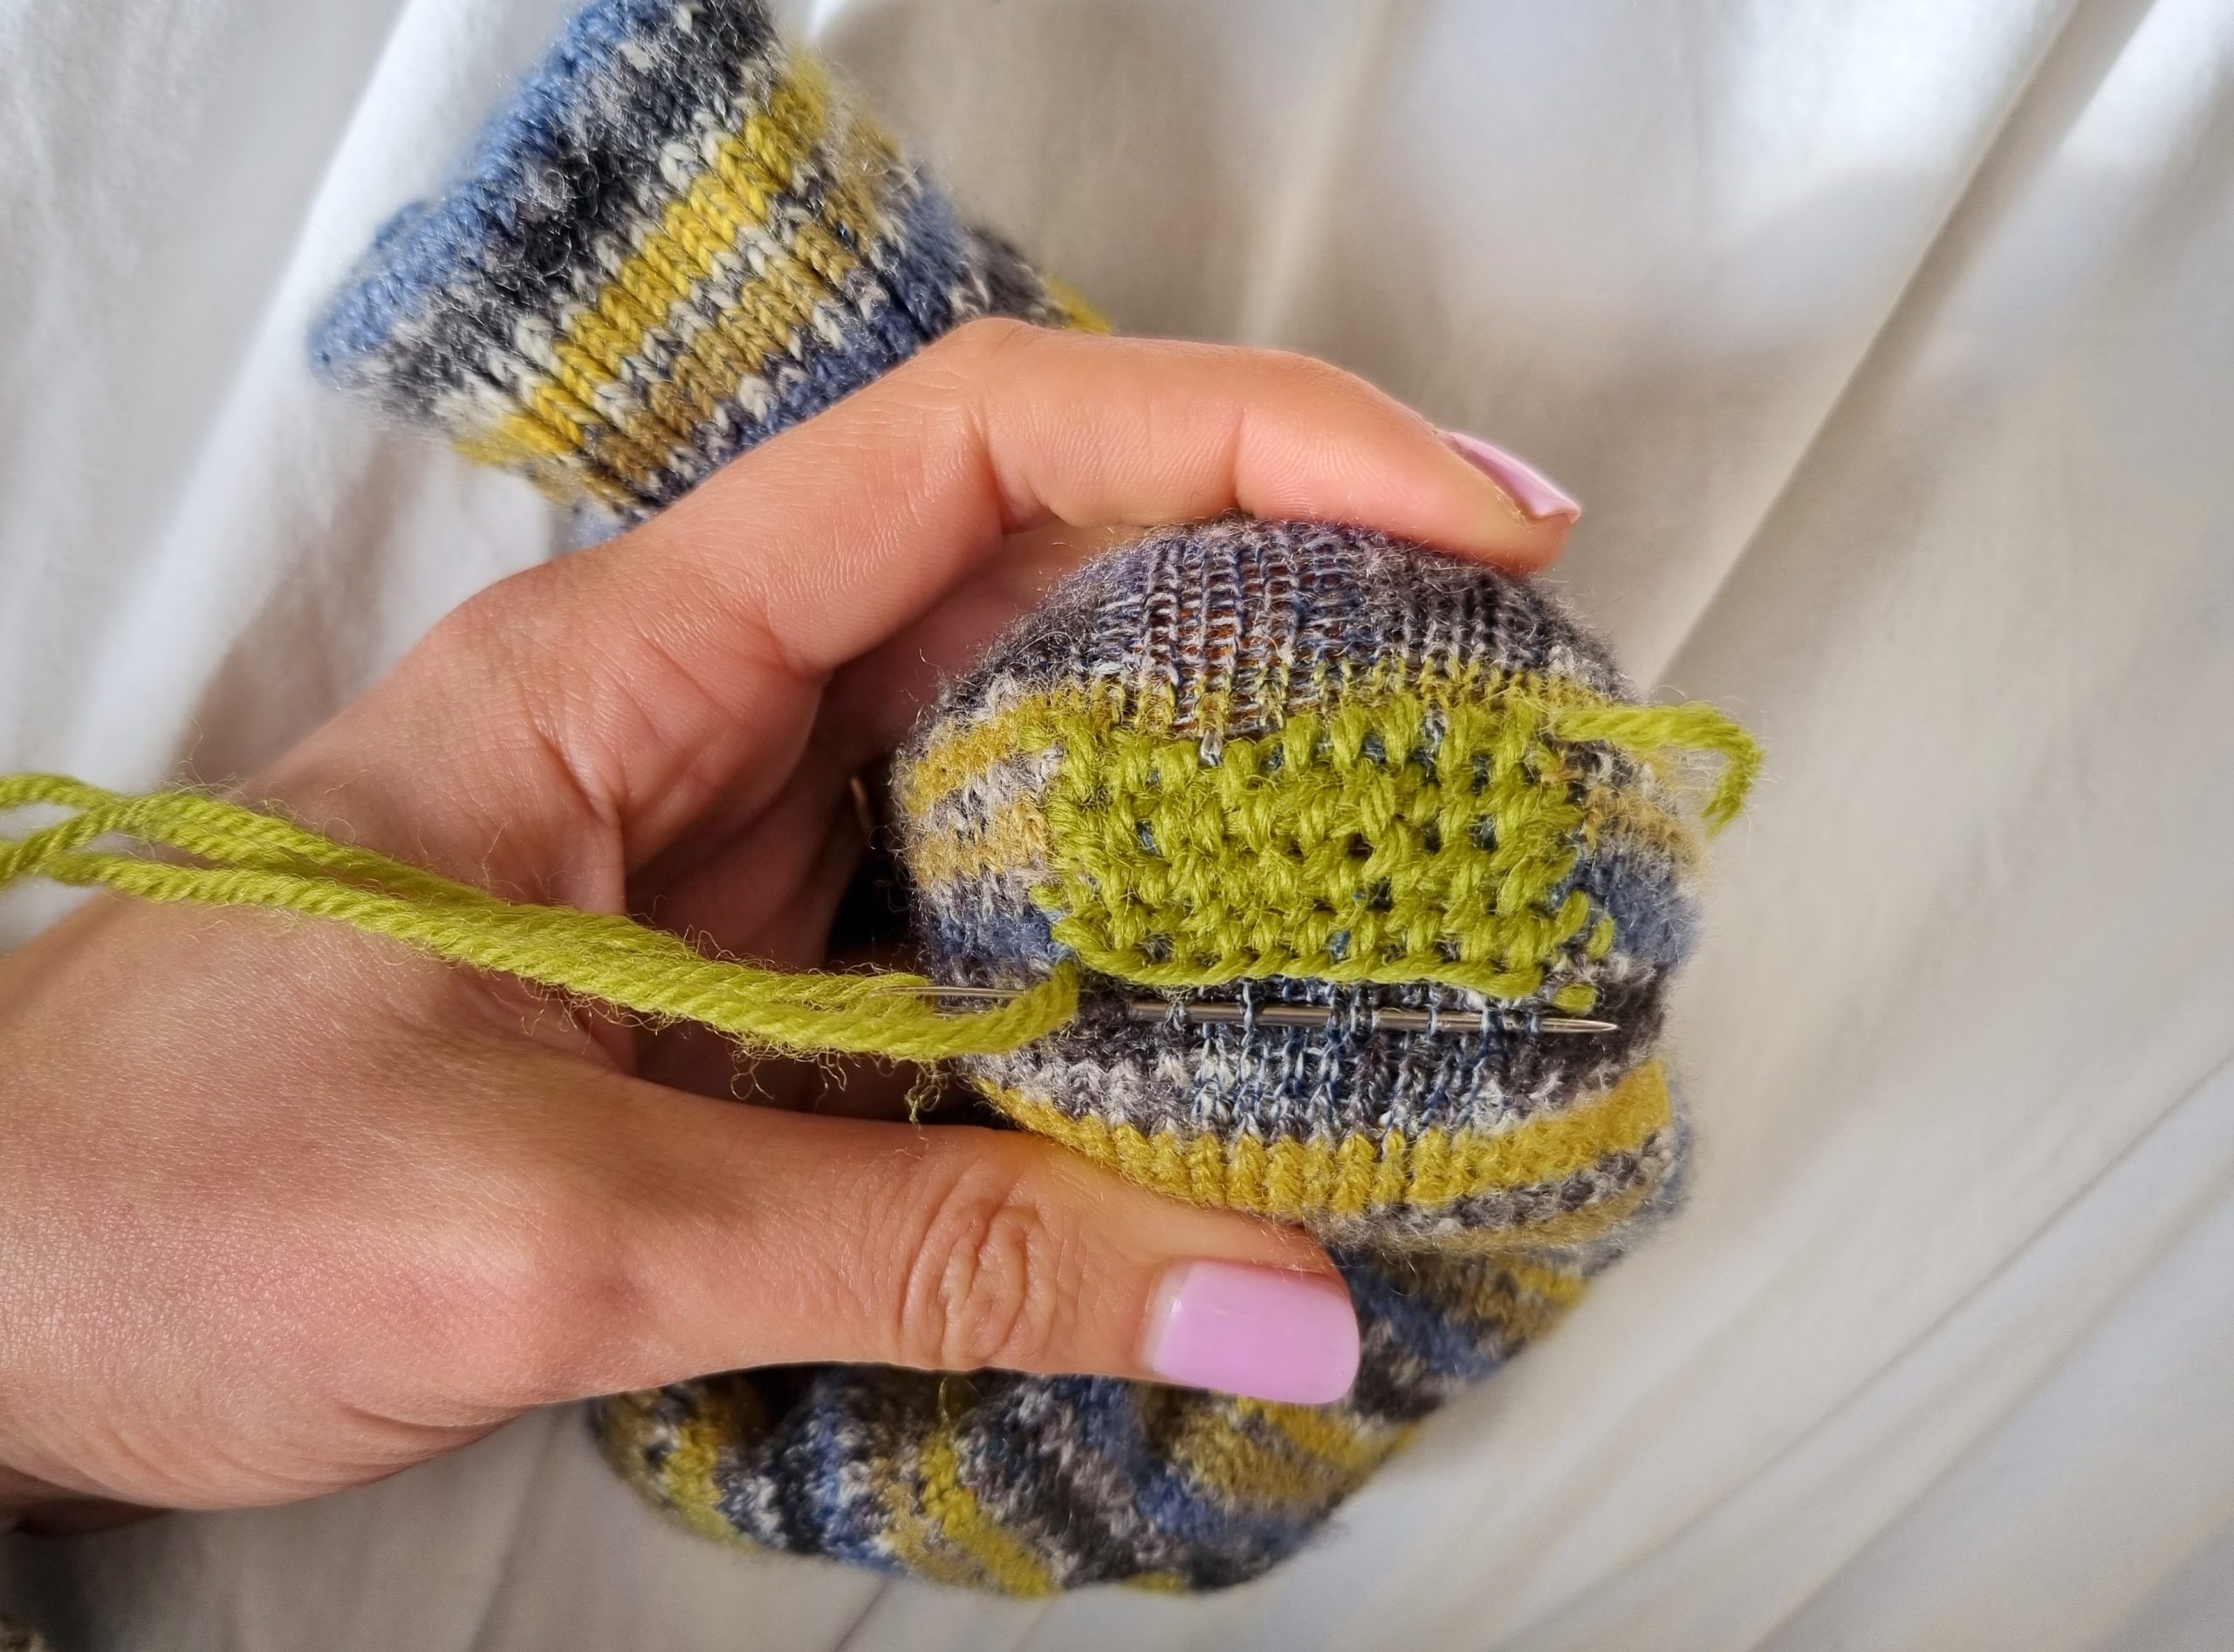
When you’ve finished, take your ends through to the wrong side of your work and weave them in to secure them.
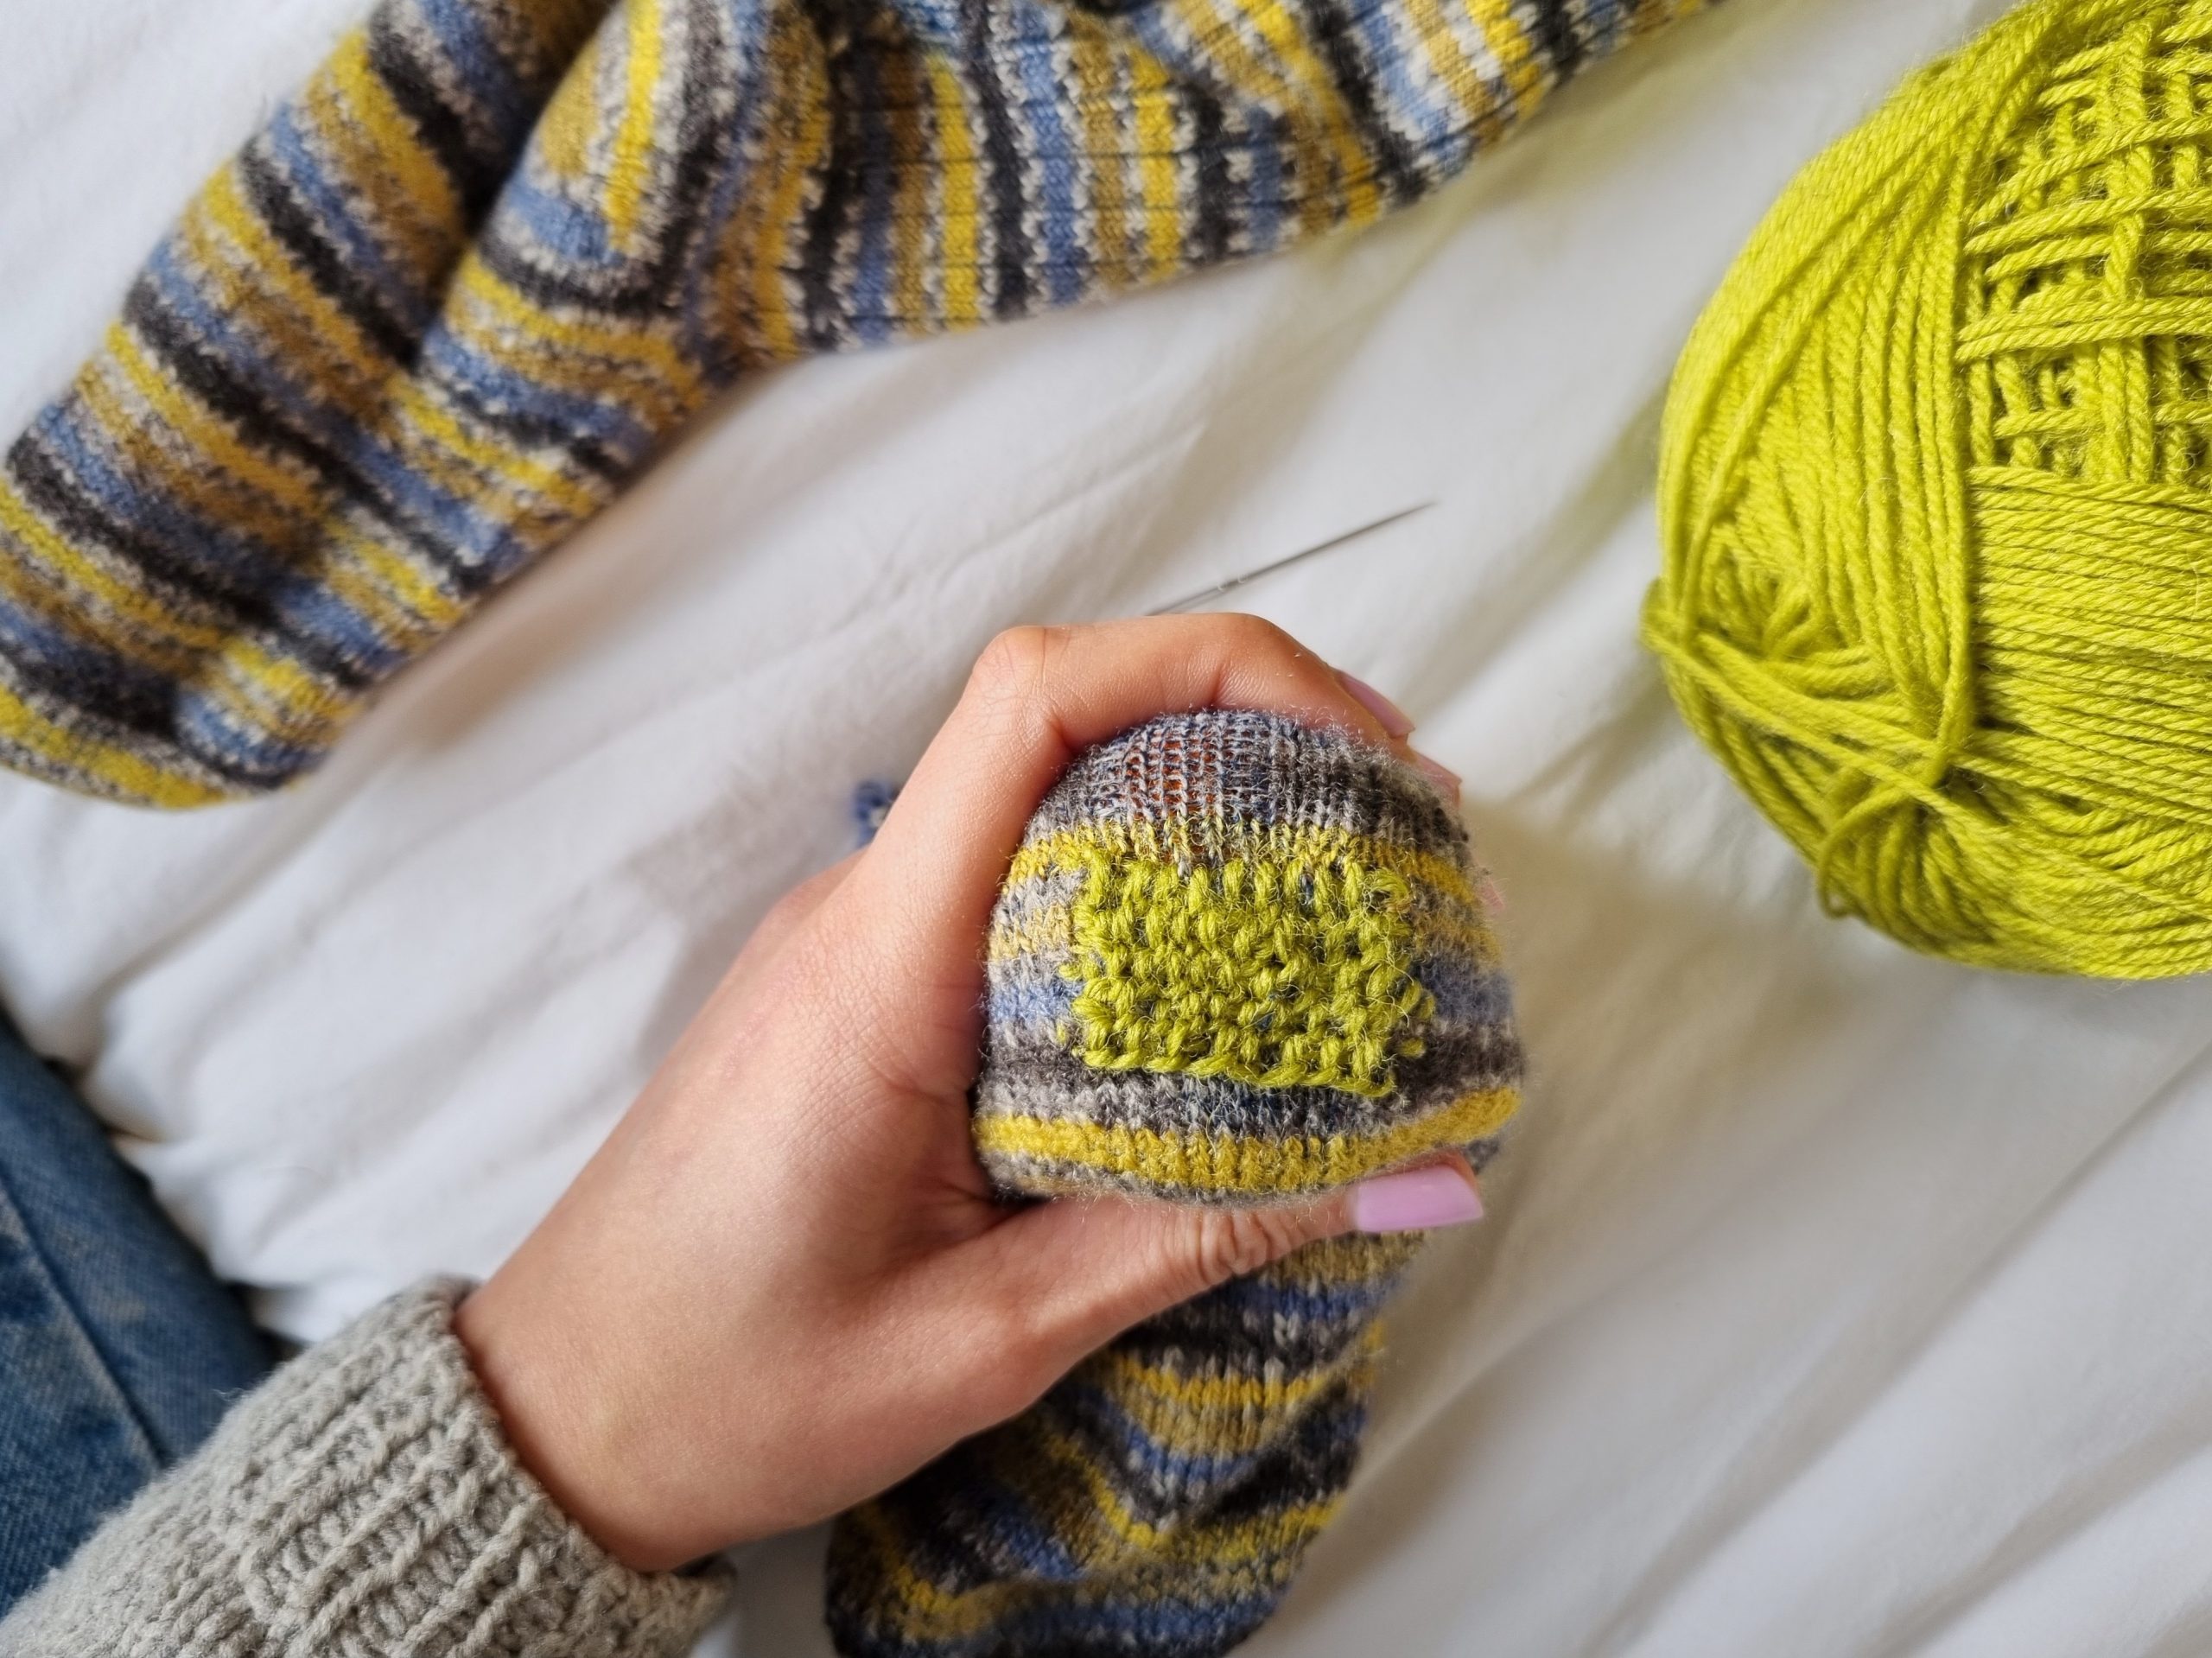
That’s it, you’re done!
Now, enjoy your garment for years to come!
You can experiment with all types of shapes and materials. If you’re fixing a hole in the front of a jumper you could choose a fine yarn for a more delicate finish, or use a couple of different colours.
If you’d like to have a go, William Gee have some lovely darning needles and hand-sewing threads. We’d love to see what you create – please tag us @thread.and.yarn and @williamgee_uk
Keep an eye out for this series, there’ll be lots of other tips coming up – including Sashiko jean embroidery as seen on The Great British Sewing Bee.
Happy mending!


 We’re thrilled to announce that we’ve partnered with Tree Nation, the platform to reforest the world & fight climate change! Home to over 90 planting projects in 33 countries, Tree Nation is a non-profit organisation that helps people & companies offset their CO2 emissions.