Tailoring is a garment construction process with unique parameters. If it was a winter sport, I imagine it would be professional slalom skiing. Each calculated step and process may appear rather unnecessary, but omit it or approach it with a carefree manner, and it will be your undoing.
Traditional tailoring is about precision and calculation. Not speed. The end result is amazing.
Here is a quick rundown of the essential tools to help you mould the cloth you have been pondering over:
![]()
Tape measure
As the song goes – “Ain’t nothing going on but the rent” (Gwen Guthrie song – 1986).
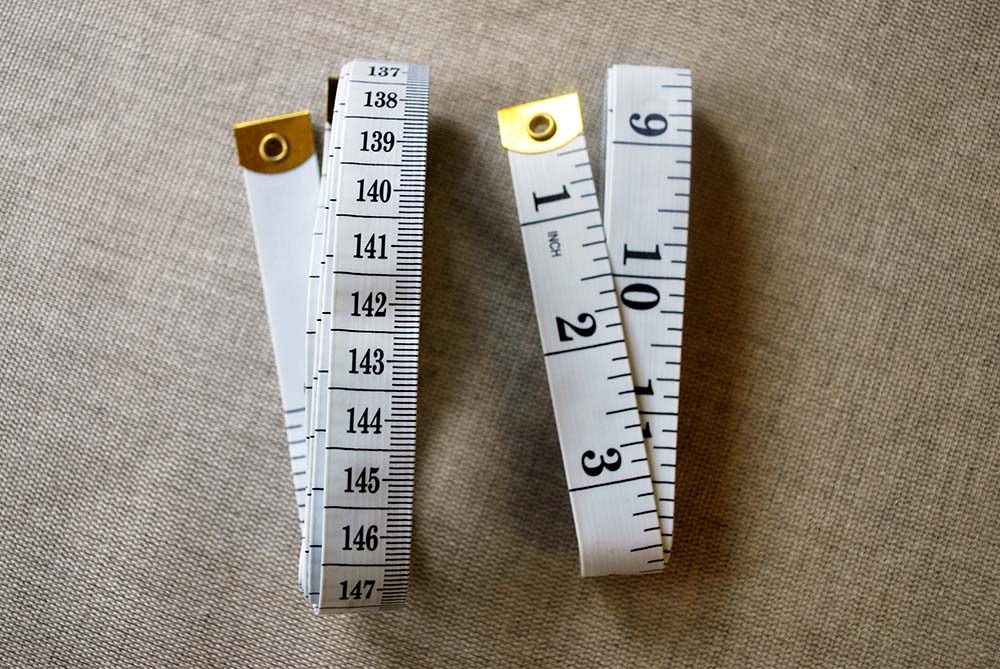
With sewing, ain’t nothing going on without the tape measure. If you want to make any kind of symmetrical, structured, form-fitting garment, you will need one of these. Tailors use them till most people would like to strangle them with it. They live and die by the tape measure and will have heated debates amongst themselves over an eight of an inch. ‘Old school’ tailors do not tend to acknowledge centimetres.
Browse our range of Tape Measures
Chalk
Tailors draft their patterns, using their clients’ measurements, onto paper and card before using that to chalk out the specifications onto fabric.
Theatrical tailors make many types of garments on a regular basis, often making garments to fit more than one person. Seam allowances must be wide enough to accommodate cast change alteration requirements.
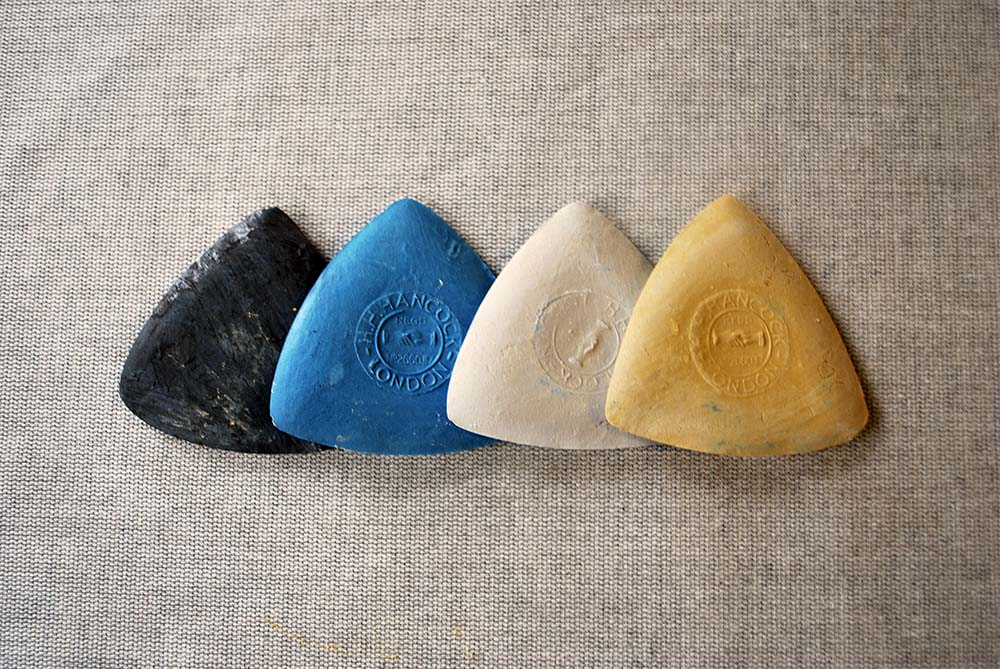
Chalk comes in various colours, but the most popular is white which is the easiest to remove once the lines are no longer required. If you are working on a fabric which is so light in colour that you cannot see a white chalk line use a yellow chalk, but beware. It may be hard to remove.
Chalk used to be sharpened by scalpel or with a scissor blade. Nowadays, little gadgets can be bought to ensure a uniform edge to your chalk. Beware ‘invisible’ chalks. By the time you want to construct the garment, the lines could have disappeared…
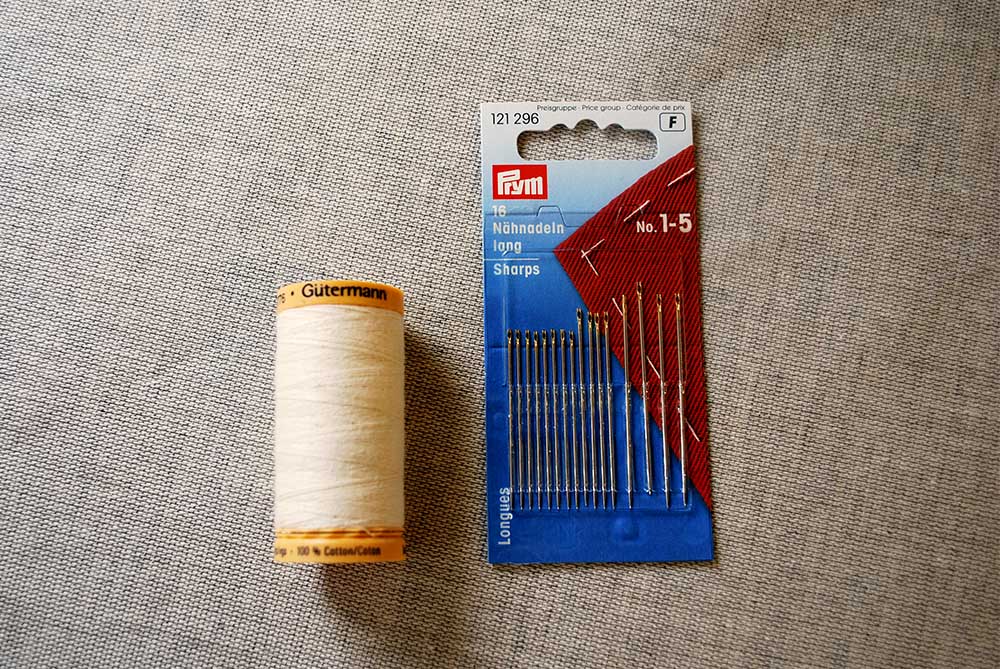
Basting thread & needle
One of the things which make the art of tailoring different to the art of regular garment construction is the amount of hand stitching. In order to get the garment to the point where it can be tried on the body or ‘fitted’, the garment is completely hand-tacked together. Every tack line is strategically placed. It is quite usual for a group of tailors to know who has stitched which garment in a company. Many tailors have their signature style of tacking.
The basting thread is of a particular cotton based type. Most, if not all tailors, tack only in white.
The size of the needle is purely dependant on preference. Some tailors use small thin needles for every stitch they hand sew. Some interchange their needles depending on what they are sewing. I prefer to use what my sewing friends call a javelin. Thin and sharp enough to pierce any fabric, but long enough to find with ease when I drop it on the floor.
Browse our range of Basting Threads and Needles
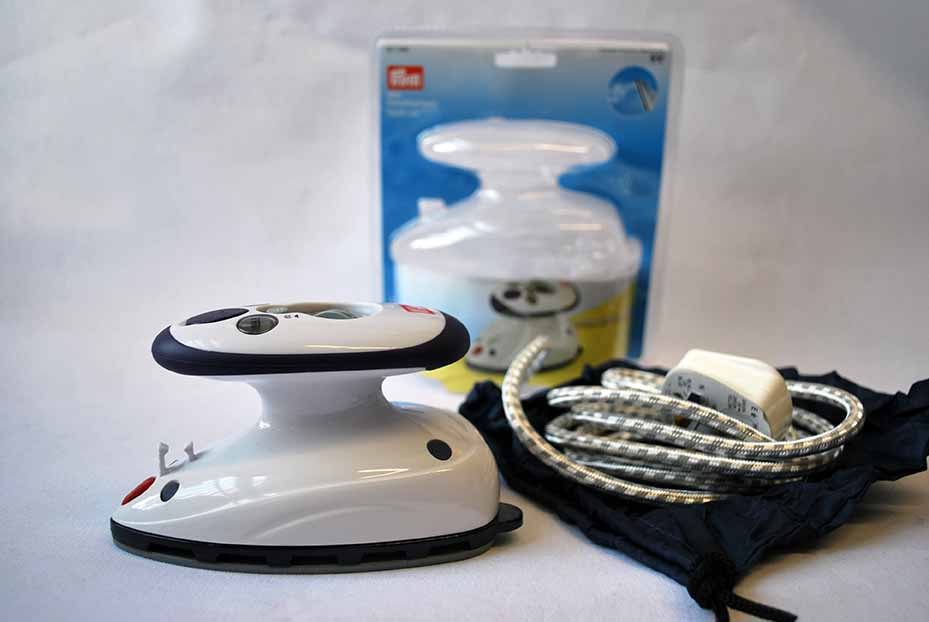
Steam Iron
Tailors may look unimpressed if you ask them to press with iron which does not have an in-built reservoir. This piece of equipment is essential if anyone is entertaining the thought of becoming a tailor. Whether sewing for leisure or sewing as a career choice, the industrial or semi – industrial iron is a must, unless you want to spend most of your time refilling your jug. Pressing is the only way for a garment to have a top quality finish. In practice, after every stitch procedure, a trip to the iron is a must.
I have raised many an eyebrow at my local electrical store as I’ve trotted up and down the aisles handling every iron on display in my quest for the perfect one. Your sewing iron must not be used for everyday ironing. If it is, keep a stick or solution of iron cleaning chemical handy to avoid pressing with a dirty iron.
Browse our range of Steam Irons
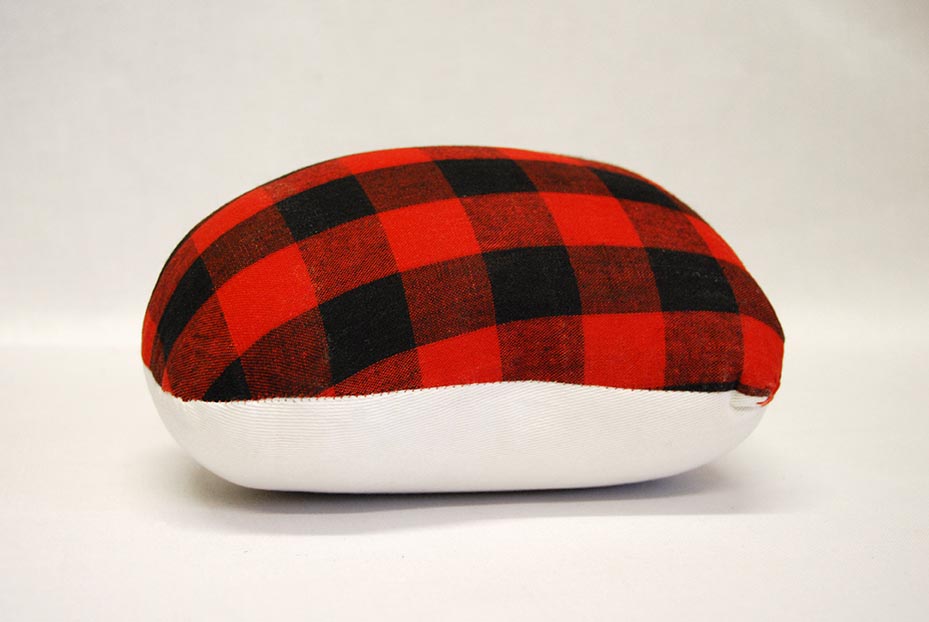
Tailor’s Pressing Ham
This object most likely got its name as it was roughly the size and shape of a ham in years past. These are used to mould fabrics into a desired shape, usually the chest of a jacket. Many tailors make their own hams when they start out, using all sorts of things such as sawdust or off-cuts of fabric dampened with water in order to create a solid shape of their choosing. It is also a great prop to lean on when pad-stitching collars.
Browse our range of Tailor’s Pressing Hams
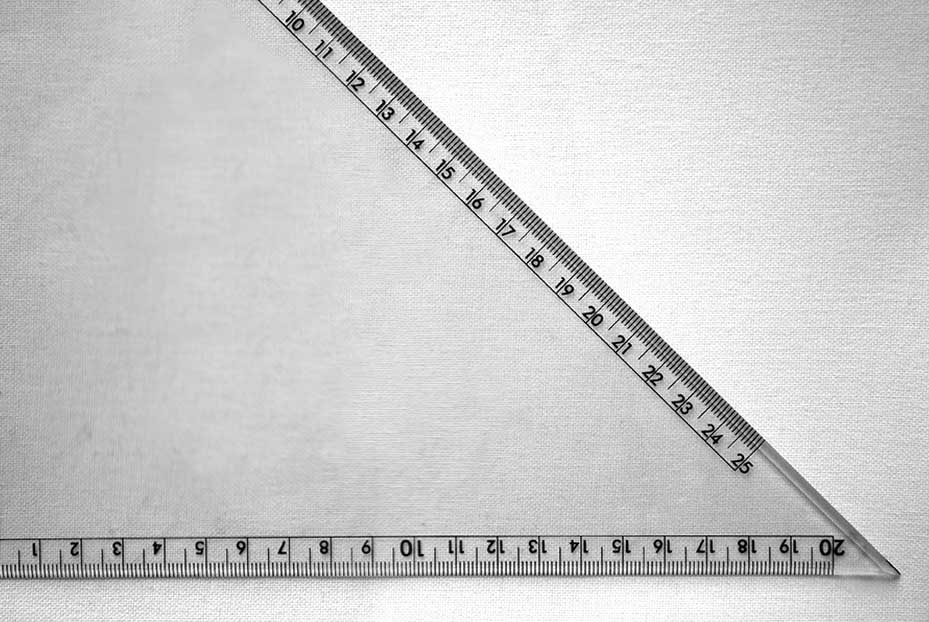
Rulers
Metal, plastic and wood ones are all available, although the wooden ones tend to warp over time.
As a rule (excuse the pun) tailors tend to hoard quite a few. Being an instrument of calibration, it is not surprising. The metre stick is most useful for measuring lengths of fabric, but also chalking nice long straight lines when drafting trousers and overcoats. I have also found most handy; a 15 inch ruler, a 6 inch ruler for pockets, a grading L- square (lovely 90 degree angles), and last but not least, the lovely large quilters ruler. I once saw a tailor using one with a rotary cutter to cut several layers of wool, and I was hooked.
If you find buying so many rulers tiresome, just stick with a 12 inch ruler and metre stick. That will see you through plenty of projects.
Browse our range of Measuring Equipment
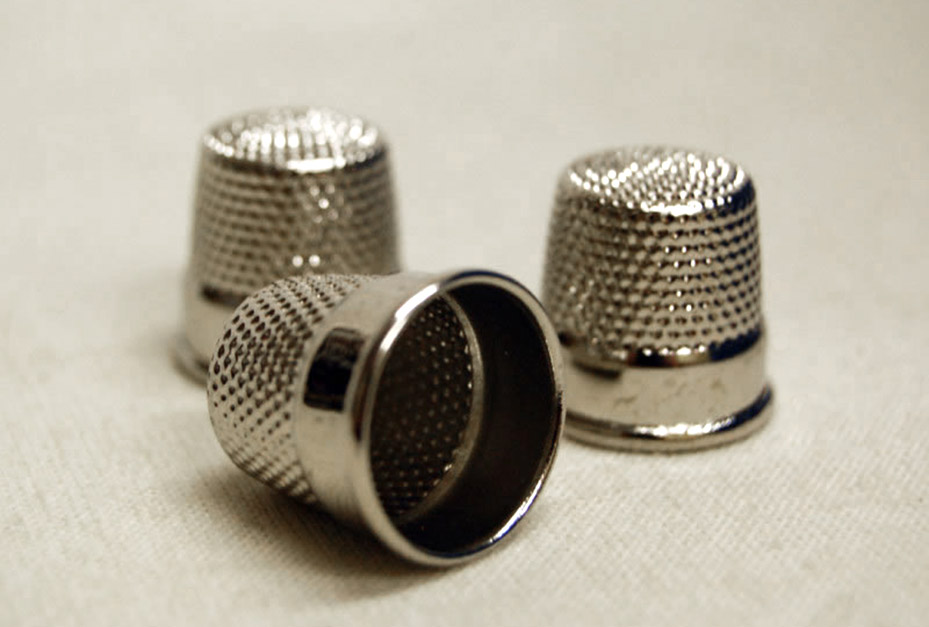
Thimble
You would be hard pressed to find a tailor working on fabric without a thimble.
If you plan to sew medium to heavy-weight fabrics over a long period of time, you need to invest in one; otherwise the finger you use to push the needle into the fabric will end up being more ventilated than a sieve. I recommend stainless steel ones. Rubber ones would eventually end up being pierced. When worn, it should not drop off, unless your finger is cold or slippery. Buy more than one. I own several. I did originally own just one, until the time I spent 2 days playing ‘hunt the thimble.’ I bought 3 more. I found it sewn into the hem of a cloak I was making. Don’t ask me how it got there.
Clapper
This is basically just a hunk of planed wood with a handle. It is used to flatten fabric when steaming and pressing a garment without burning your hands. It is also used to bash any bulky areas of the garment into submission. Some have pointy bits on them which are used to poke into tricky fabric corners to create a smooth finish.
Tailor’s Shears
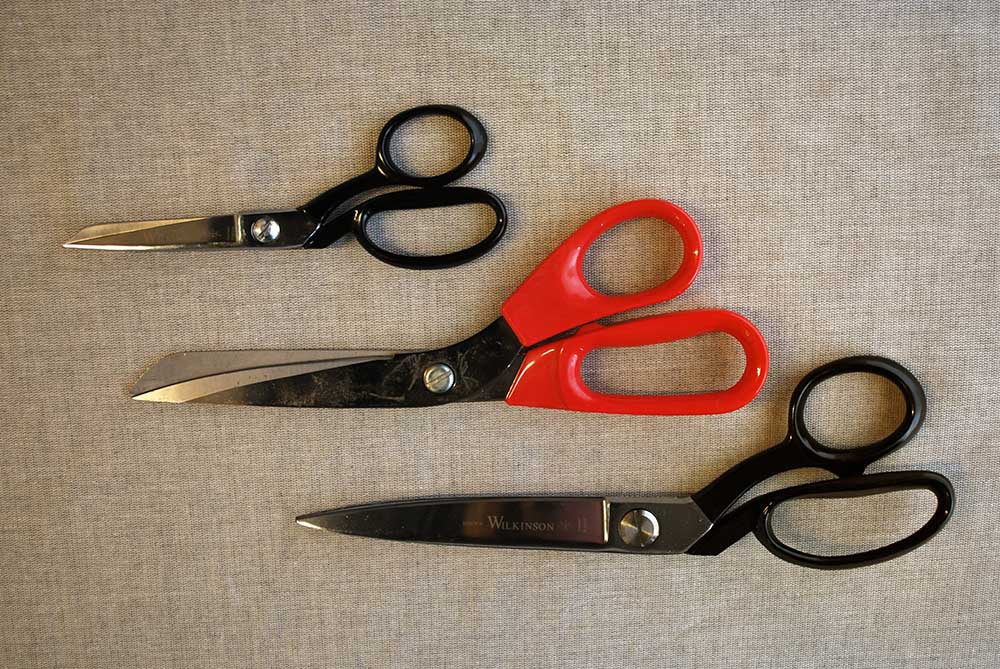 In the olden days, every tailor owned and used a pair of big stainless steel shears which was honed to perfection. Some still do. I own a pair of 10 inch shears, which is just right for me. My father, a retired theatrical tailor, passed his shears down to me but they were so big I had to use both hands just to open them.
Nowadays, with such a wide range of fantastic scissors available, some tailors opt for lightweight ones with plastic handles, but use with caution if you use these light weight scissors on heavy fabrics. The handle may break. As long as they are sharp and the correct size for you, that is all that matters.
Browse our range of Tailor’s Shears
Sewing machine
There are hundreds of machines out there. Some can stitch wonderful embroidery; some are programmed to sew a hundred different stitches.
As a tailor, the only stitch style used is the straight stitch and maybe the zigzag stitch if you are machining the chest felt, horse hair and canvas together by machine. No other style of stitch is required apart from sewing buttonholes.
![]()
…and don’t forget the canvassing!
It is not a piece of equipment, but it is fundamental to the art of tailoring if you want to create a quality moulded garment. Without the chest felt, horsehair, canvas and collar canvas, the garment will just not look nor feel the same.
![]()



 We’re thrilled to announce that we’ve partnered with Tree Nation, the platform to reforest the world & fight climate change! Home to over 90 planting projects in 33 countries, Tree Nation is a non-profit organisation that helps people & companies offset their CO2 emissions.