Part 1: Tools of the Trade | Part 2: Pattern Hacking | Part 3: Interfacing | | Part 4: Fastenings
After part 1, your sewing studio should be fully equipped and we are ready to move on to the interesting part – designing and making clothes! To make clothes there are two ways of starting: draping on a dummy or model and sewing from there, or making a flat pattern. Flat patterns are templates from which we then build our garments.

In the industry we use something called “slopers”. A sloper is a very basic form fitting shape with no design features or seam allowance – or anything really. It is meant to fit like a second skin. From the sloper we make “blocks”. We add in darts and tucks and pleats and gathers and wearing ease and allowances for sewing, and then that becomes the garment.
The majority of home sewers buy ready-made patterns either from the “big four” or smaller “indie” pattern makers. This industry has boomed in the past few years with more and more people taking up sewing thanks to the Sewing Bee and downloadable pdf patterns making life that little bit easier. However, by using these patterns you are limited to what someone else has already designed for you. What happens if you find a pattern you like, but it’s vintage and it’s not your size? Or you love that dress but you wish the skirt was a bit fuller? Or the dress has a zip at the back and really you’d prefer if it had a button placket down the front and a skinnier skirt and was 3 inches longer and had puff sleeves instead of flutter and was in woven instead of stretch….Here is where we hack.

Pattern hacking? Sounds brutal. All pattern hacking means is changing something about a flat pattern that you don’t like to something you do.
What you will need:
– Pattern of choice
– Paper – a wide roll
– Pencil
– Rubber Eraser (mistakes are inevitable)
– Metre/Yard stick
– French curves
– Paper scissors
First of all decide what you want to change about your pattern.
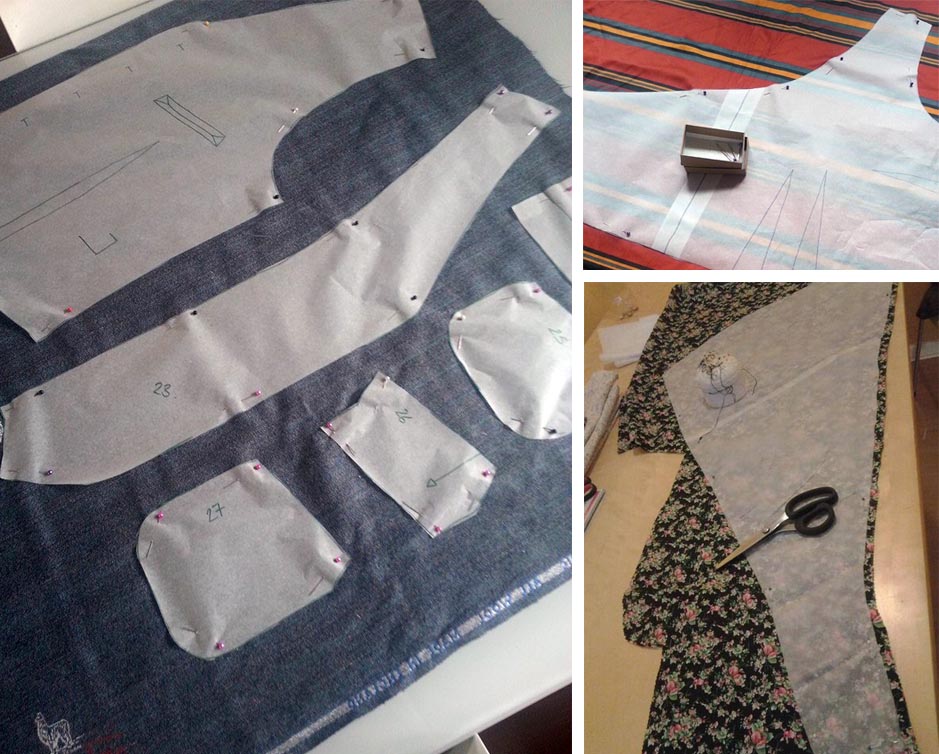
The most common hack is to make something bigger or smaller. This is called “grading”. Trace or draw around your pattern piece on to your paper. The technique used is called “slash and spread”. The terminology here is all very violent but essentially what you are doing is cutting the pattern piece into smaller pieces, moving them apart, and filling in the gaps with the extra that you need.
A less dramatic way of changing a garment’s fit is a full bust adjustment. Like grading, it adds room to the garment but just in the bust on the front bodice. Most ‘bought’ patterns are for someone that has less than a two inch difference between their high bust and full bust. Don’t just add at the seams or choose a bigger size as you won’t get as good a fit. There are hundreds of good Youtube videos that will guide you through this process much better than I can in a blog!
Another way of hacking a pattern is to add two different patterns together, also known as “frankenpatterning”. Say you like the top of one dress and the skirt of another? There’s no reason not to put the two together. Make sure all waist measurements are the same where they join and that if it has darts you move them so they match. Darts are easy to move- either pivot them round and close the gap in a bodice, or cut them out and move them in a skirt.


 We’re thrilled to announce that we’ve partnered with Tree Nation, the platform to reforest the world & fight climate change! Home to over 90 planting projects in 33 countries, Tree Nation is a non-profit organisation that helps people & companies offset their CO2 emissions.