If I’m honest, I always used to avoid sewing invisible zips – it looked fiddly and I wasn’t sure I’d ever get it looking neat enough to be worth it!
Over the years I’ve seen lots of tutorials and learned a few tips for how to get them looking lovely and neat. It turns out I was making it hard for myself, and it actually was surprisingly achievable!
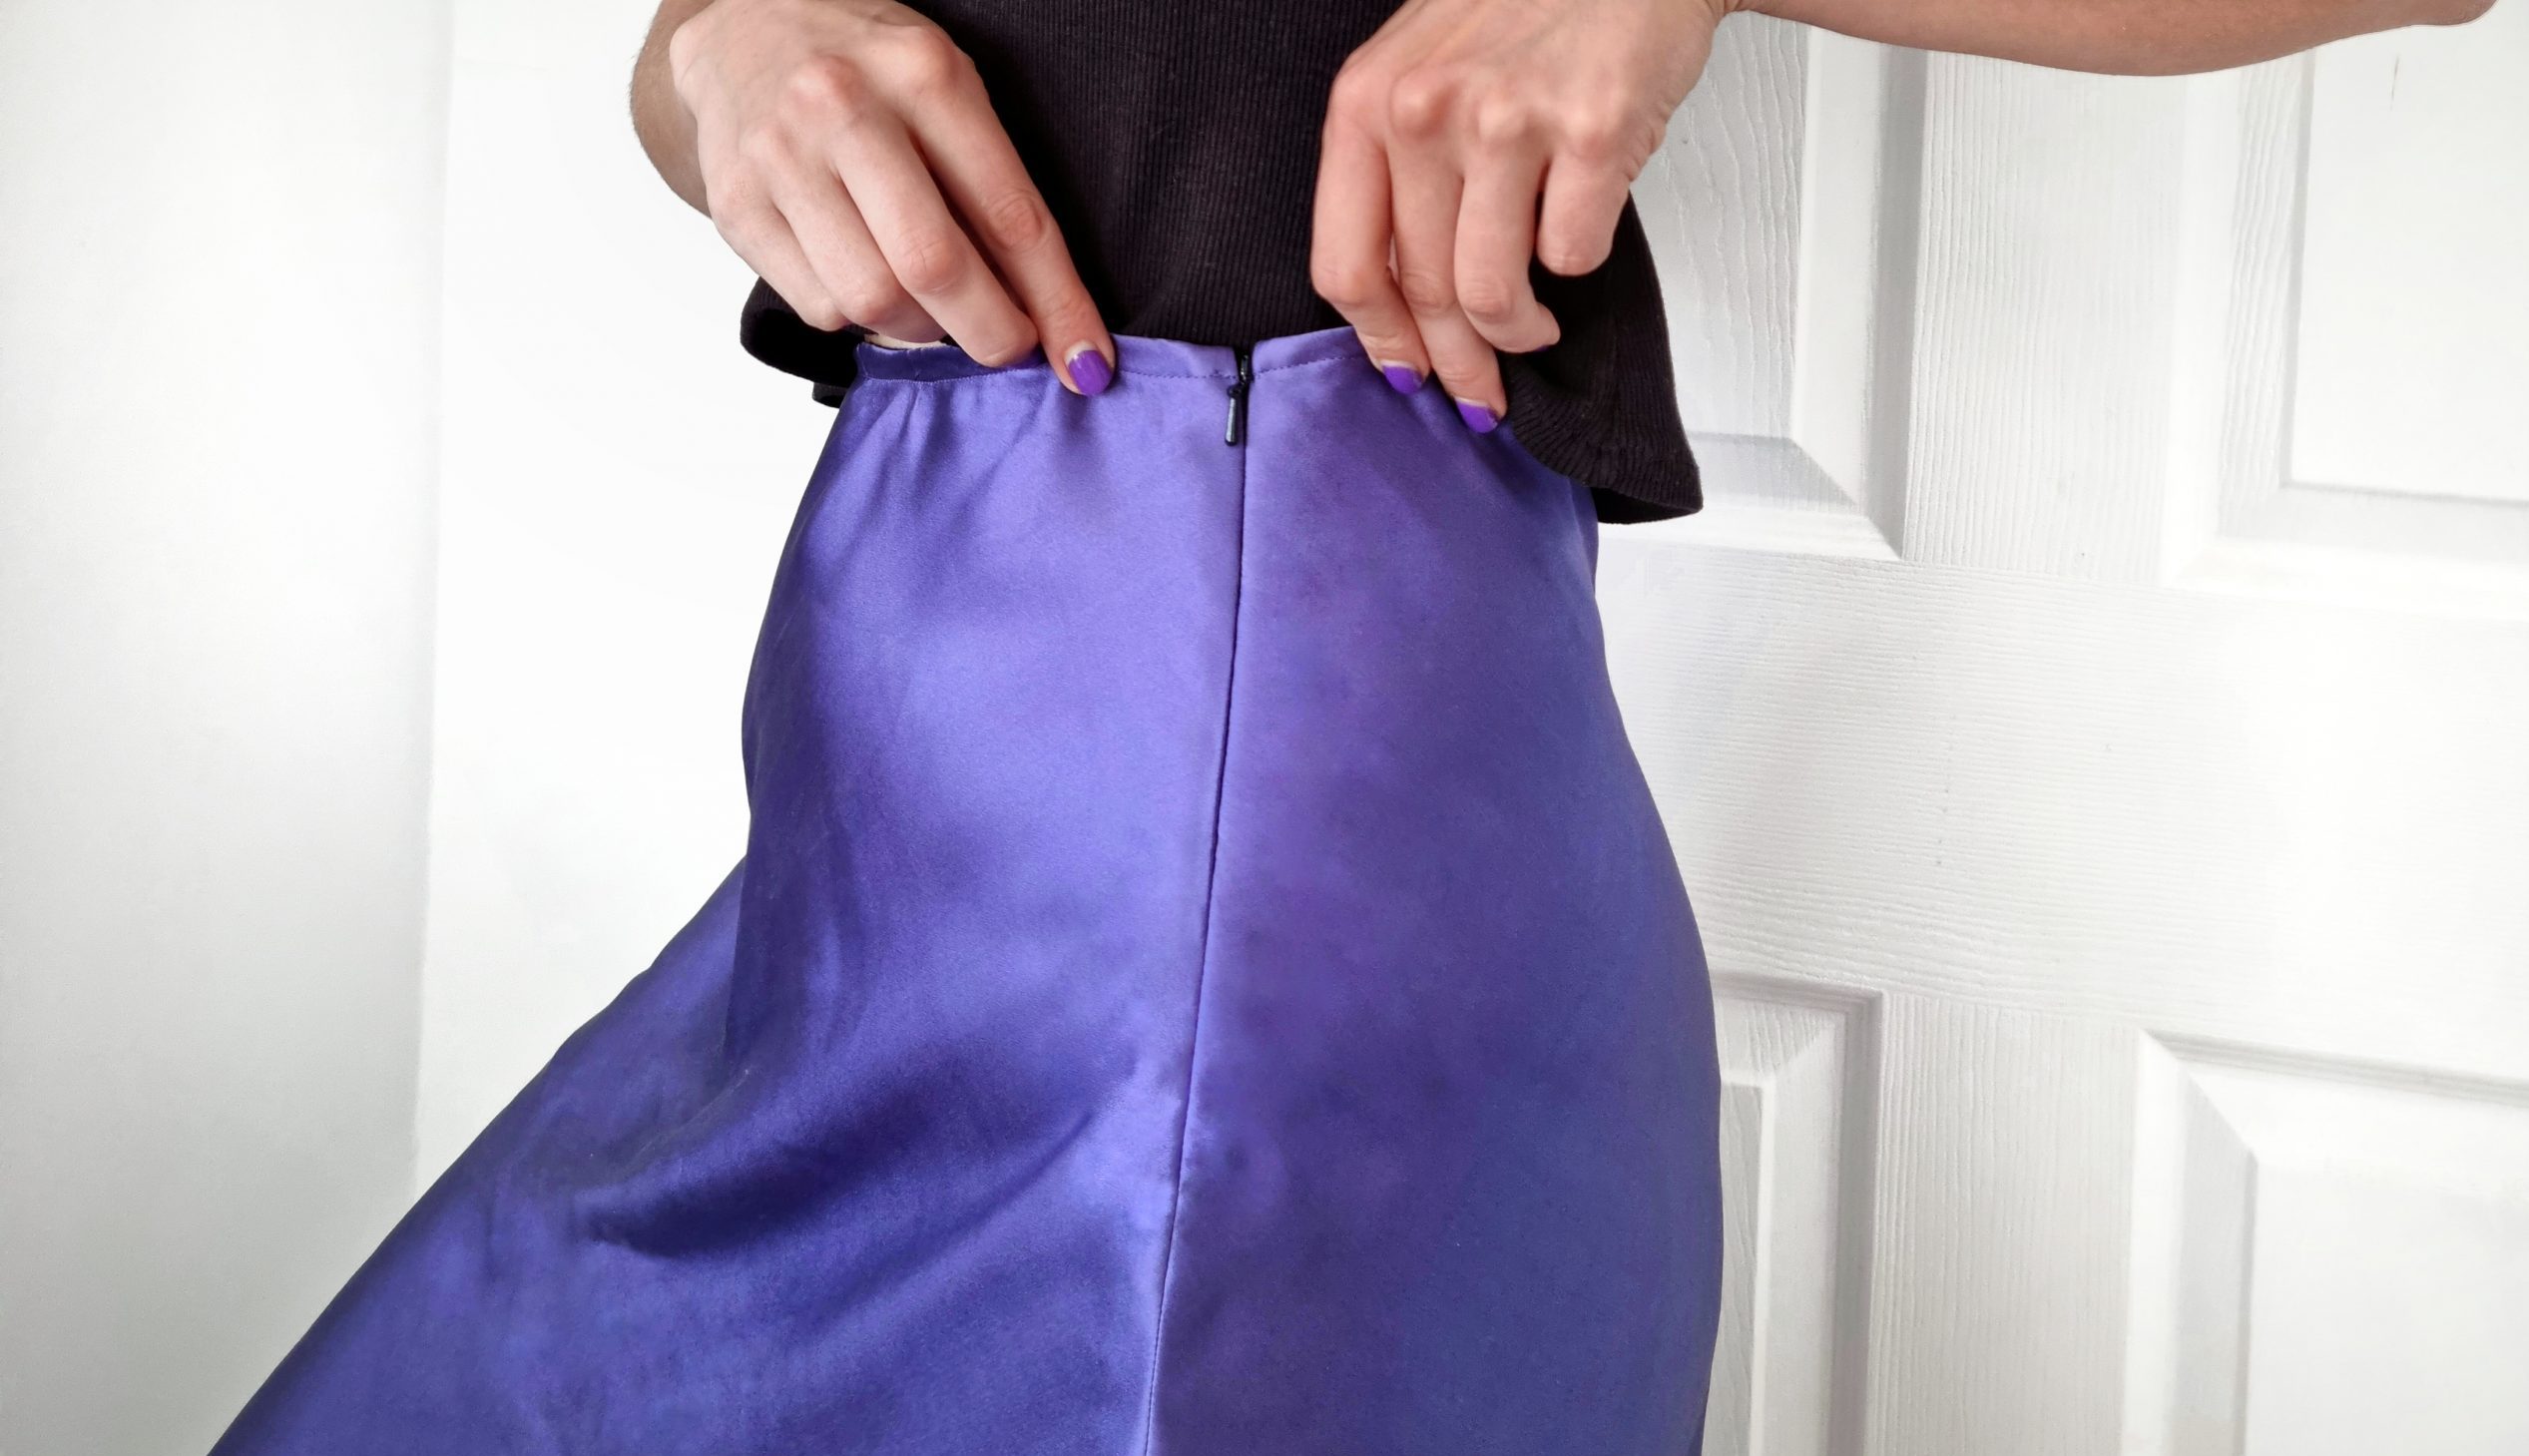
Here are my top tips, and a little step-by-step for how to sew your own invisible zip. They’re brilliant for neat closures on dresses, skirts or things for the house like cushions.
For starters, you’ll need an invisible zipper foot. There are different types, but they all allow you to sew nice and close to the teeth. Choose a zip to closely match your fabric, and the right length for your pattern.
You’ll need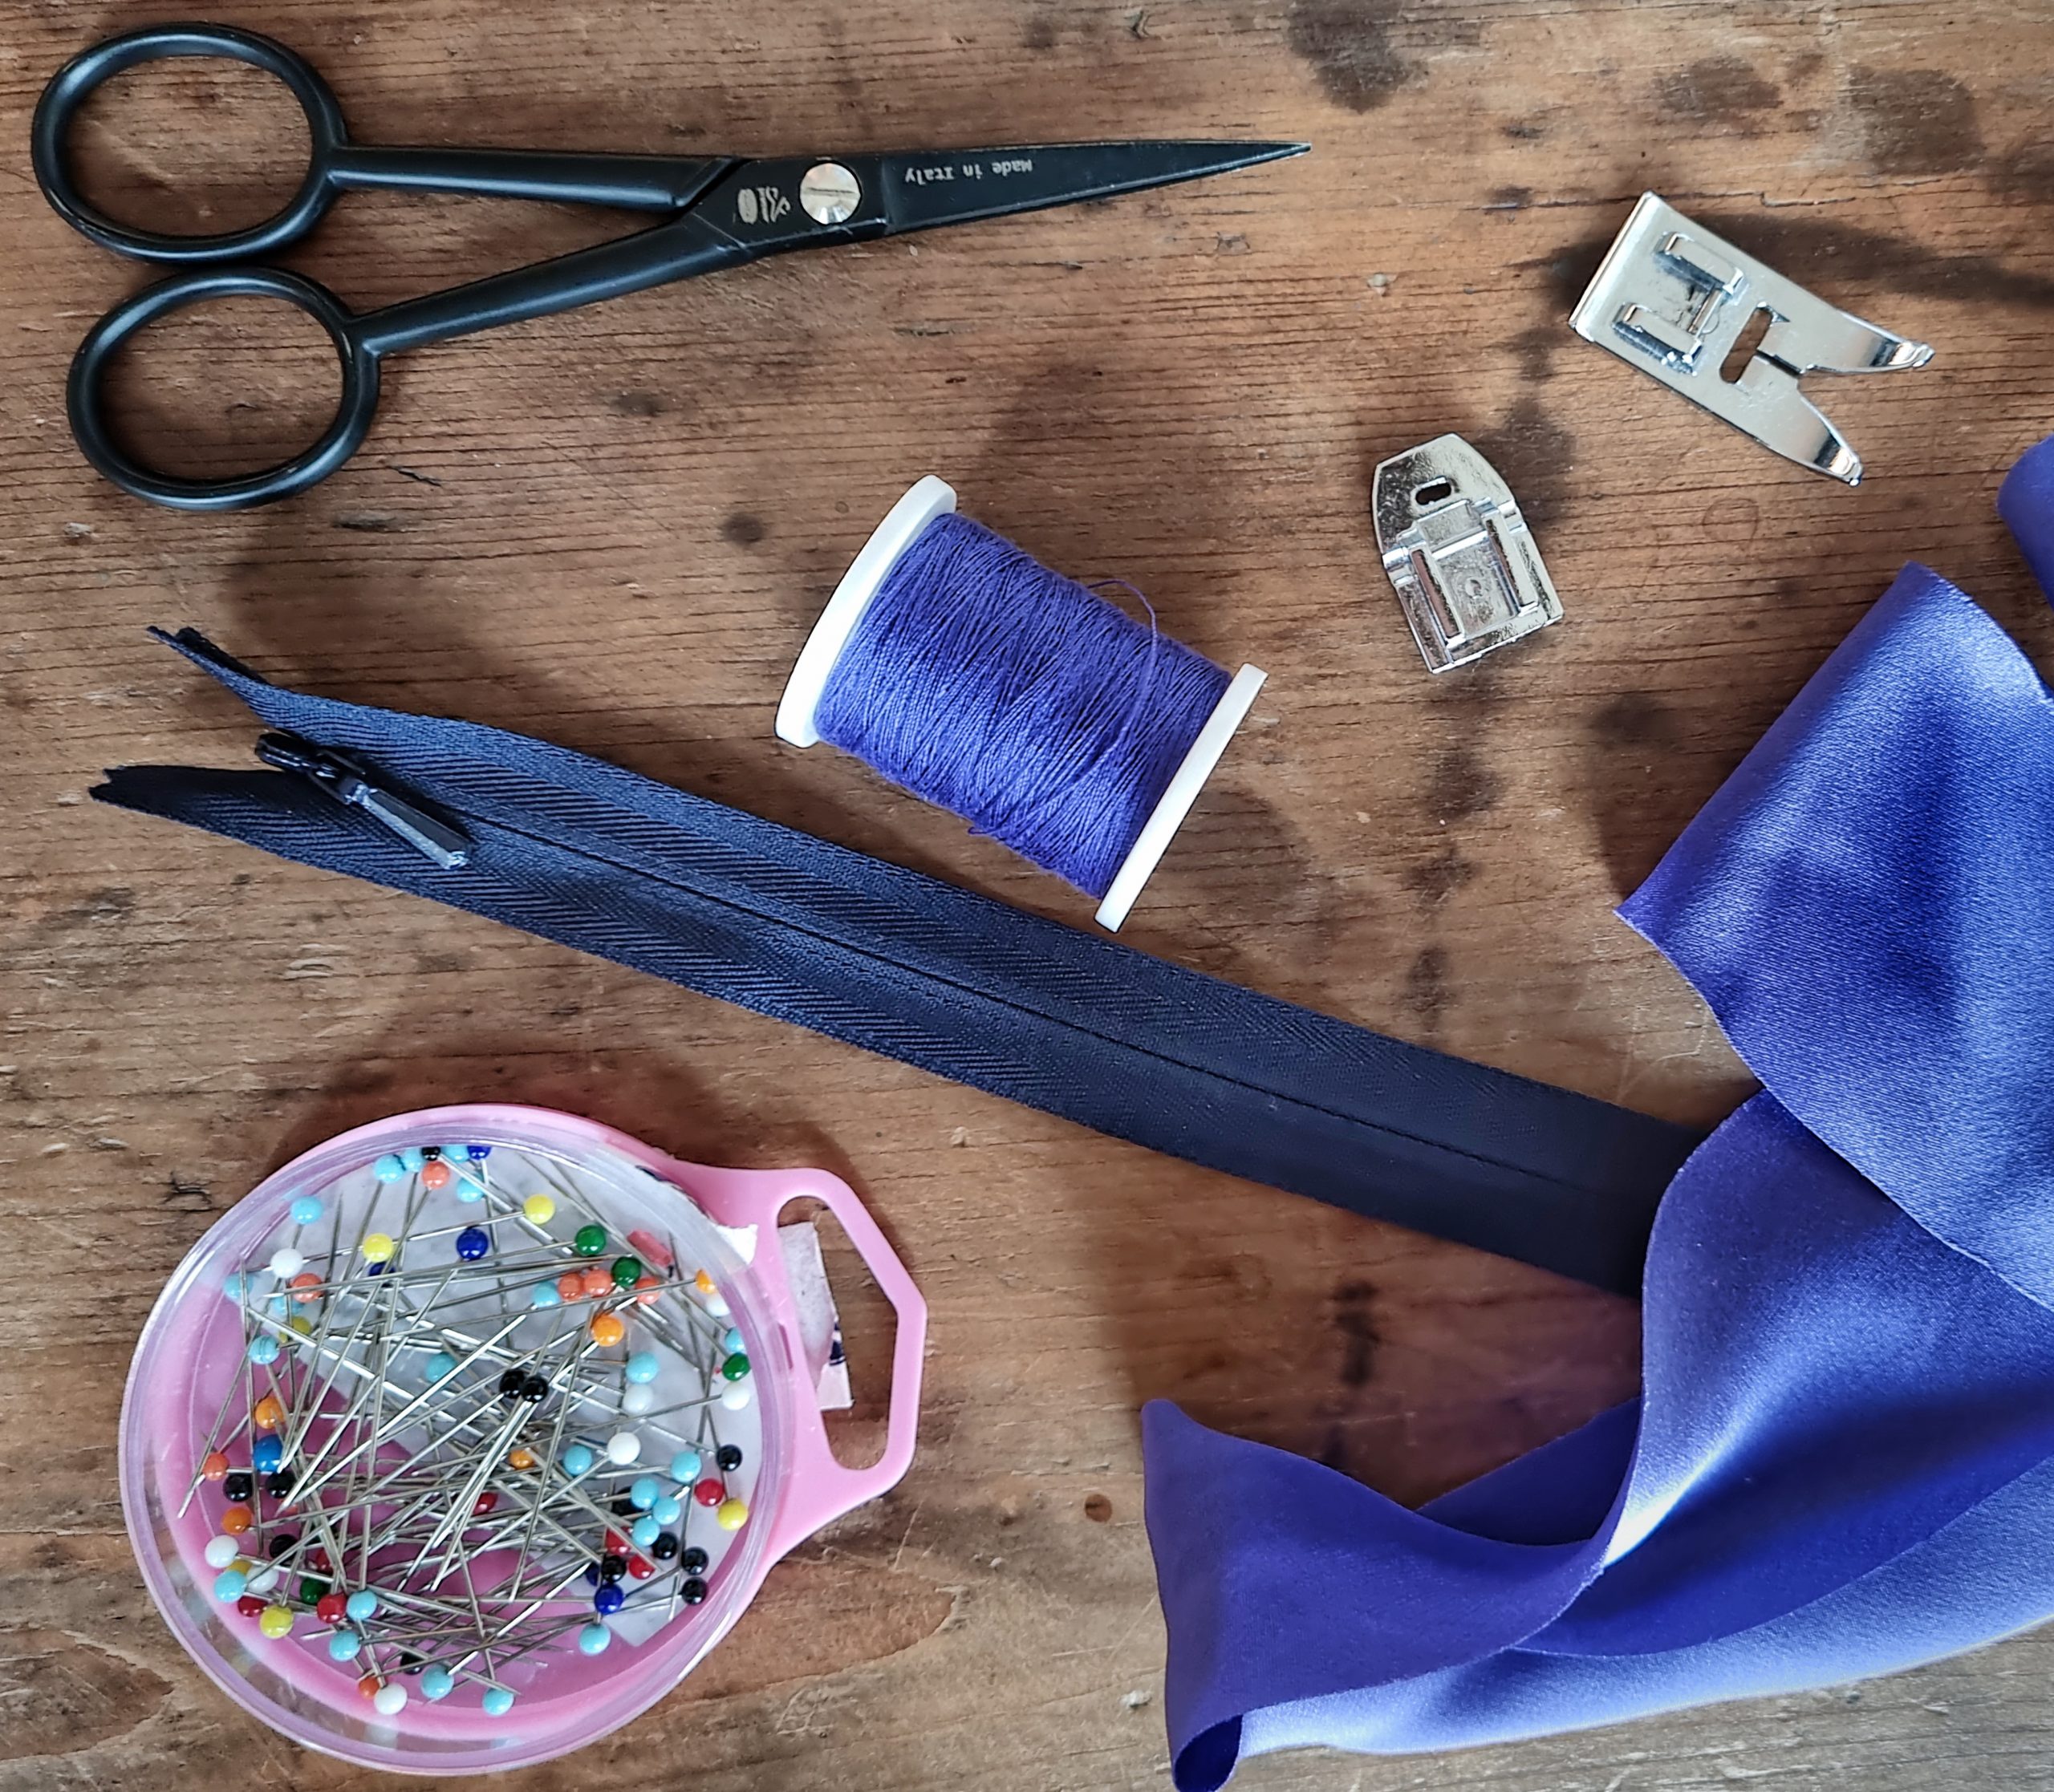
- An invisible zip
- Invisible zipper foot
- Standard sewing machine foot
- Iron on interfacing
- Matching thread
- Pins
- Sewing machine
Once you’ve got all your bits together you’re ready to get started!
Attach your invisible zip
1. This first step really helps with sewing your line neatly: open up your zipper, and gently press the underside of the zip fabric flat. Make sure to do this on a low heat so you don’t melt the teeth!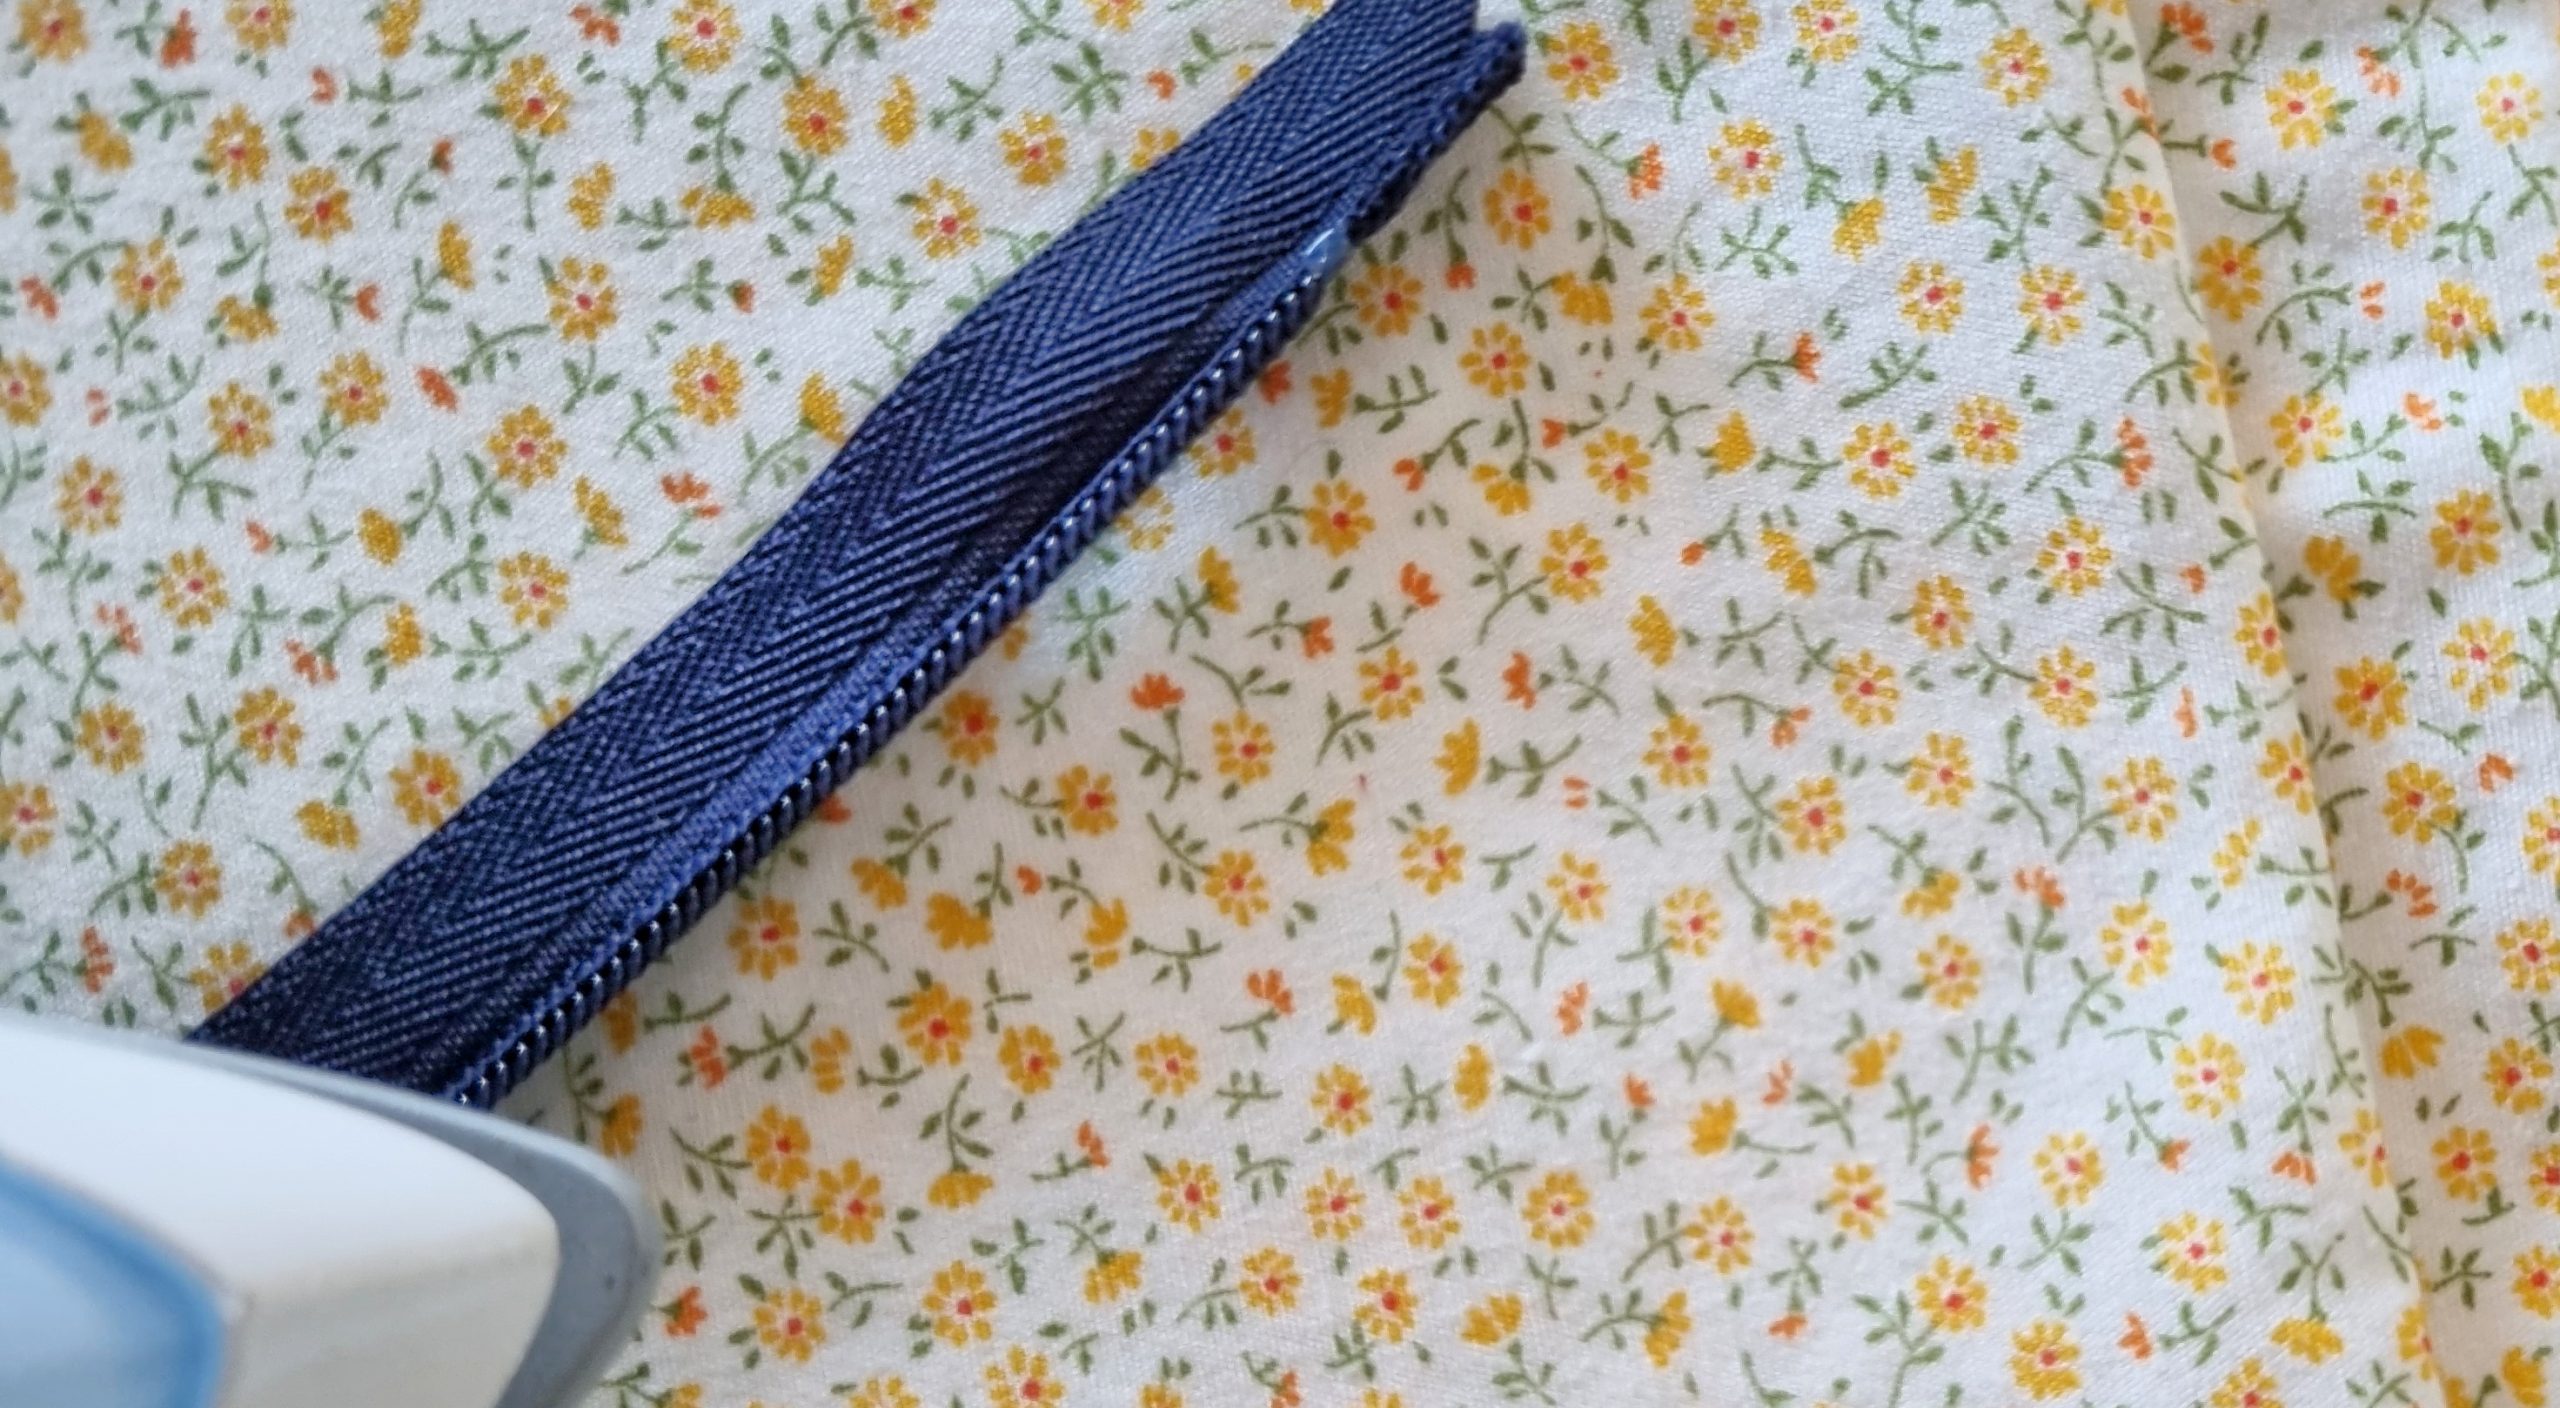
2. Prep your fabric: attach a small, thin strip of interfacing to the wrong side of your fabric where you’ll sew your zip. Finish the whole seam edge with an overlocker or zig-zag stitch.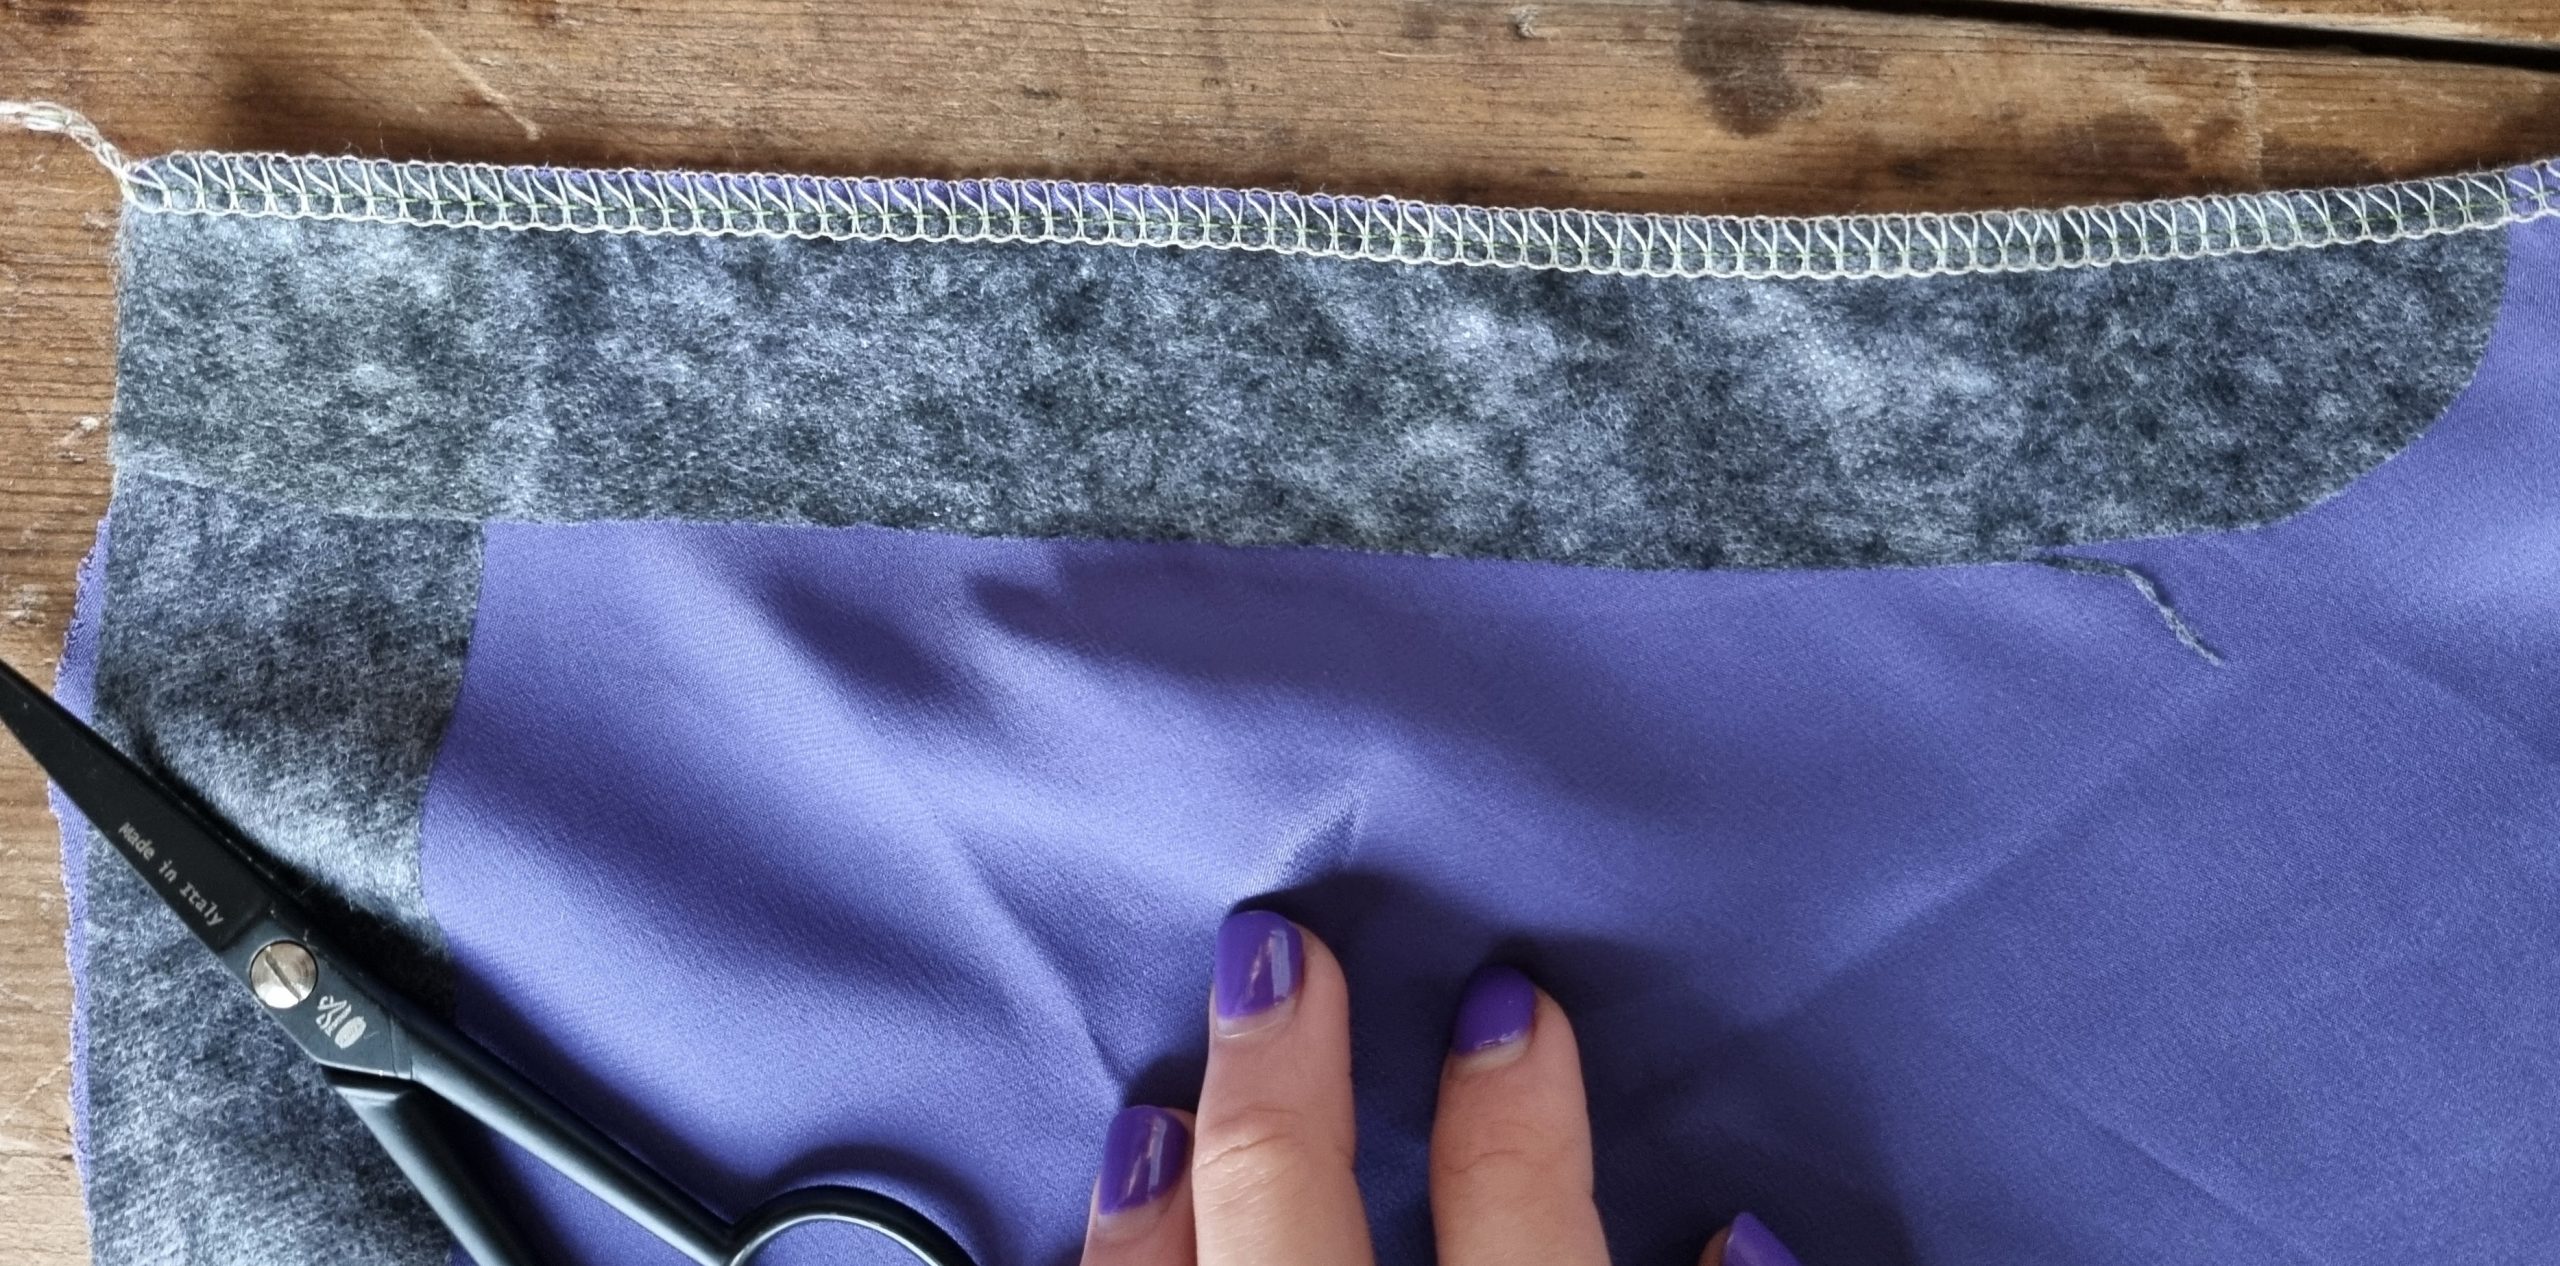
3. Pin the left half of the zip (as you look at it from the front of the zip) over the left side of your garment. The top/right side of the zip needs to face the right side of the fabric. It’s important to get this the right way around.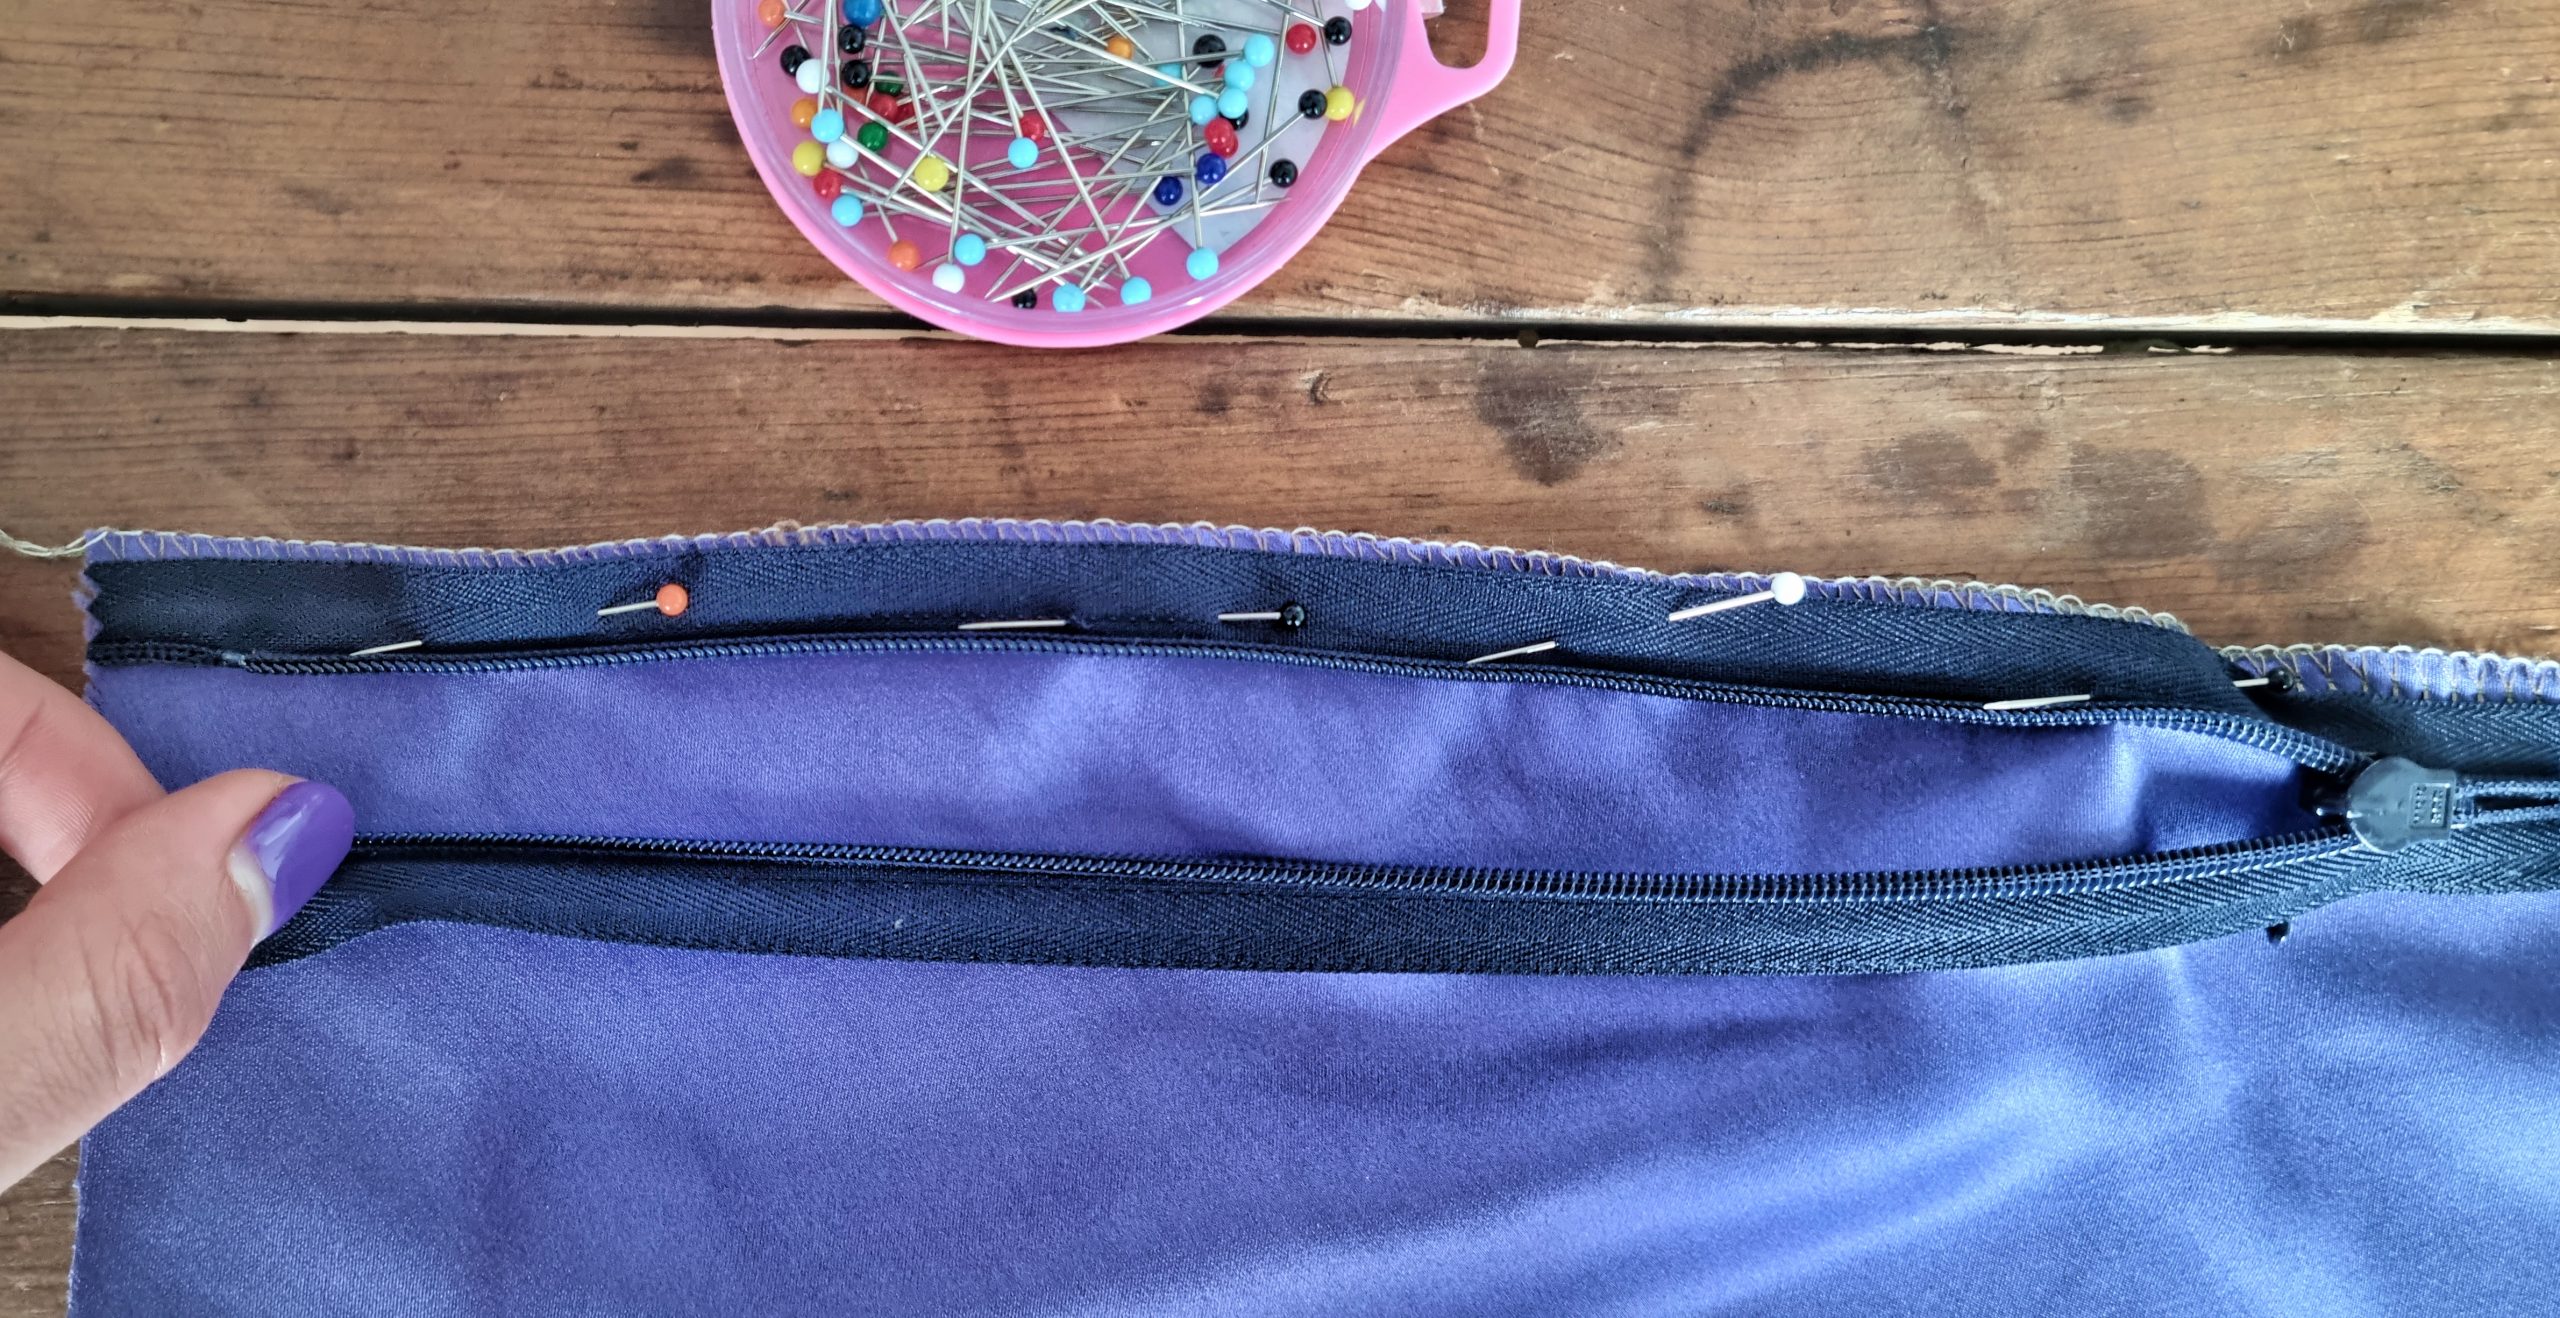
4. Position your zipper foot so the zip teeth sit in the correct groove.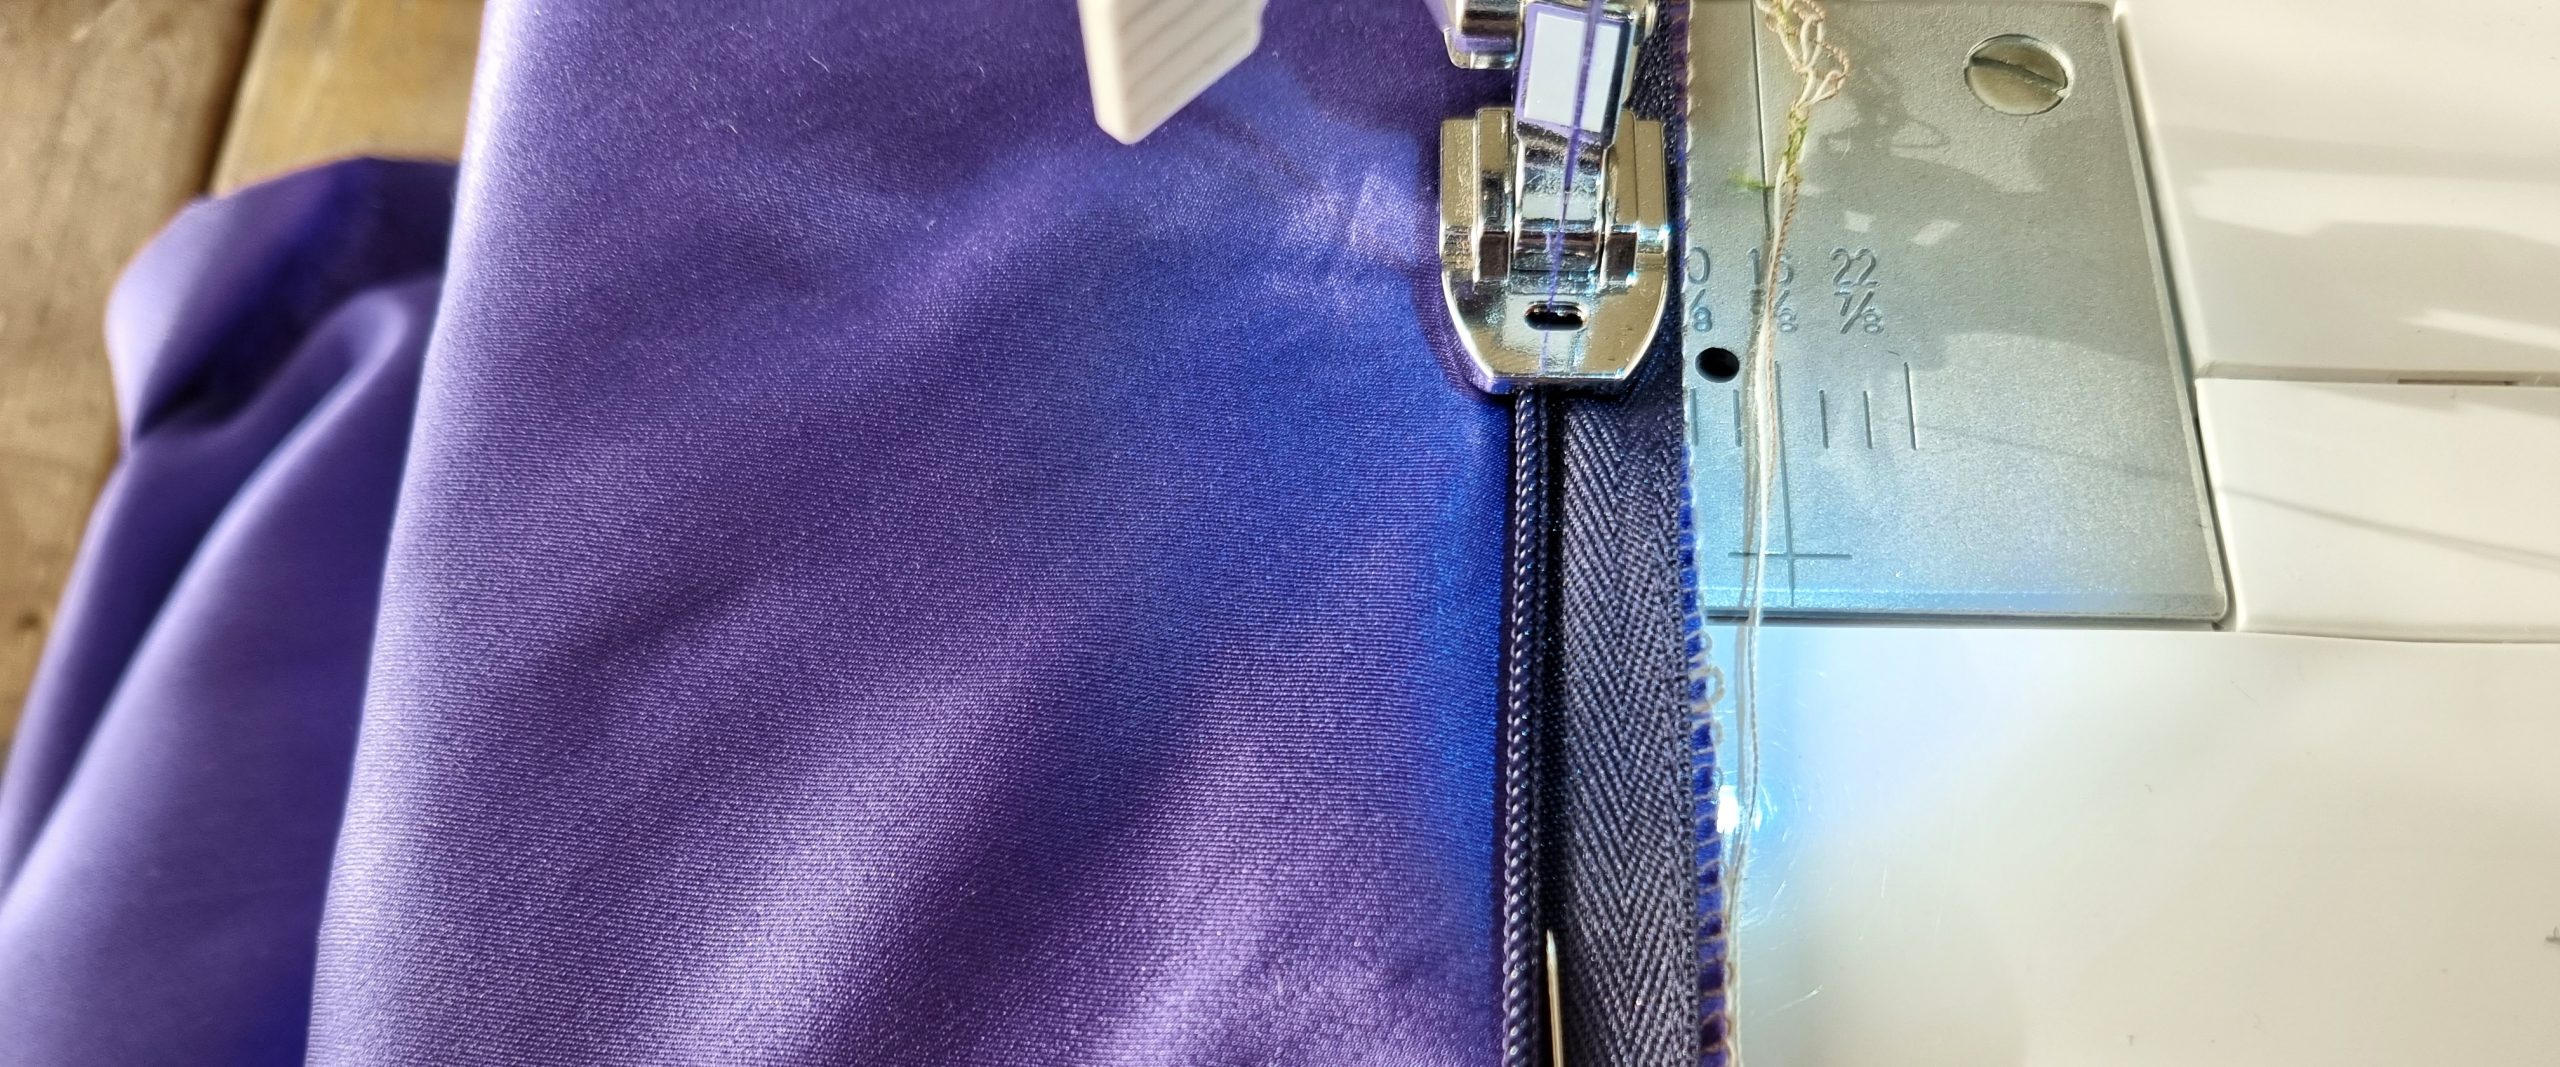 Sew a straight stitch from the top down to the zipper pull.
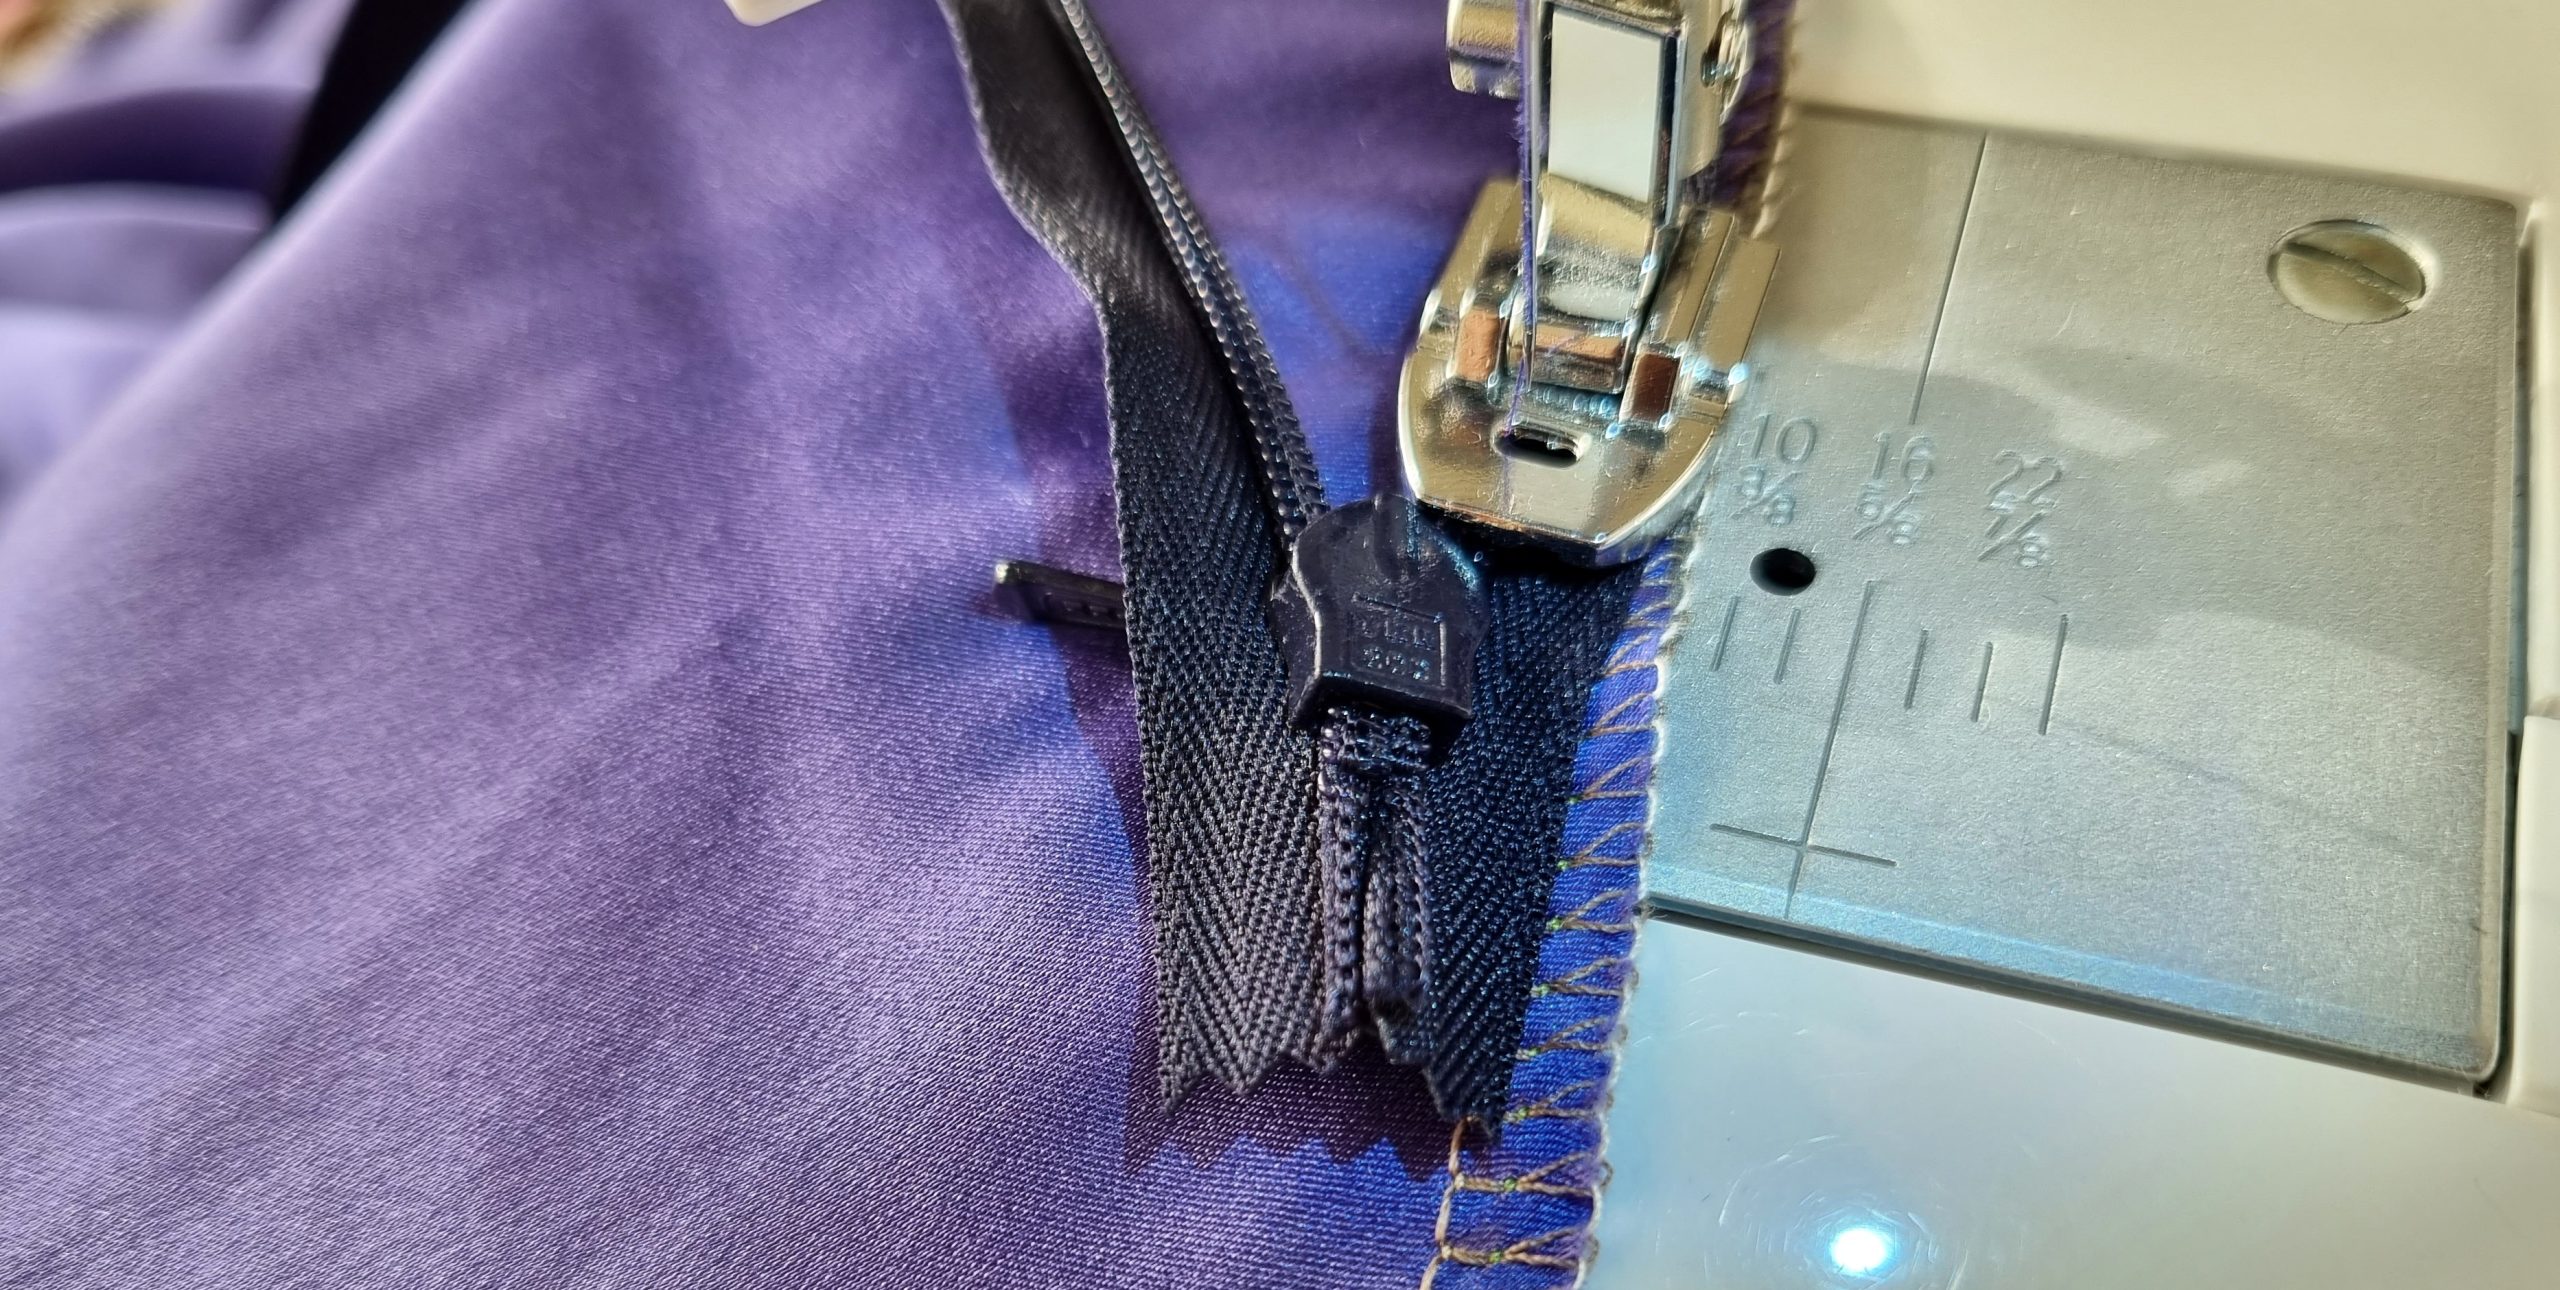
5. Turn the fabric back over to the right side, and give it a gentle press – now you can see the half you’ve done!
6. Now, like you did before, lay the right half of the zip over the right half of the garment, right sides together. Make sure it lines up with the left side. It should look like this:
7. Sew down to the same point – now you’ve done both sides!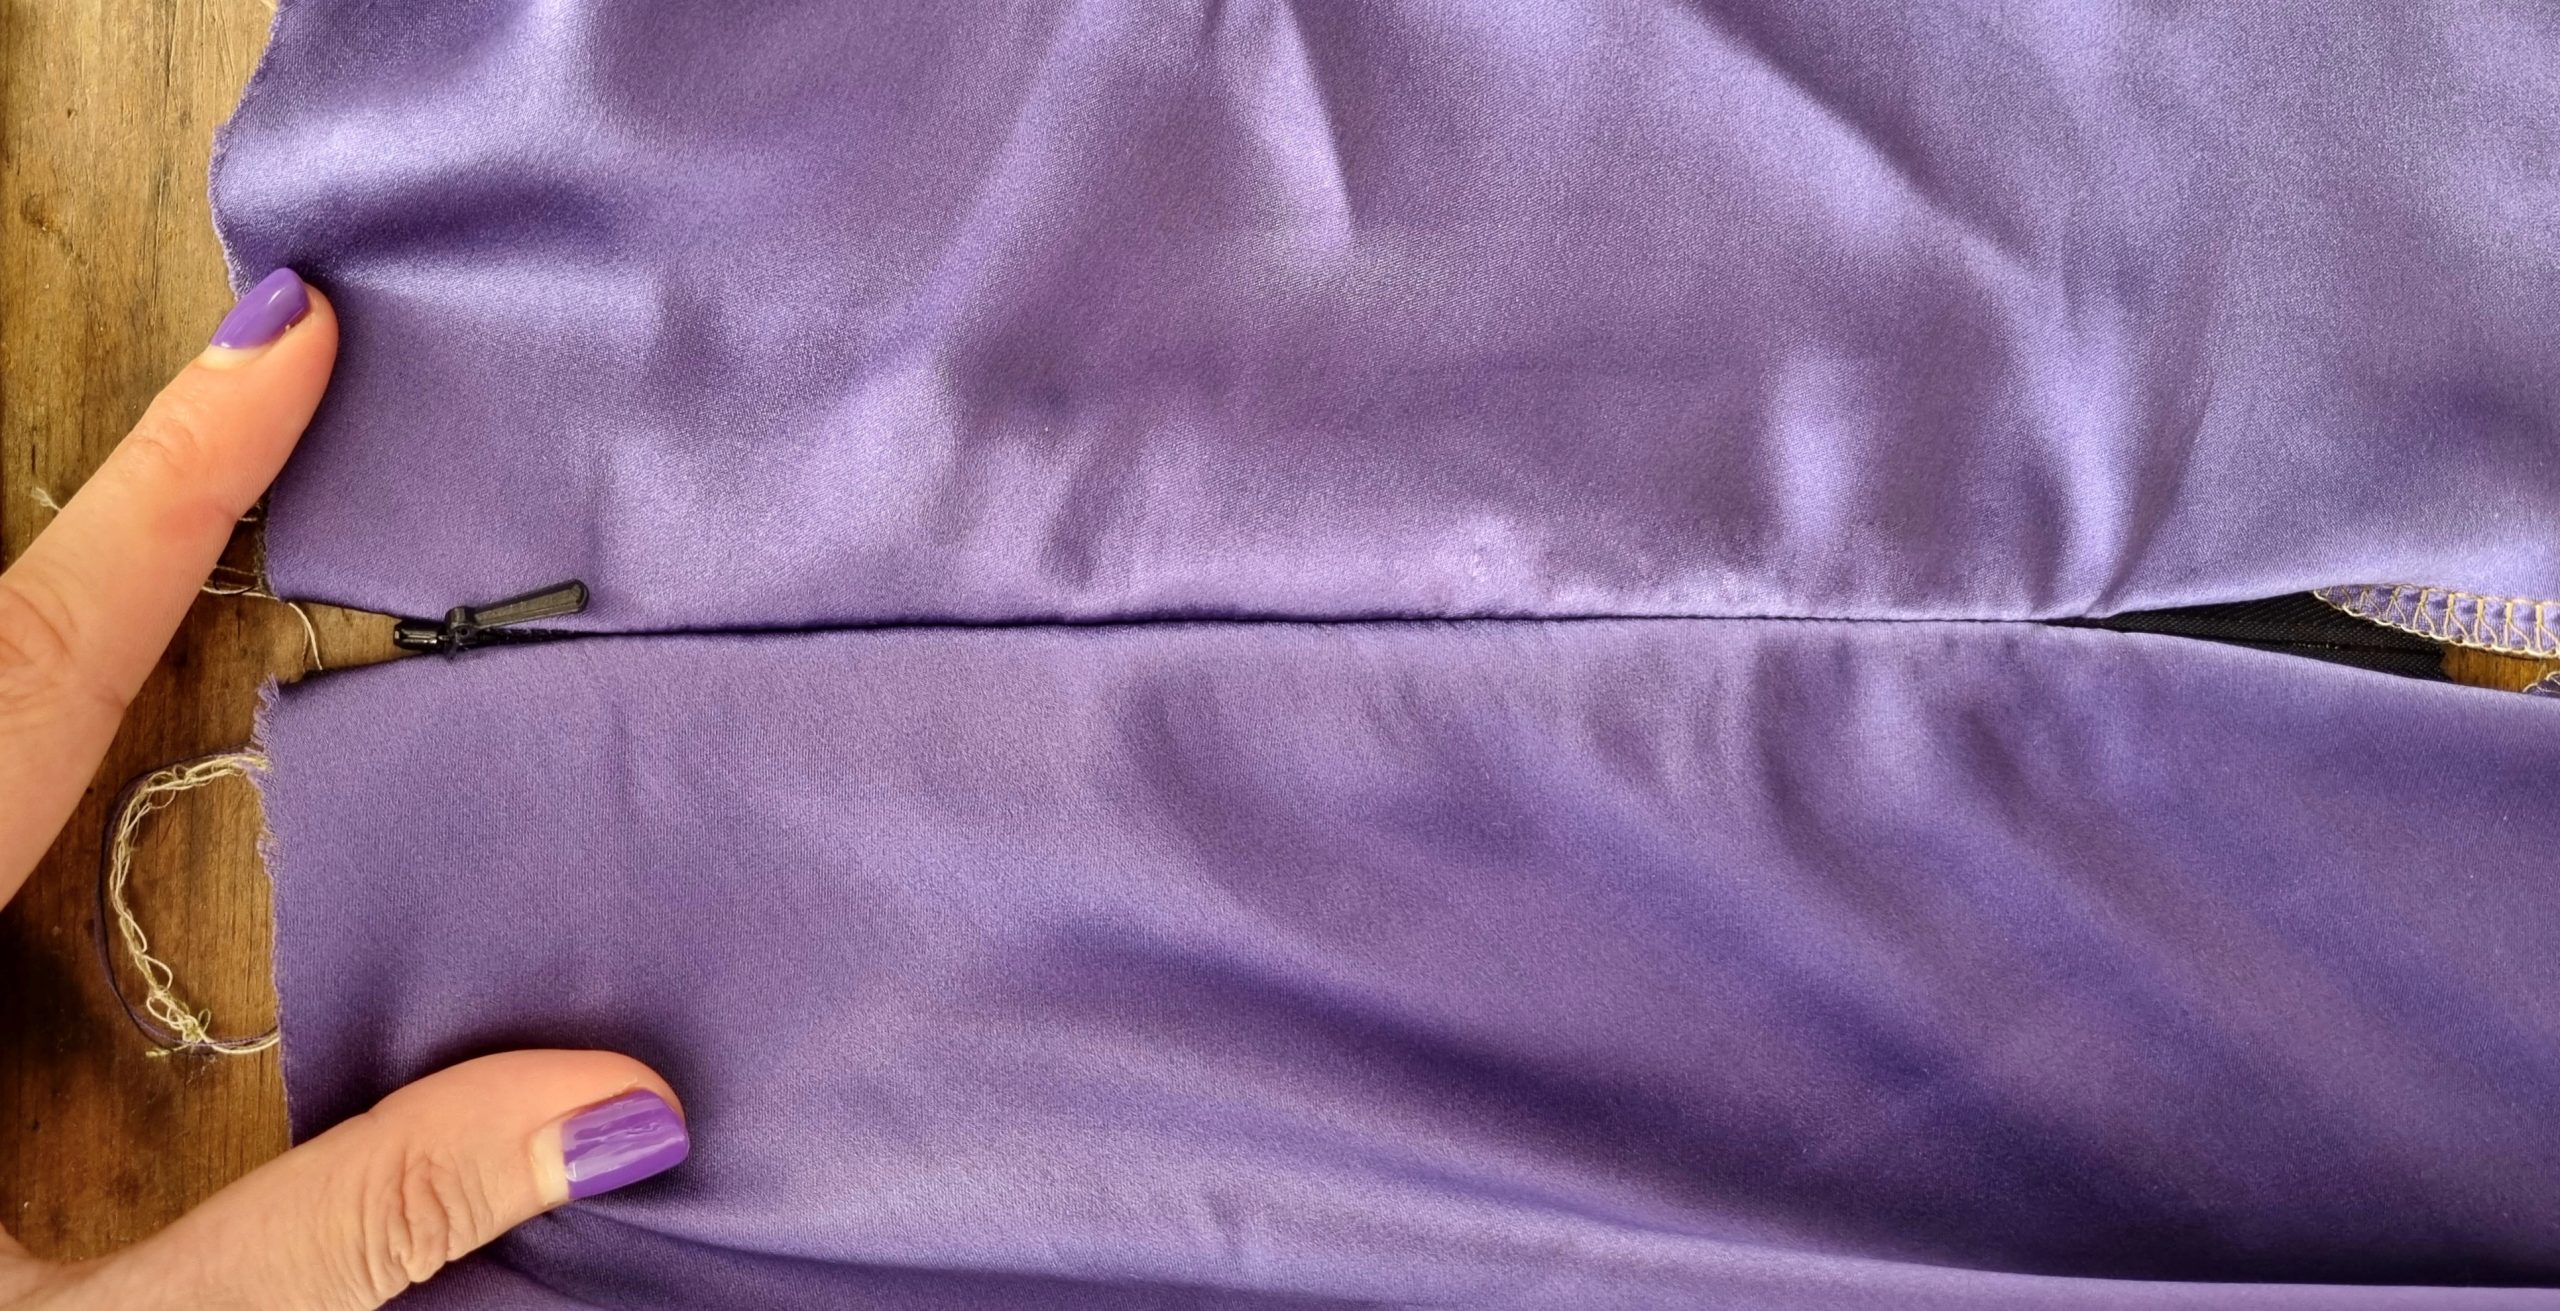
8. Close the zip and fold the garment in half, right sides together. Now you can sew the rest of the seam with a standard sewing machine foot. Get as close as you can to the stitching line where you attached the zip. This can be tricky as the bulk of the zip gets in the way. 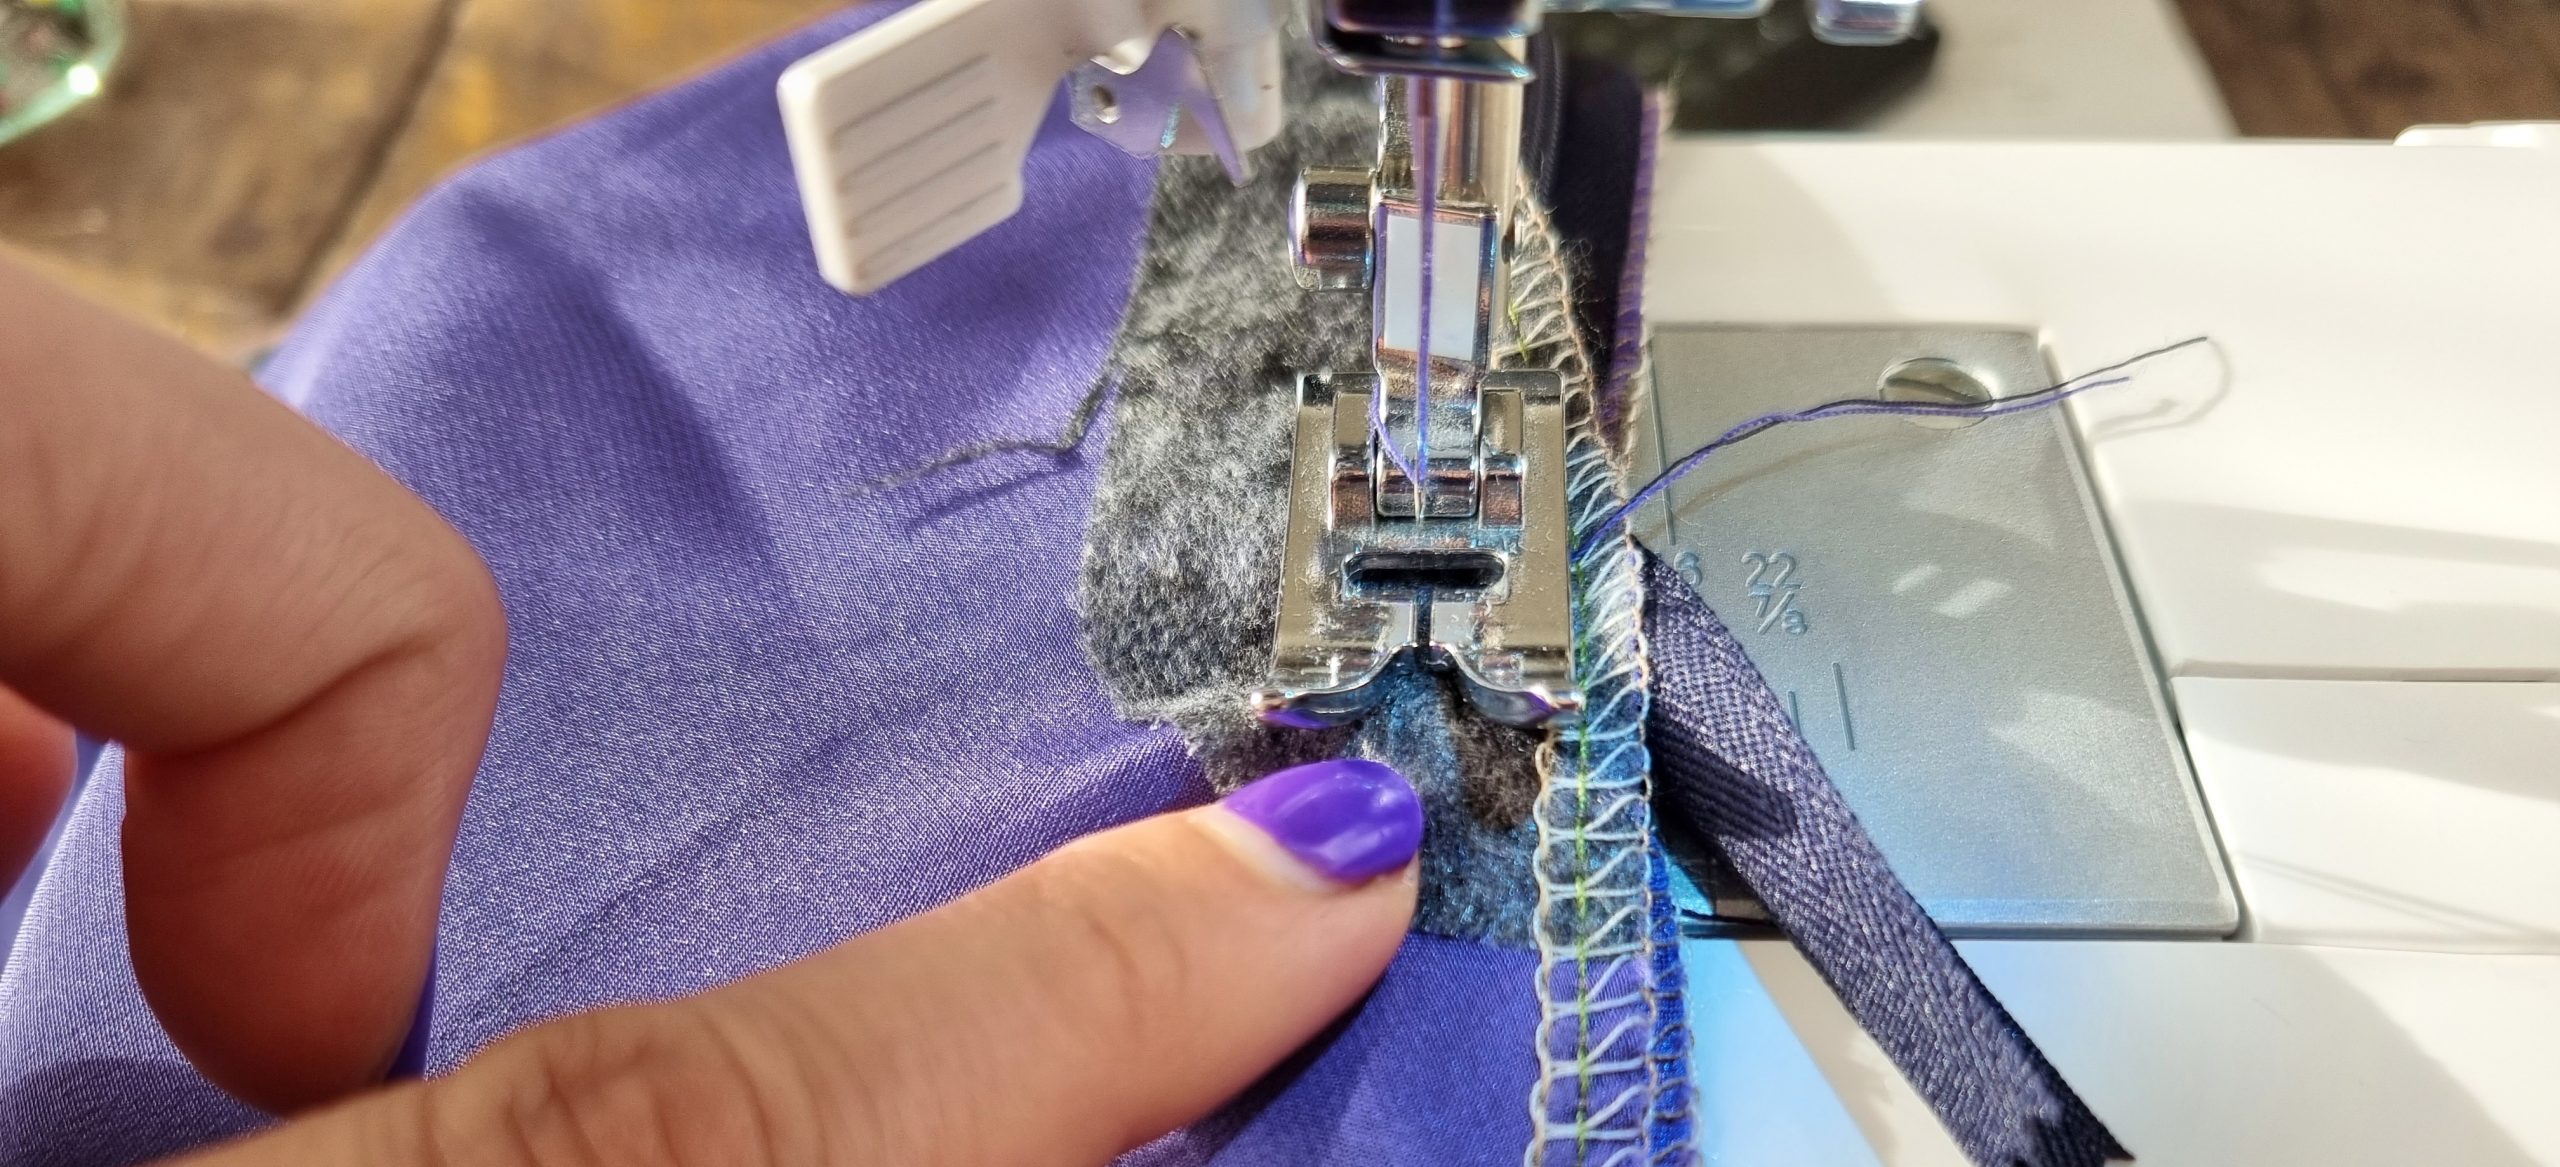 You can always pop in a couple of hand stitches later if you can’t get all the way there on your machine. Sew your seam down to the bottom of the garment. Press the seam open.
Finish your project according to the rest of your pattern instructions. My skirt needed a waistband, which is why I’ve left a gap at the top. You can alway add a hook and eye above the zip for a closer finish!
You’re all done! Enjoy your work!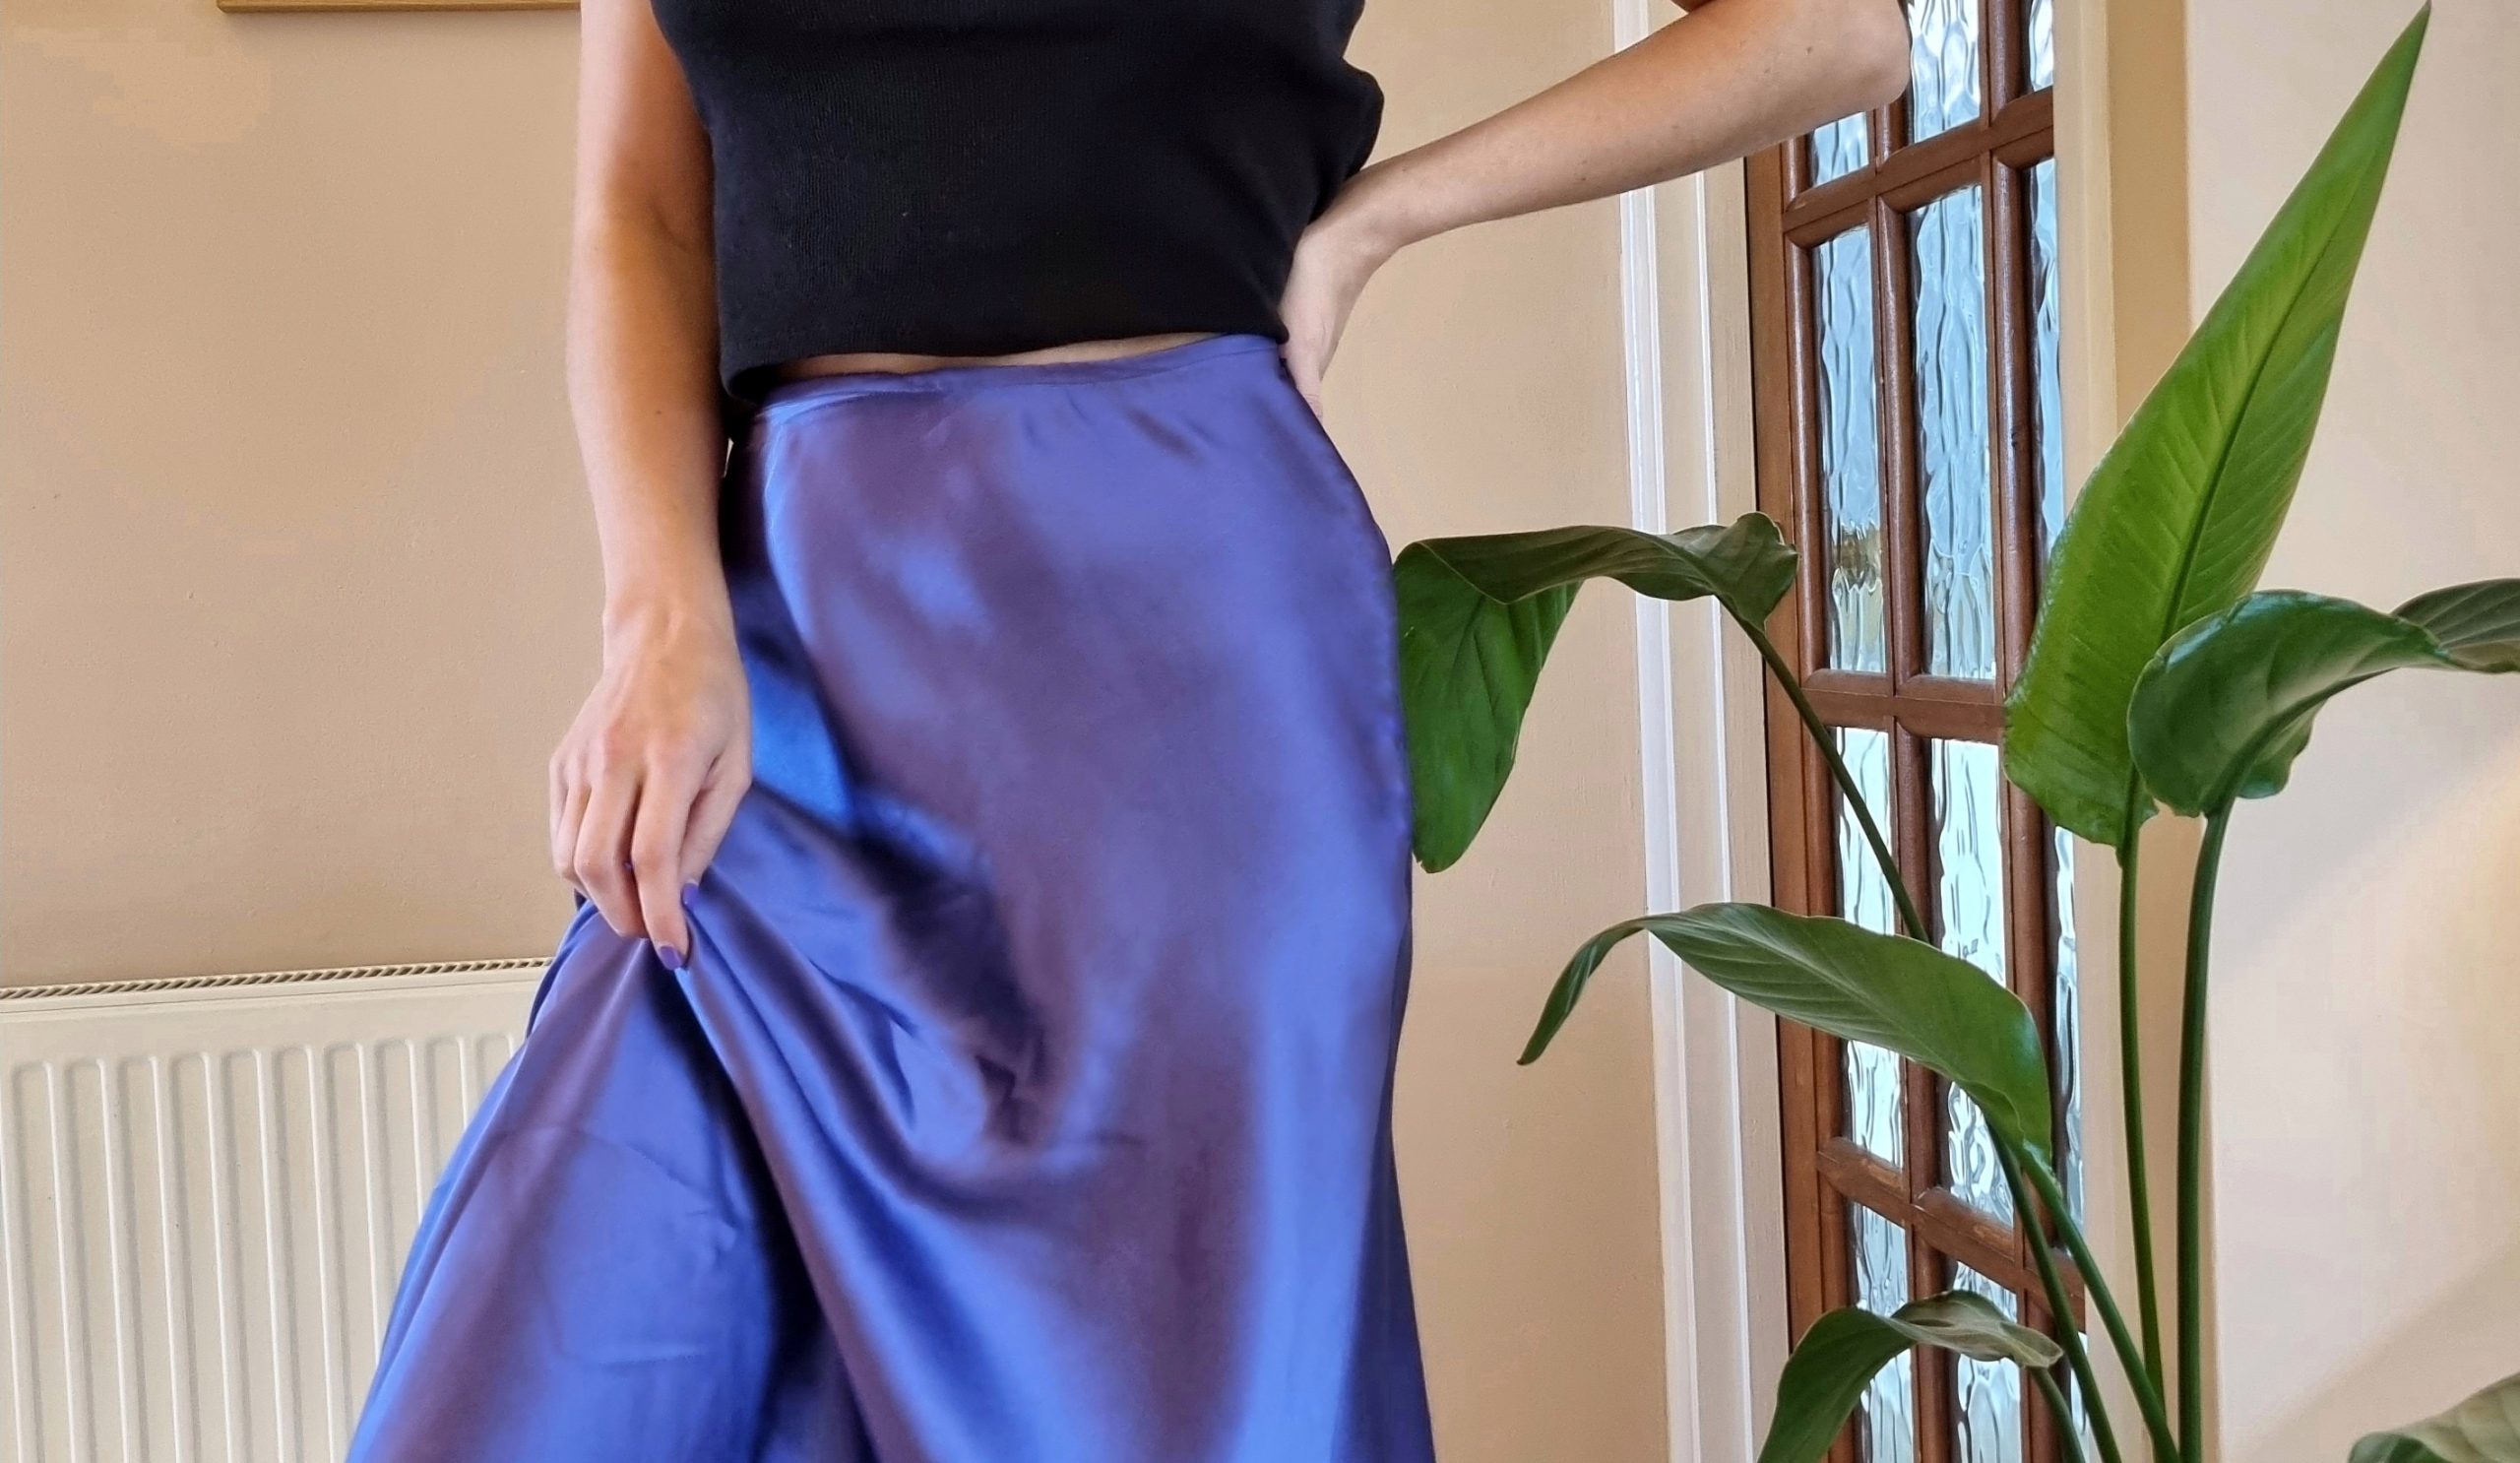
Hopefully you find this helpful, and can start adding invisible zips into your work with confidence. Remember William Gee has a lovely selection of invisible zips.
Let me know if you have any questions!
Lorna


 We’re thrilled to announce that we’ve partnered with Tree Nation, the platform to reforest the world & fight climate change! Home to over 90 planting projects in 33 countries, Tree Nation is a non-profit organisation that helps people & companies offset their CO2 emissions.