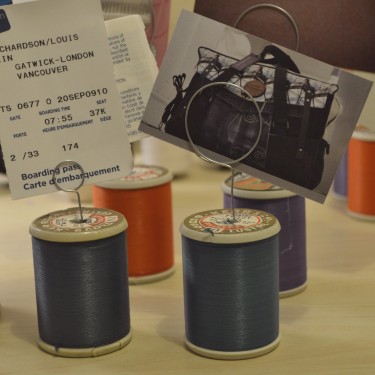
Unless you have been living under a rock for the past month, you’ll know that, for a limited time, William Gee are giving away free Vintage threads with every order – just enter code THREADS at checkout!
And if you’re anything like me, you’ll be thinking these threads are just way too gorgeous to use as.. well.. actual threads! As soon as I saw my little bundle I knew they were for display only.. Props in photographs perhaps. Well here is a quick and easy way to make something from your thread spools – something you can use in your sewing room!
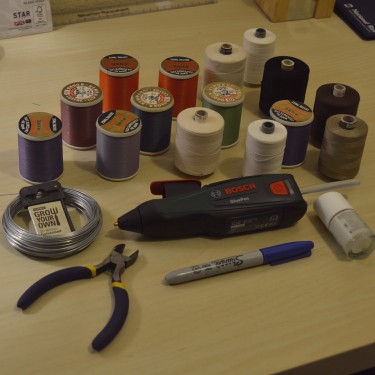
Materials:
– Thread spools. I prefer to use ones that stand up by themselves, with a flat base.
– Hot glue gun & glue sticks
– Wire. You want to be able to shape it with your hands, but it should not crush easily. I bought ‘Galvanised Wire’ for about £3 per 20m. I use about 30cm per spool.
– Round things: I used nail varnishes &markers. Also a smaller round utensil, like a pencil.
– Wire cutters or scissors
– Jewellery pliers are useful too, but not necessary.
Method:
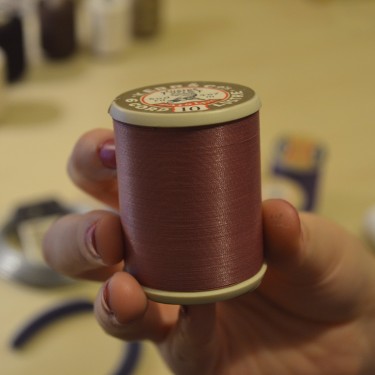
You will want flat spools, so i singled out all the colours I wanted to use, and kept the rest aside.
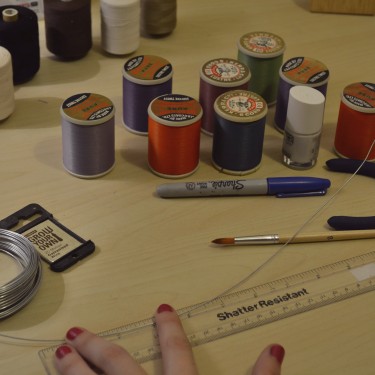
Measure about 30cm of wire and cut with your cutters or scissors.
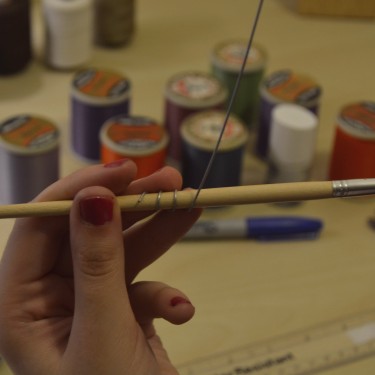
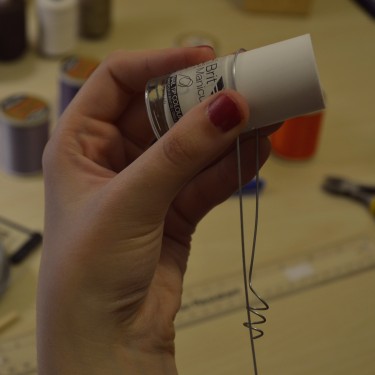
Using your smaller object like a pencil, or a paintbrush, create a spiral spring, and then bend your wire up (you can see this part clearer in the photo of the nail varnish).
Then, leave a gap of about 10cm, and wrap around something larger. This is the part which will hold your memo. Again, bend your wire so the circle sits at the top of your spring wire.
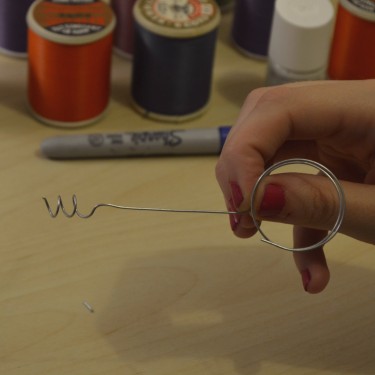
It should now look like this. Play about with the larger spring there so that the spirals are tightly touching each other.
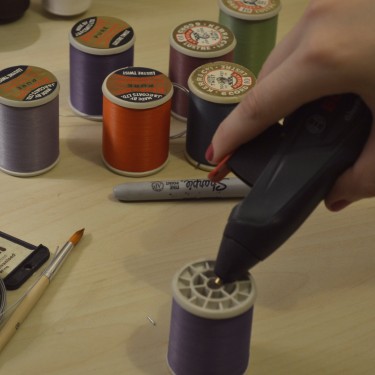
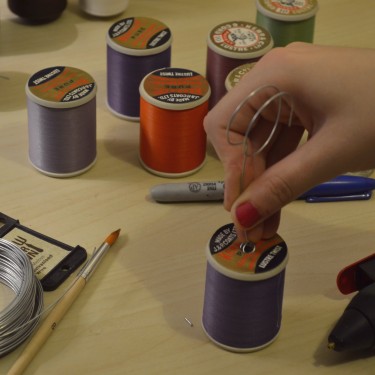
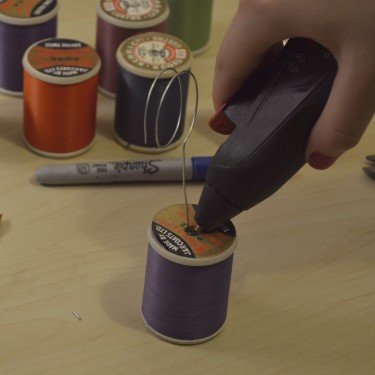
Now you want to choose your spool and find the middle. You can remove the paper top to work out where it is, then just place back on top and piece through. Put some hot glue in first, then twist your wire in, and finish with more hot glue. This is where your spiral is so handy, it holds itself inside the spool cavity, with the help of the glue.
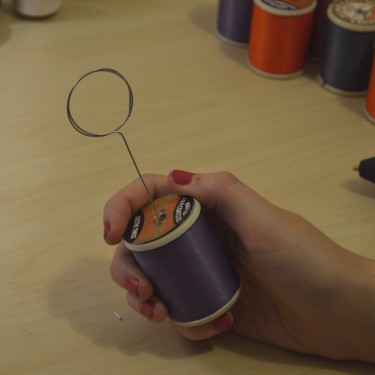
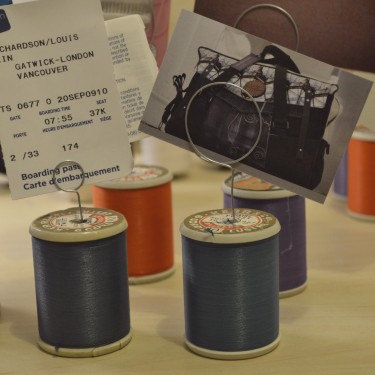
Complete! How easy was that!?
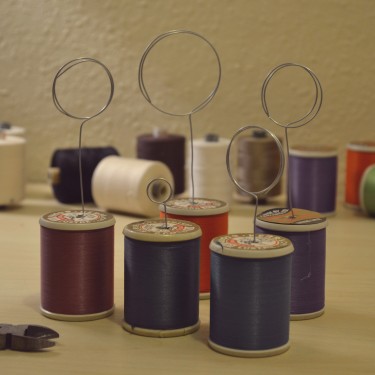
Now you can experiment with using different objects to wrap around to create larger and smaller top circles.
Here are a few others I created.
If you’d like to get involved with the Project Space, please get in touch here.


 We’re thrilled to announce that we’ve partnered with Tree Nation, the platform to reforest the world & fight climate change! Home to over 90 planting projects in 33 countries, Tree Nation is a non-profit organisation that helps people & companies offset their CO2 emissions.