I love making use out of something that would otherwise be thrown away. As makers, we’re often left with odd bits and bobs lying around and, if you’re anything like me, that means lots of awkwardly small offcuts of fabric.
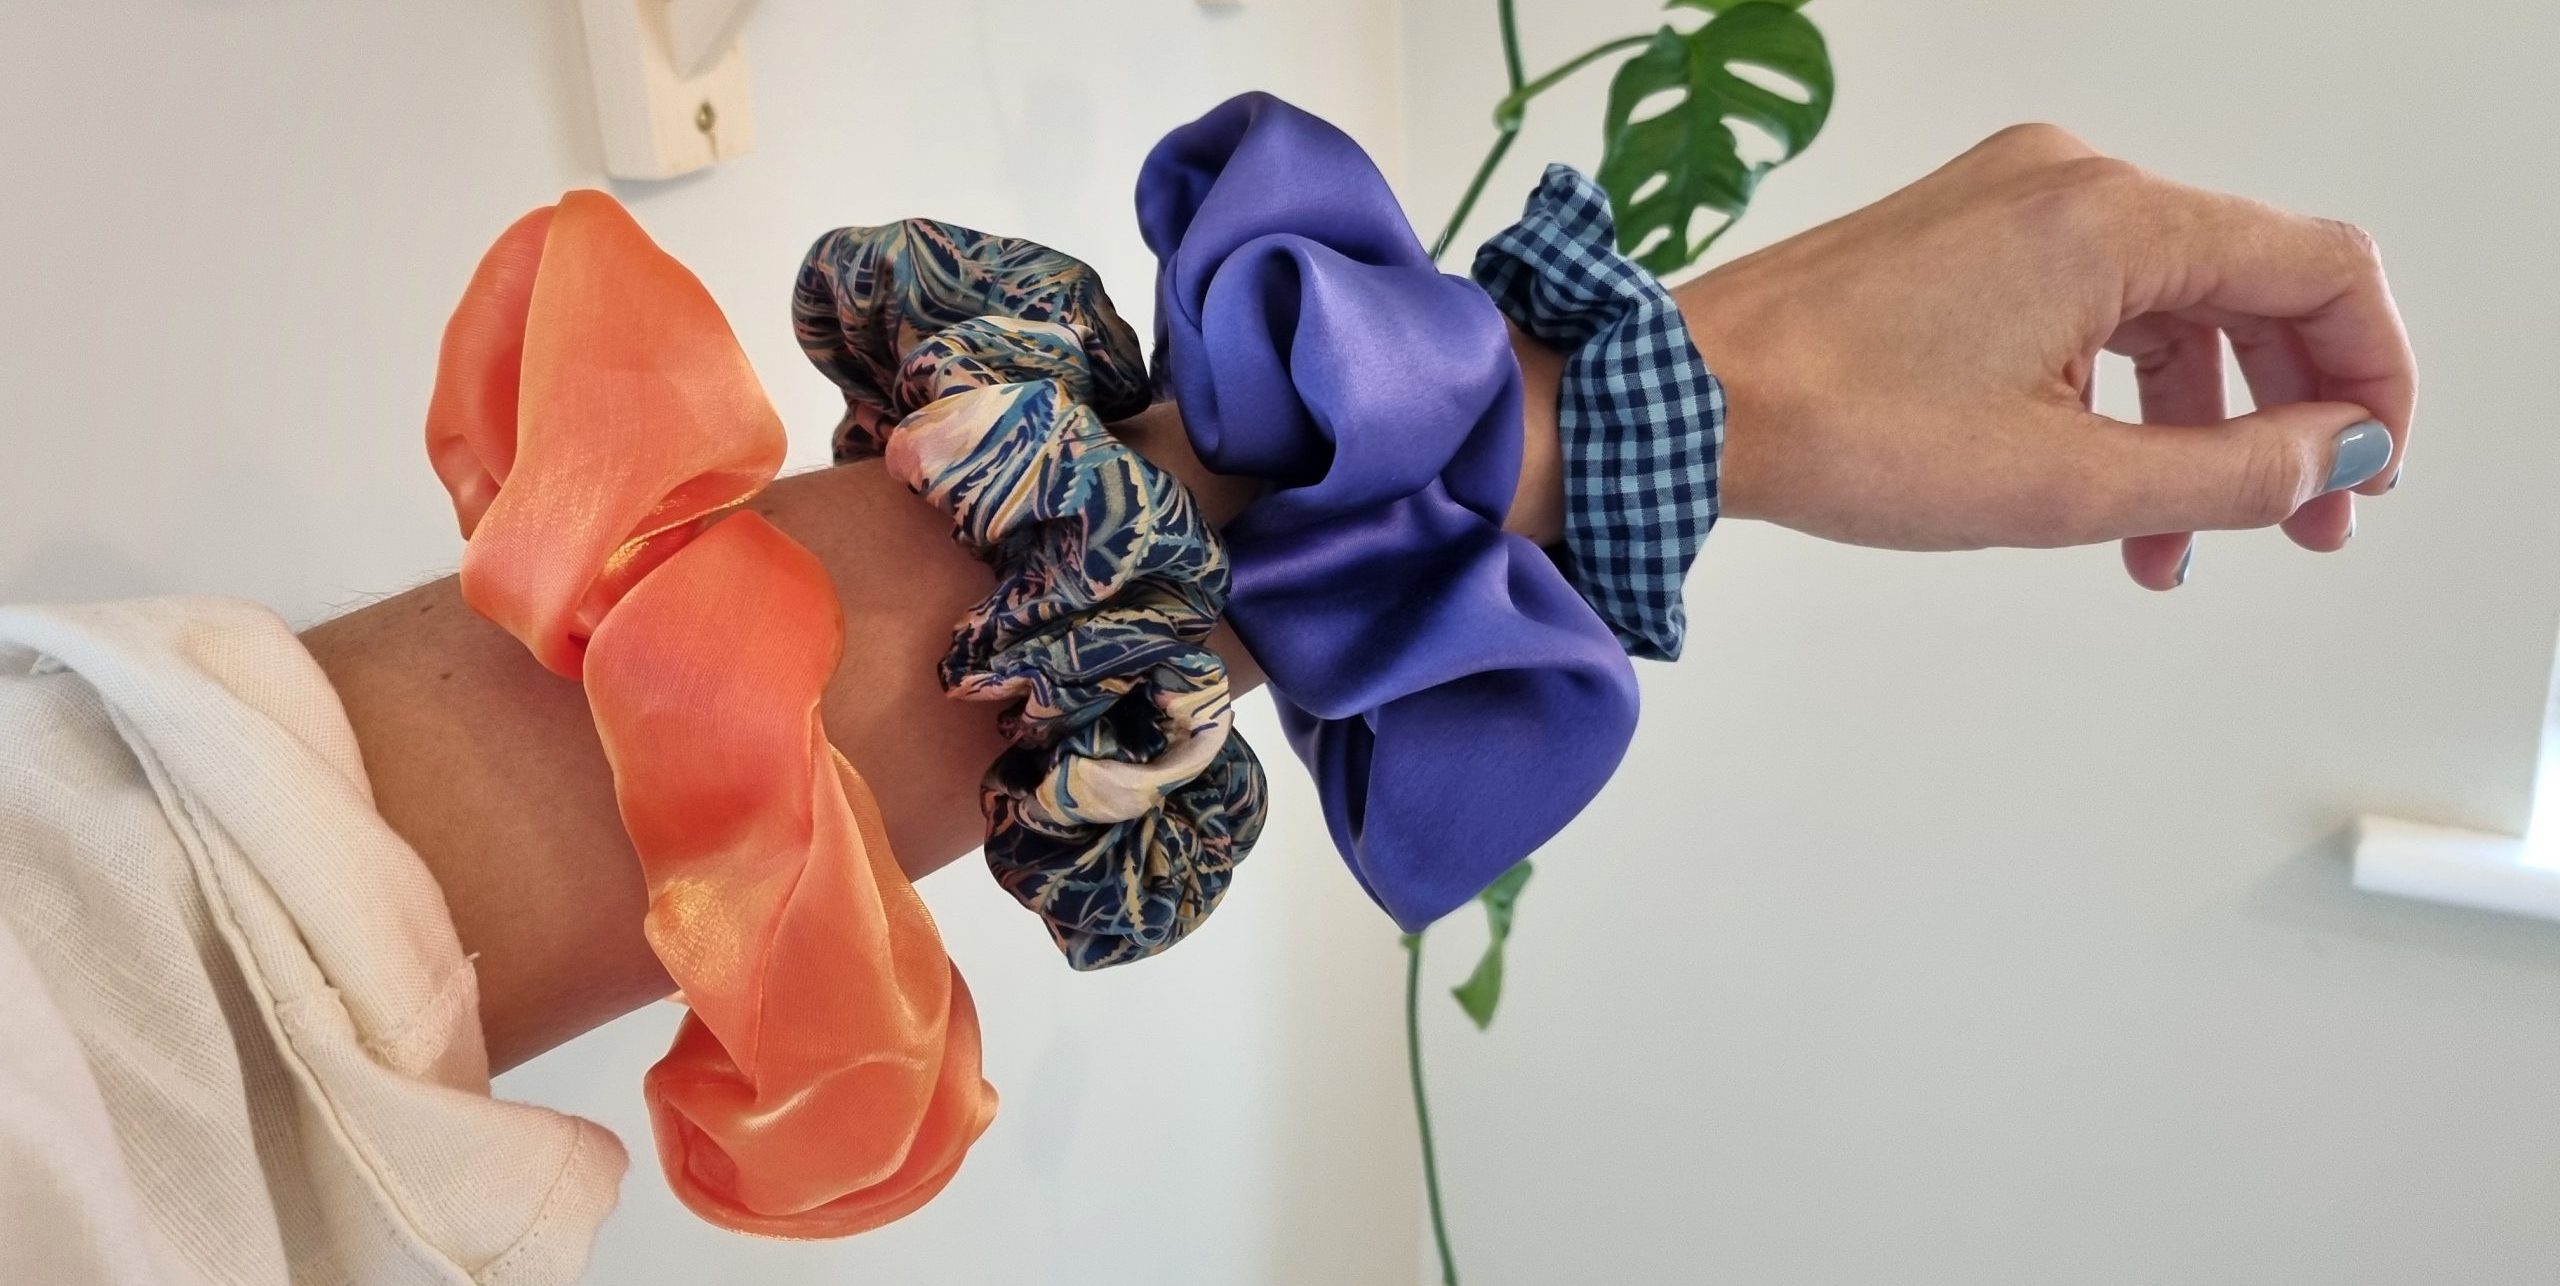
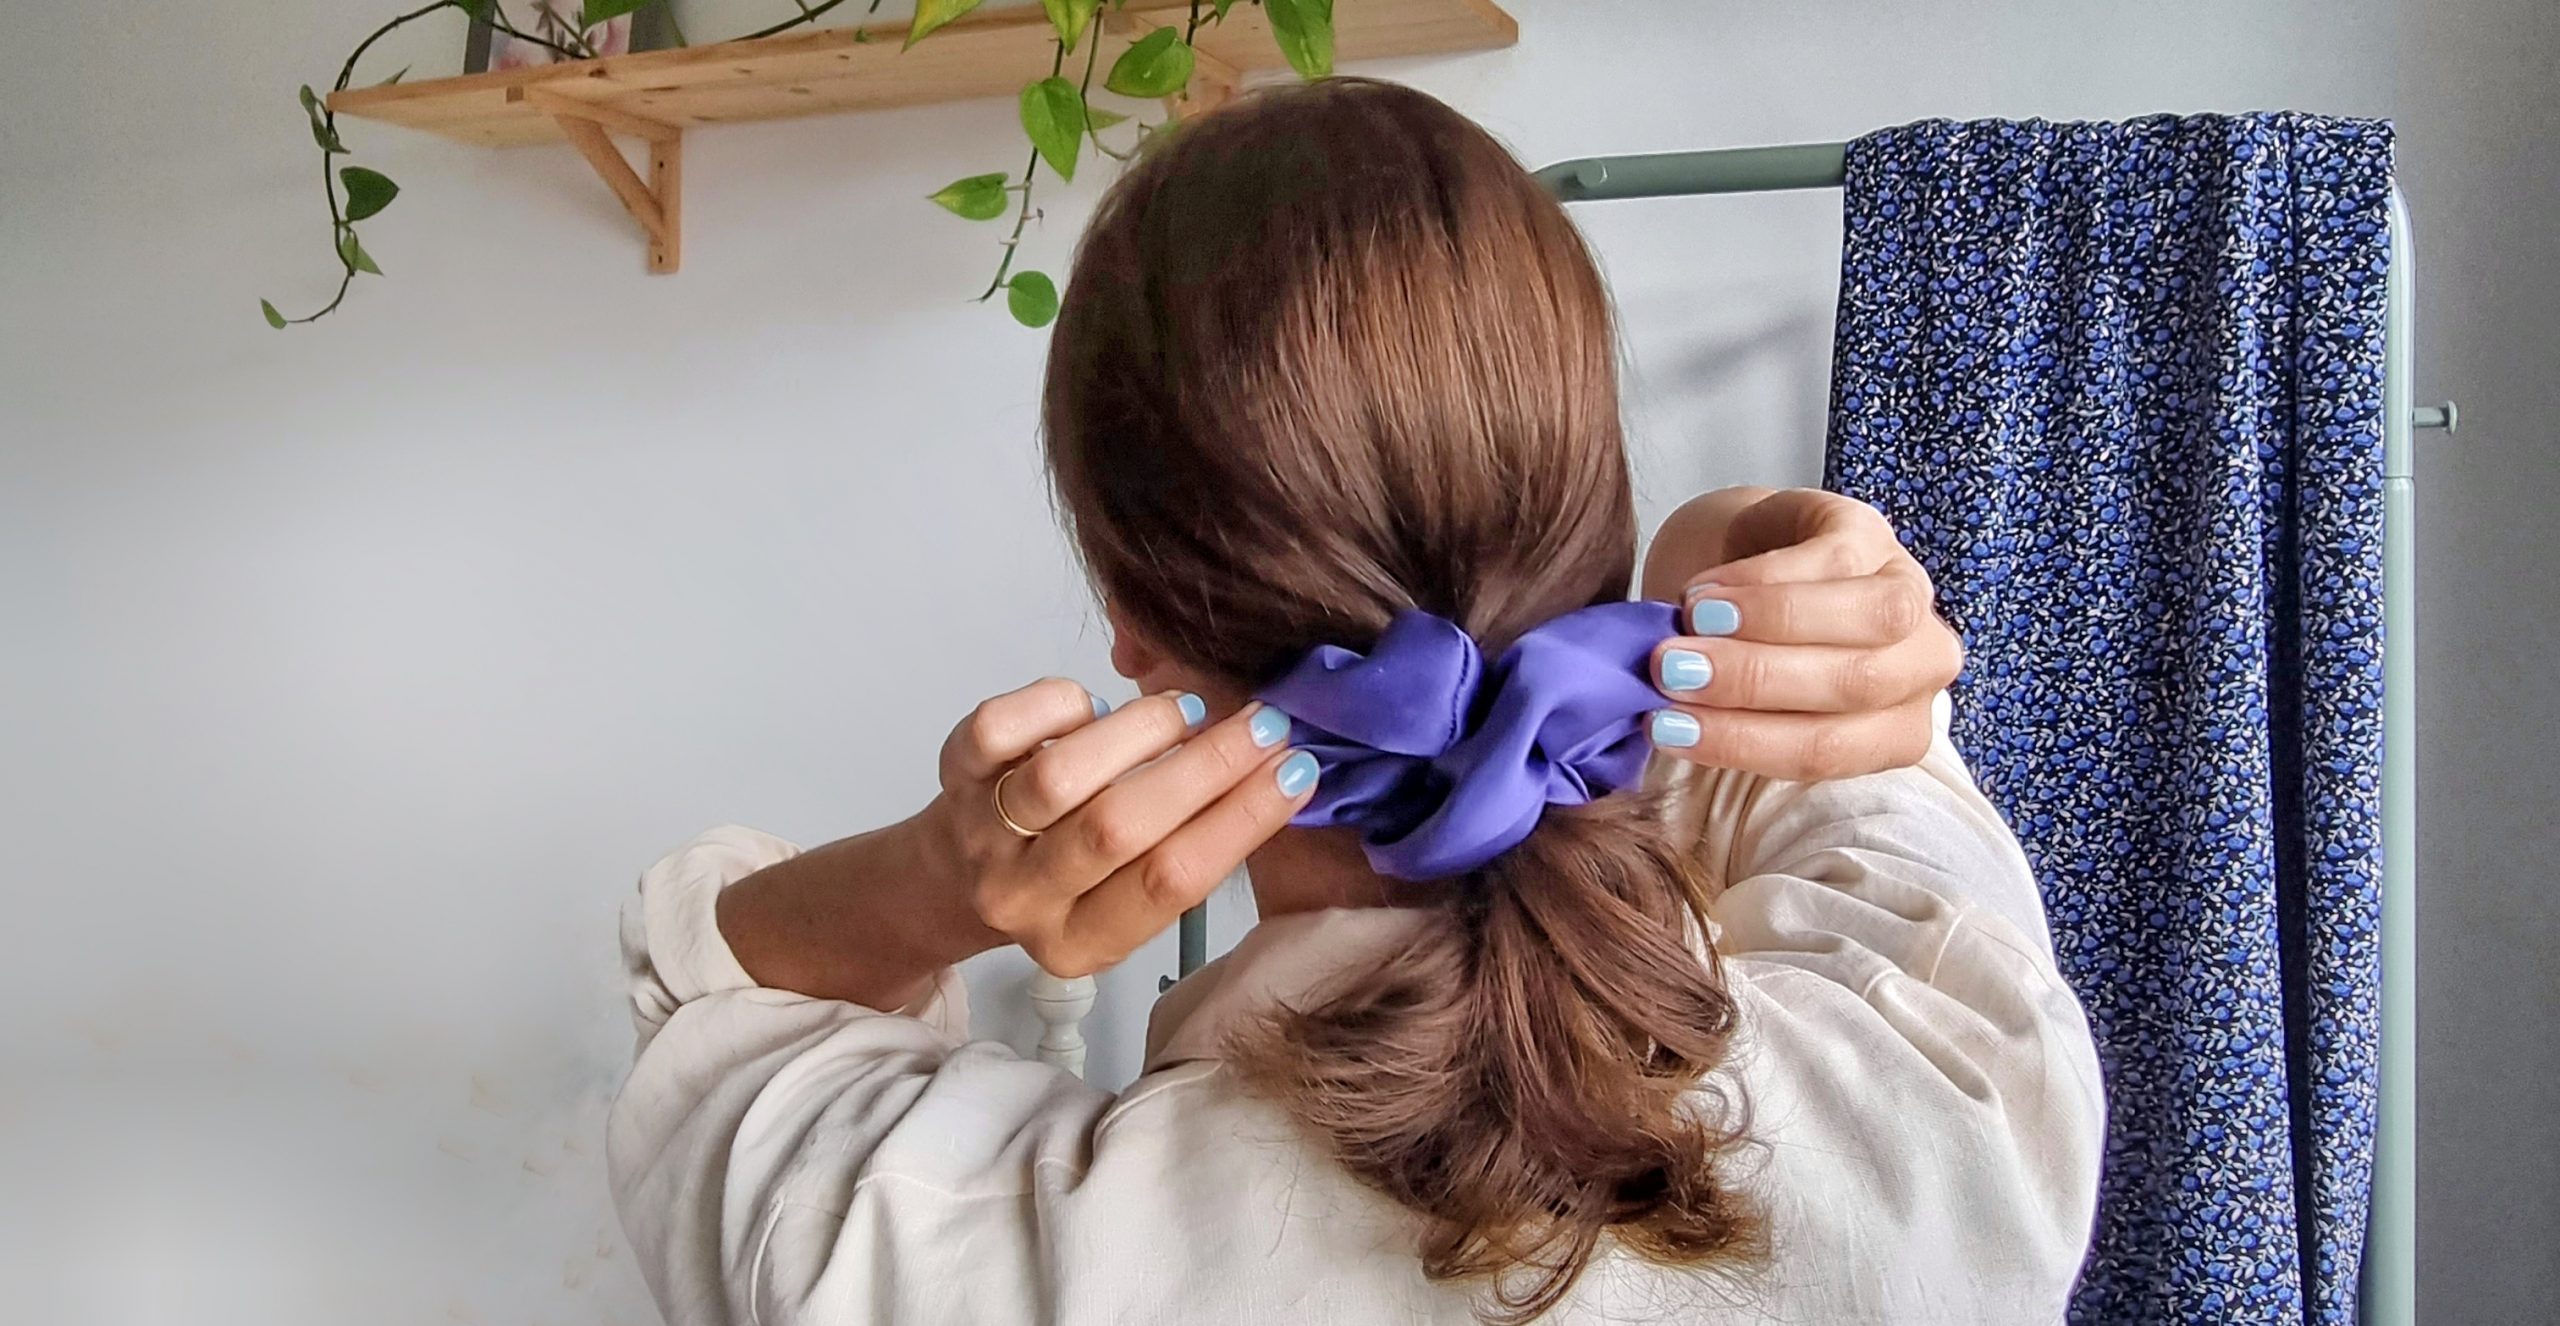
One fantastic way to make the most of these is to sew some scrunchies! You can make them in various sizes, or even join together separate pieces of fabric. I whip mine up on my sewing machine, but you could easily hand stitch one in an evening – it’s a perfect activity for a cosy autumn night.
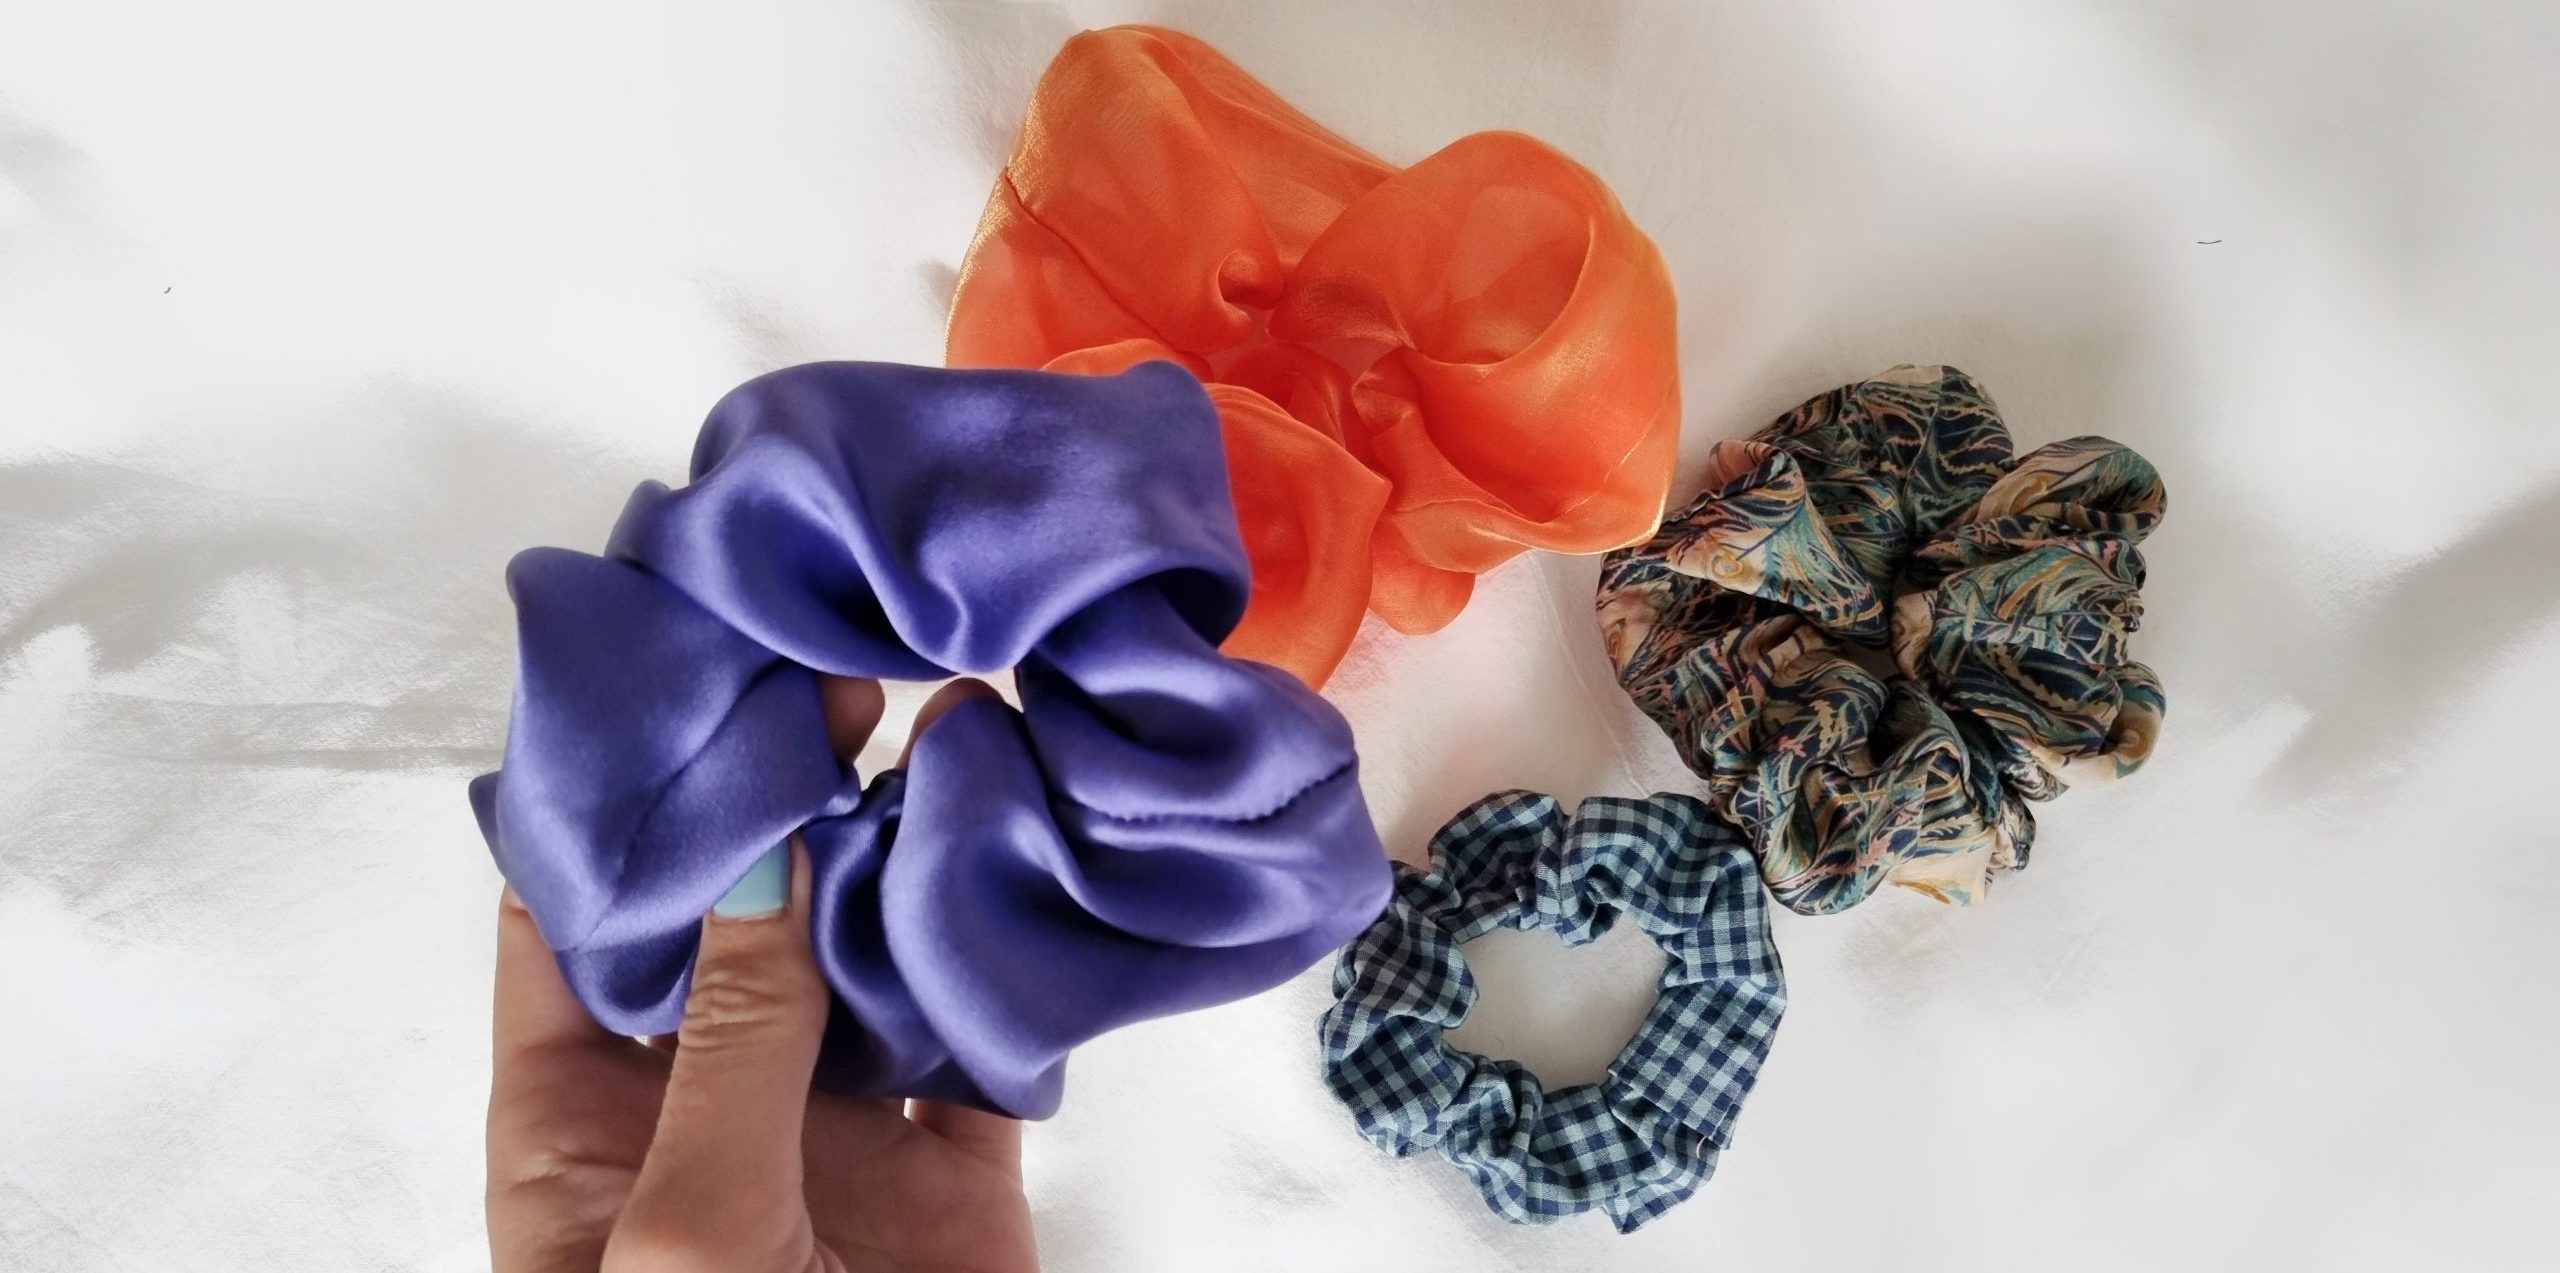
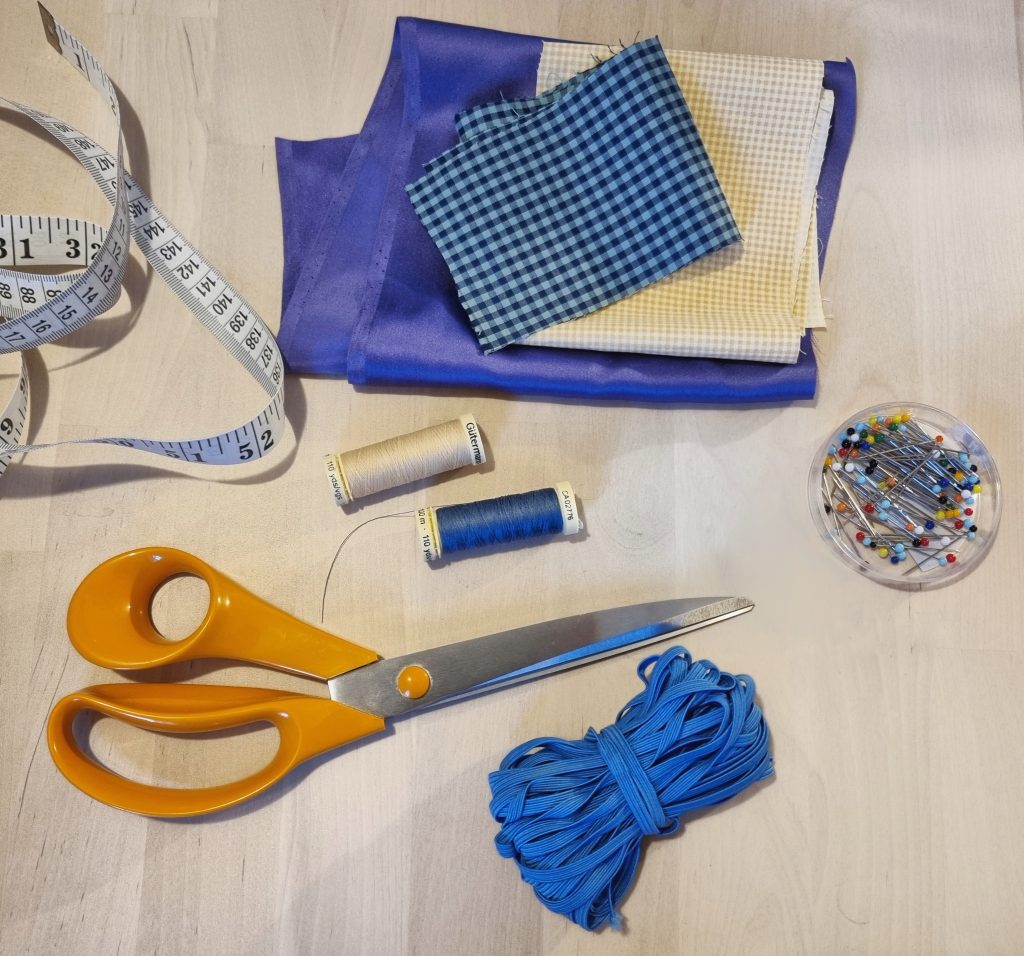
Gather up those scraps and choose a lovely coloured elastic from William Gee! I chose the blue to match my fabric.
You’ll need:
- Fabric scraps
- Elastic (approx 6-7inches for each scrunchie)
- Fabric scissors
- Matching thread
- Hand sewing needle
- Pins and safety pin
Here’s a rough guide for fabric sizes:
- Large: 55cm by 15cm
- Medium: 45cm by 10cm
- Small: 35cm by 7cm
Remember, you could always create a patchwork scrunchie if your scraps are smaller.
Scrunchies, step by step
There are two methods I like to use to make scrunchies – one is nice and simple, the other is more complicated but has a smarter finish. Read on to try both.
Glossary:
- RSRS: right side of fabric to right side of fabric
- WSWS: wrong side to wrong side
Method 1 – the nice and simple way (small size)
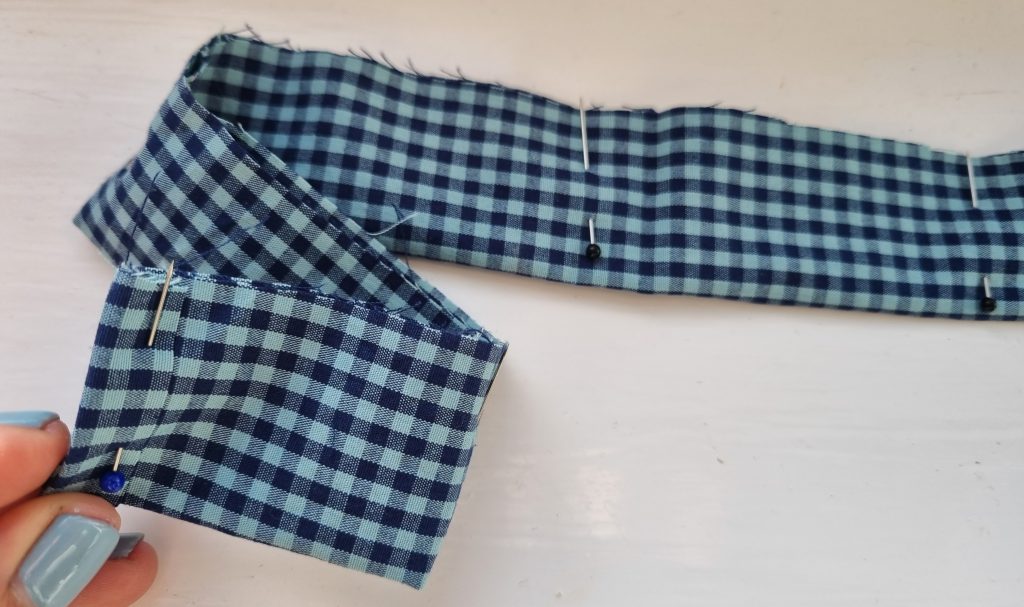
- Fold in half lengthways RSRS, turning one end over by 1cm with fabric WSWS so it creates a finished edge. Pin and sew with a 1/4” seam all the way to the end (and over the folded end)
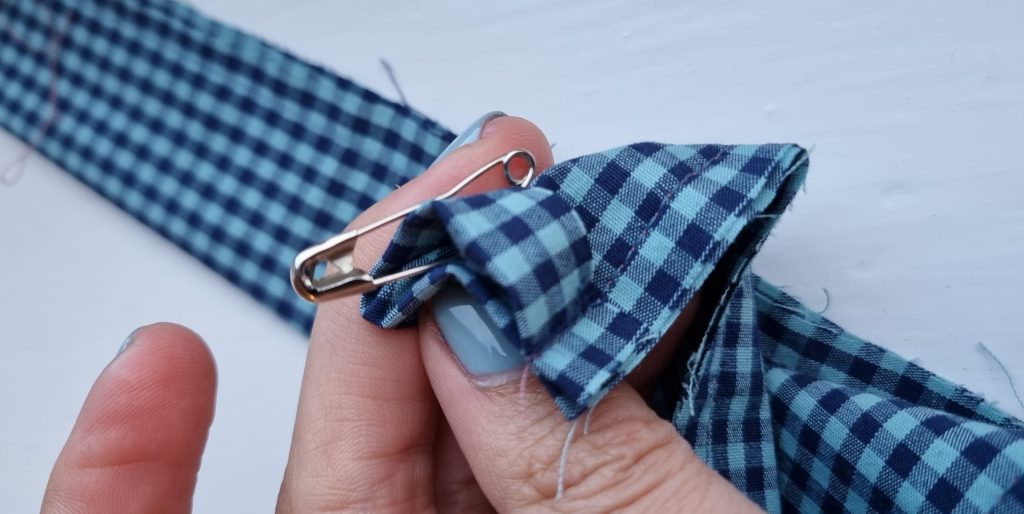
- Turn your fabric tube inside out using a loop turner or a safety pin – simply attach it to one end and push it into the tube, feeding it through until you can pull it out of the other end
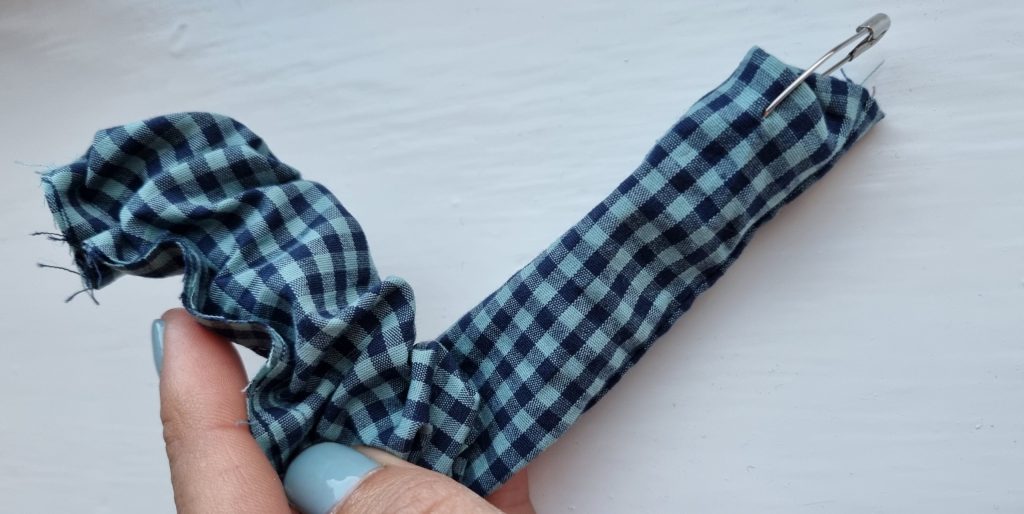
- Cut some elastic to 7″ long. Use a safety pin to feed elastic through the tube, being careful not to lose the other end inside (you can attach another safety pin to the other side to help with this)
- Either hand or machine sew the elastic together – this can be fiddly, so I tend to hand sew
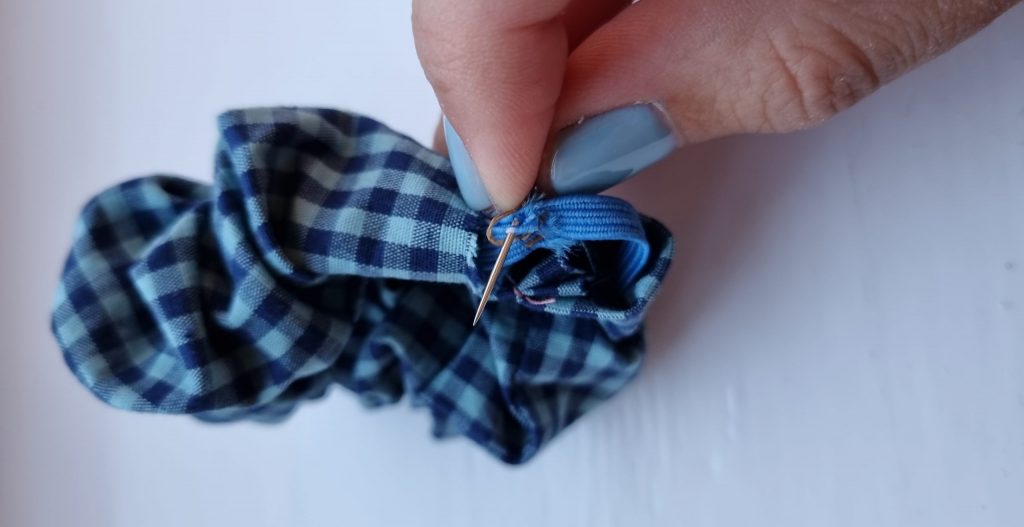
- Tuck the unfinished end of the tube into the folded end. You can hand sew or machine sew this down across the width of the scrunchie to close and finish the loop. You’re done!
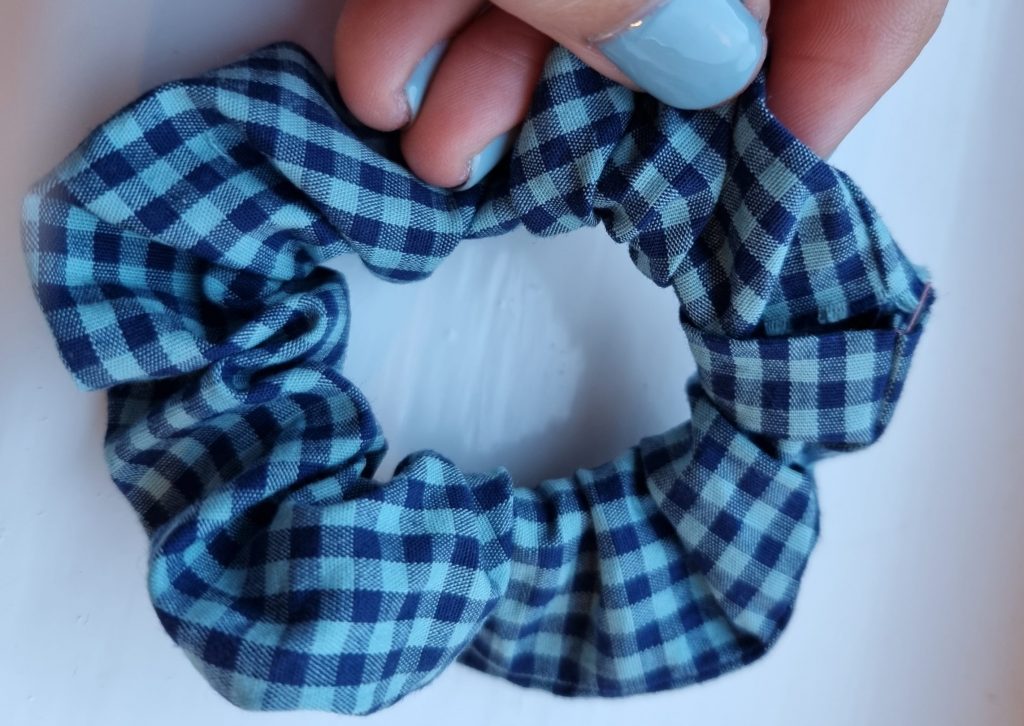
Method 2 – more tricky, but a fancy finish! (large size)
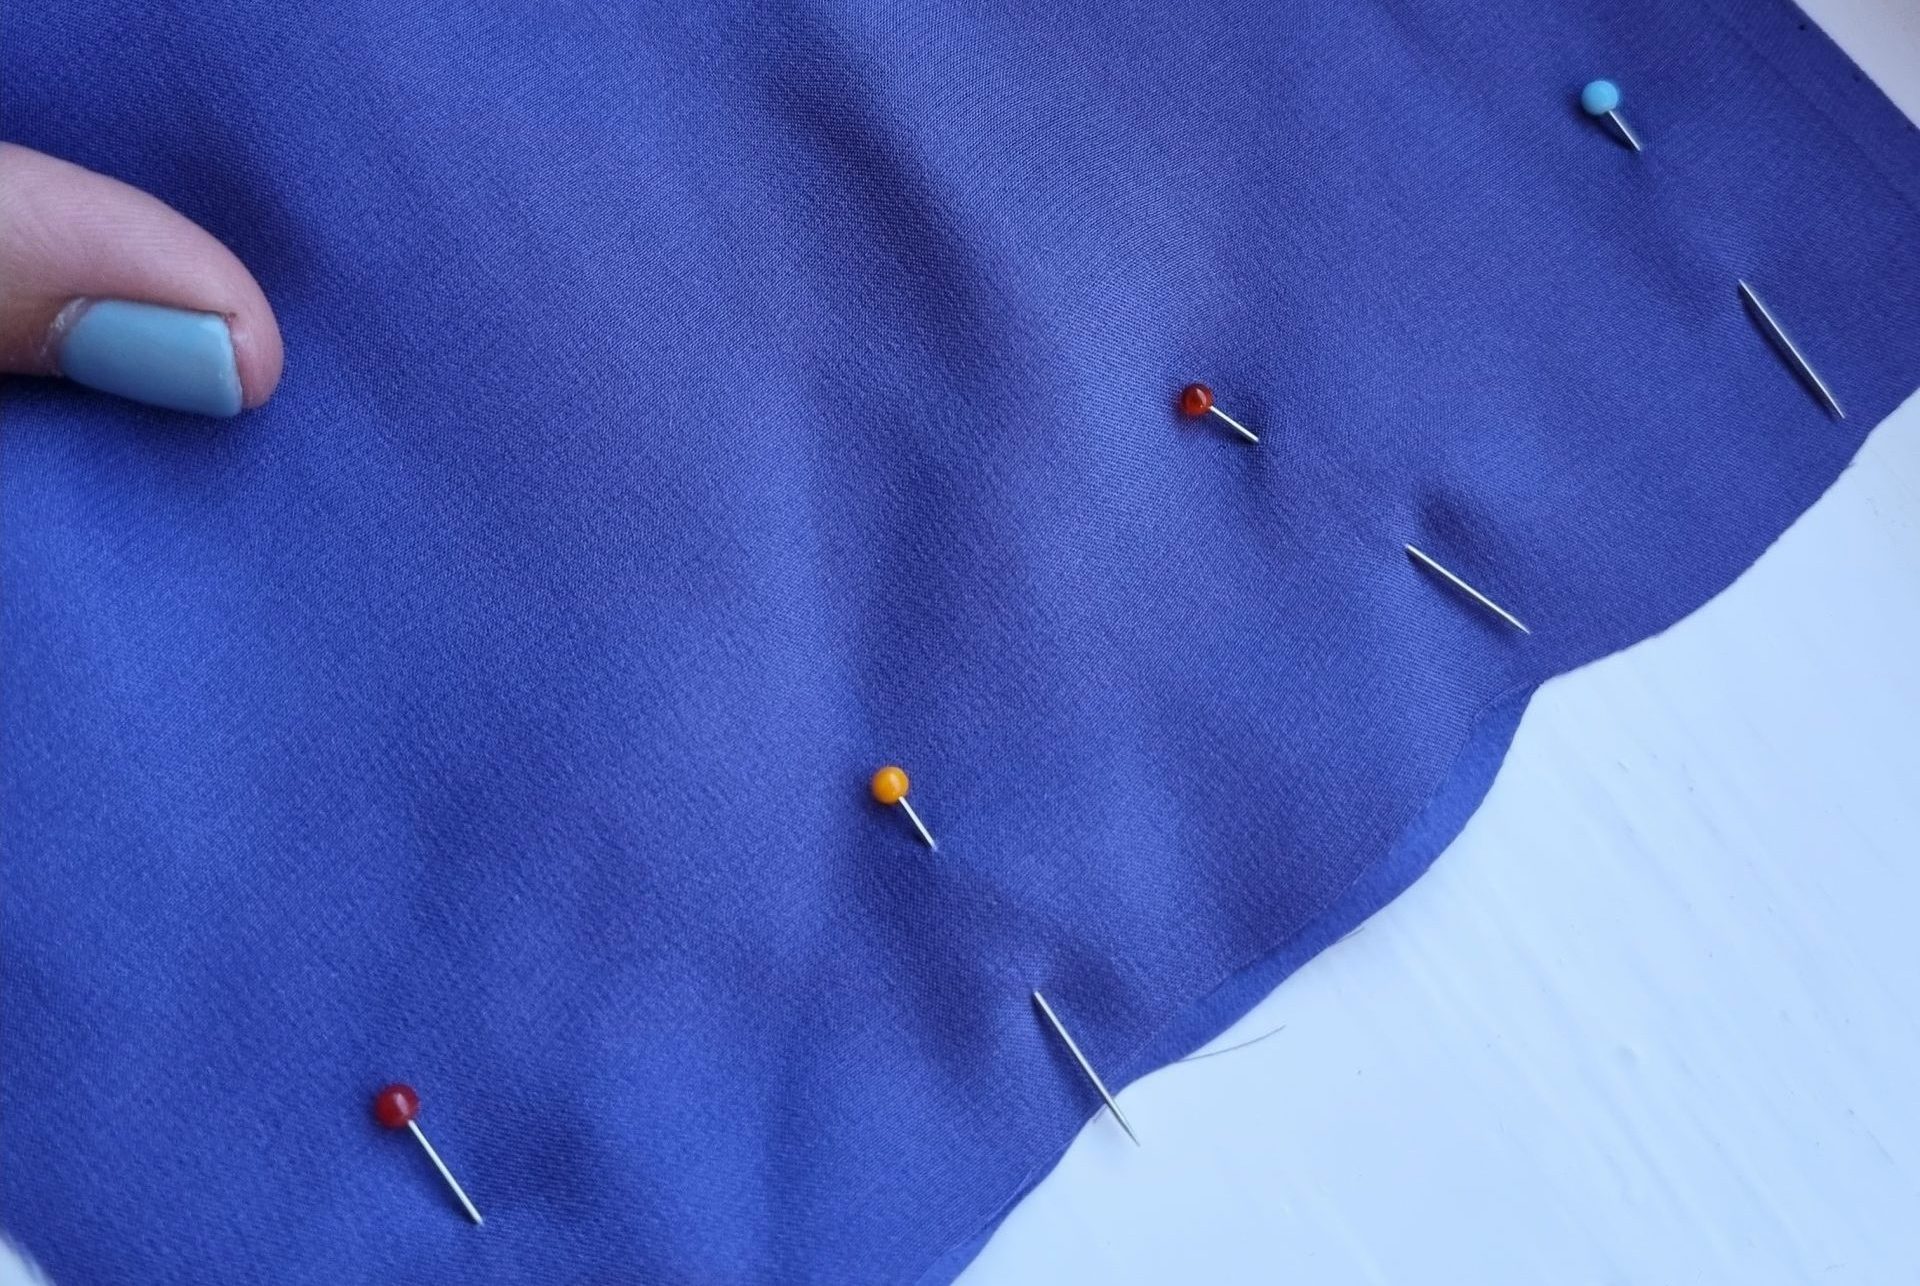
- Fold in half so short sides meet (RSRS), pin and sew with a 1/4” seam. Press seam open
- Here’s the tricker bit: lay it out in front of you, with seamed side on the bottom. You need to sandwich the top and bottom of the non-seamed side (which is laying on top) – first, fold the top of the non-seamed side down (marked 1 below), and then the bottom layer up (2). Then fold the bottom seamed edge up to meet the top seamed edge
 You should be able to see the sandwiched fabric in between the seamed edges
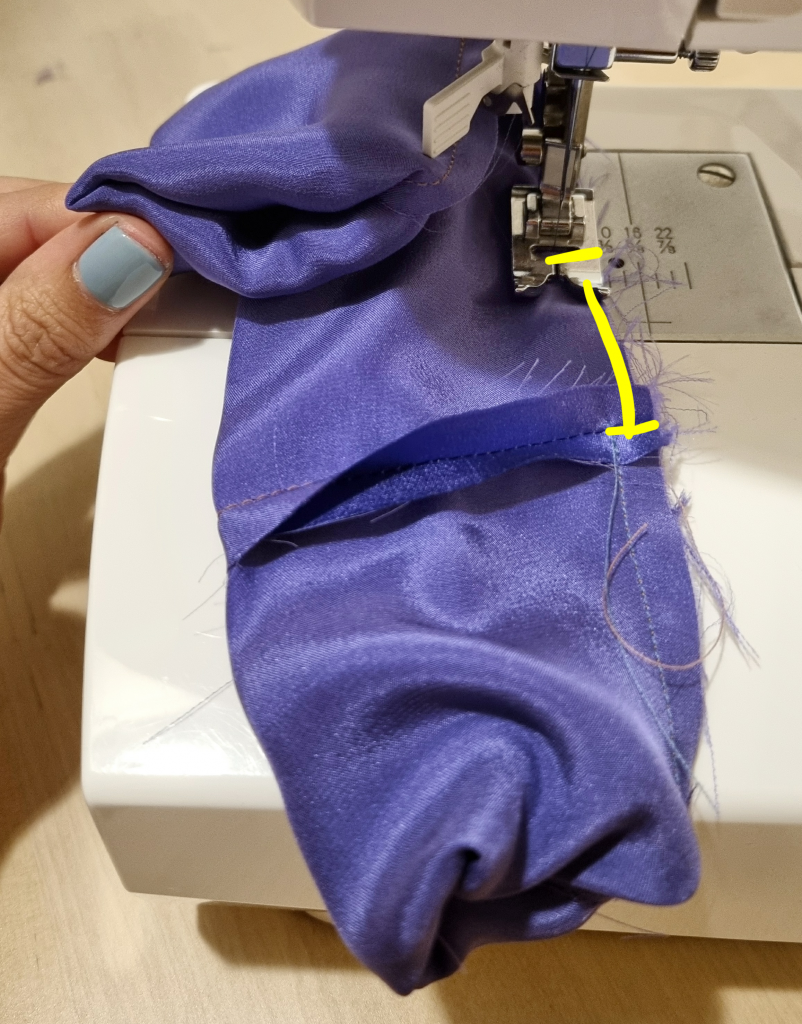
- Pin and sew along the yellow dotted line below (1/4″ seam allowance), making sure to back-stitch at the start and end of your sewing. Be careful not to catch the sandwiched fabric inside the tube you’re making.
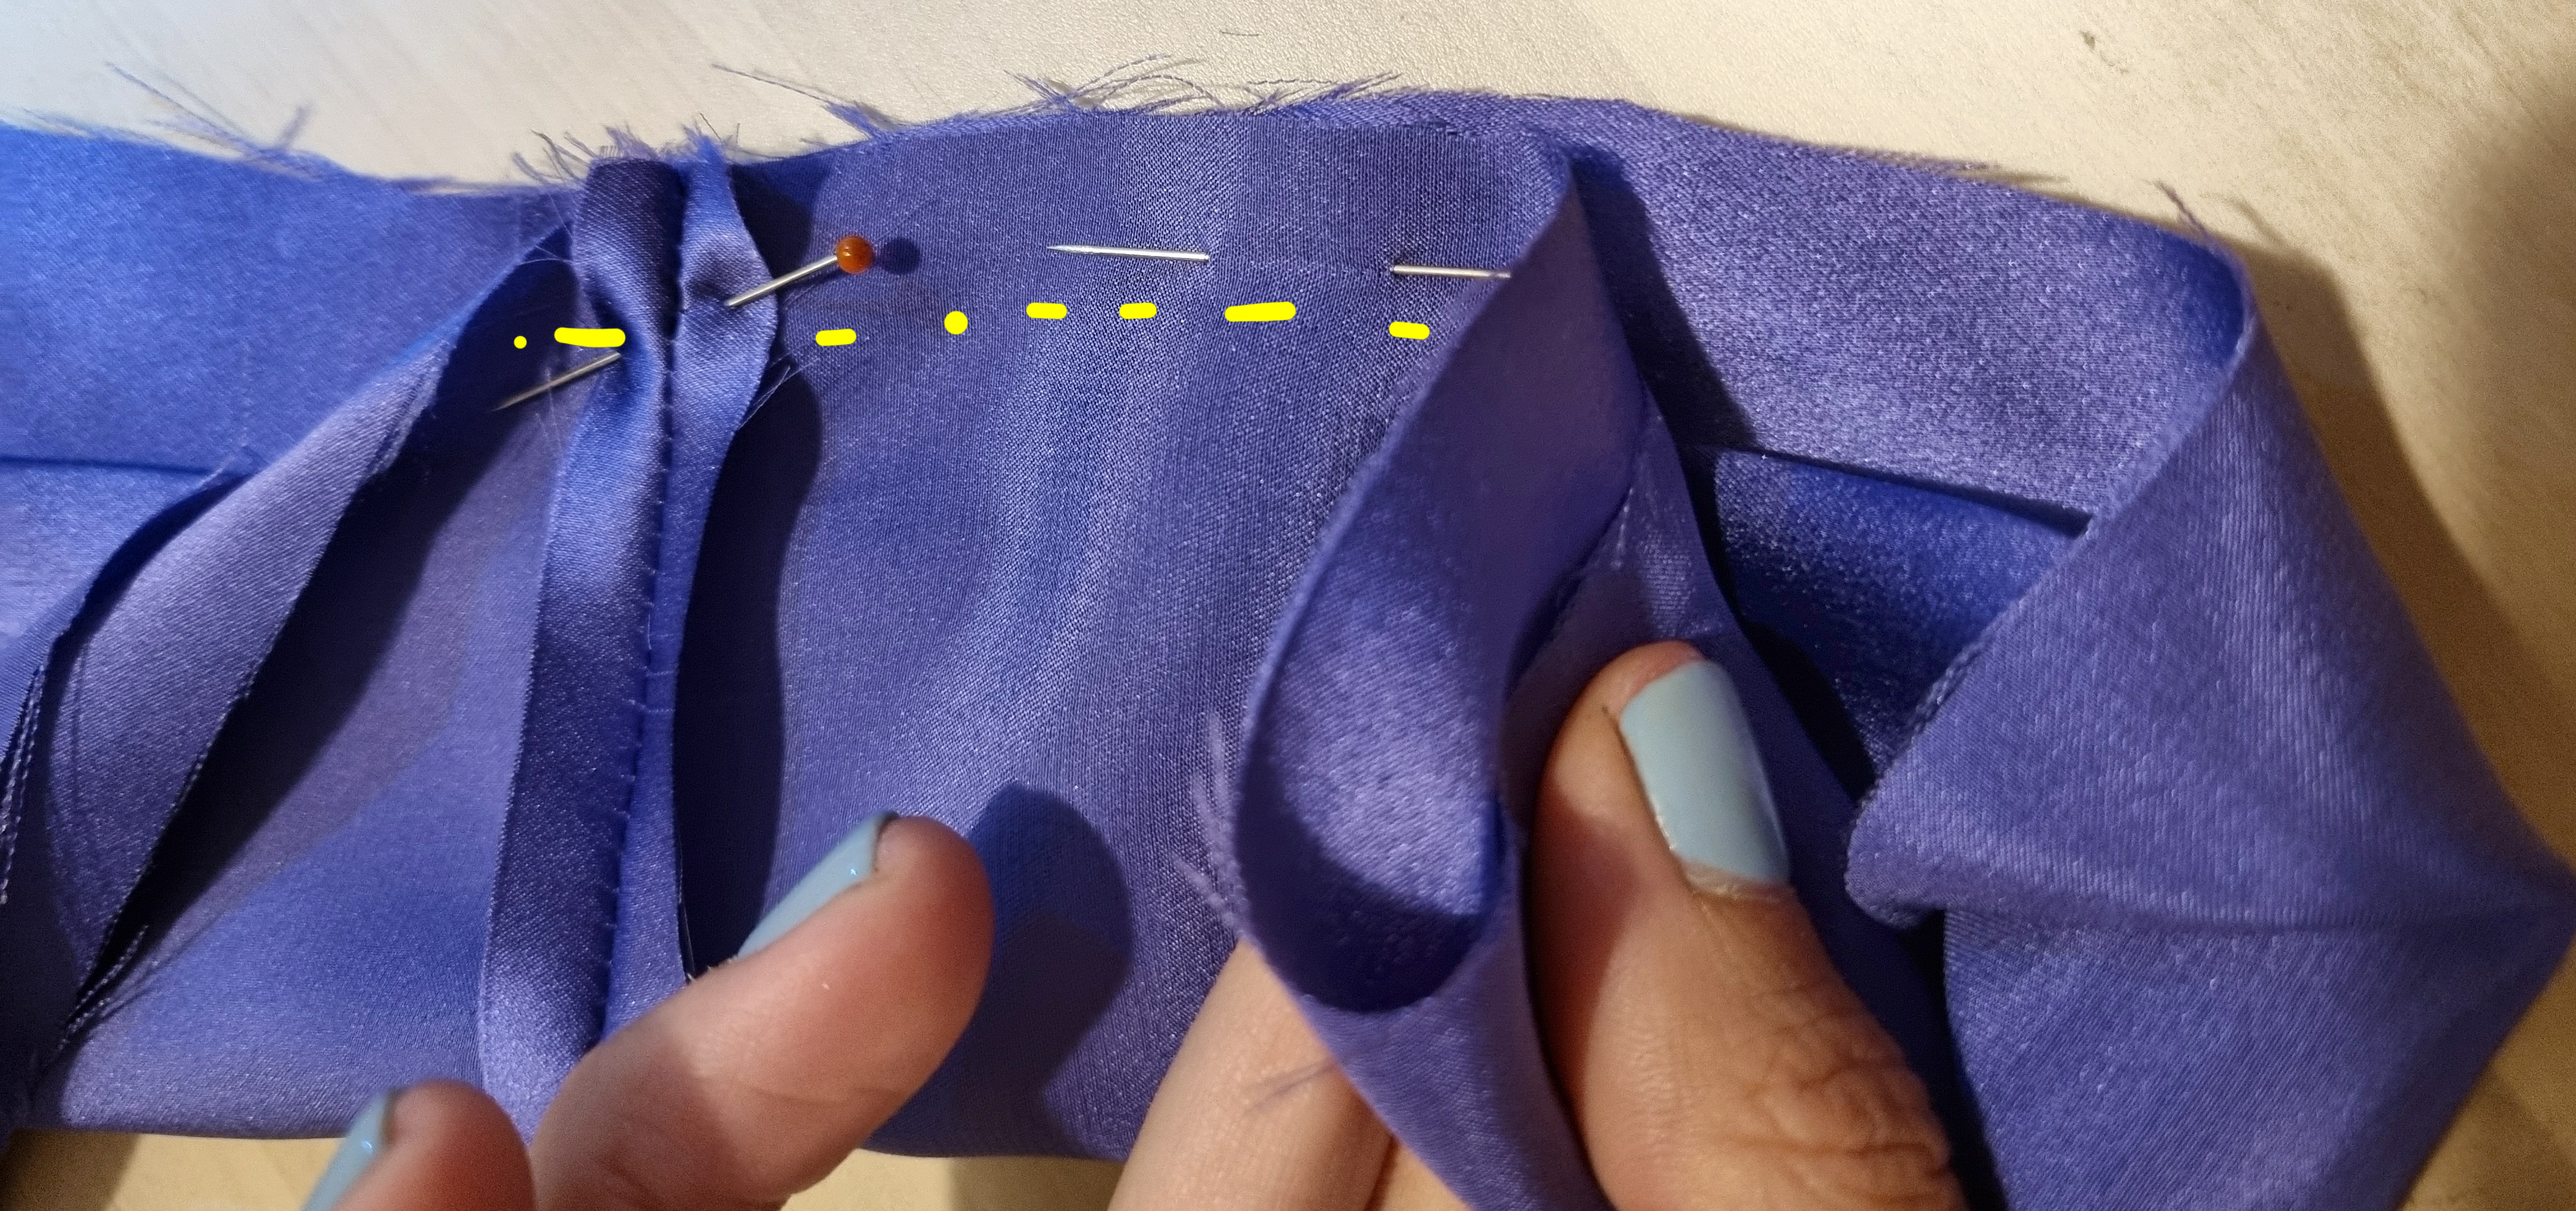
- When you reach the end of the available folded fabric, pull more out of the tube to continue sewing along the same line
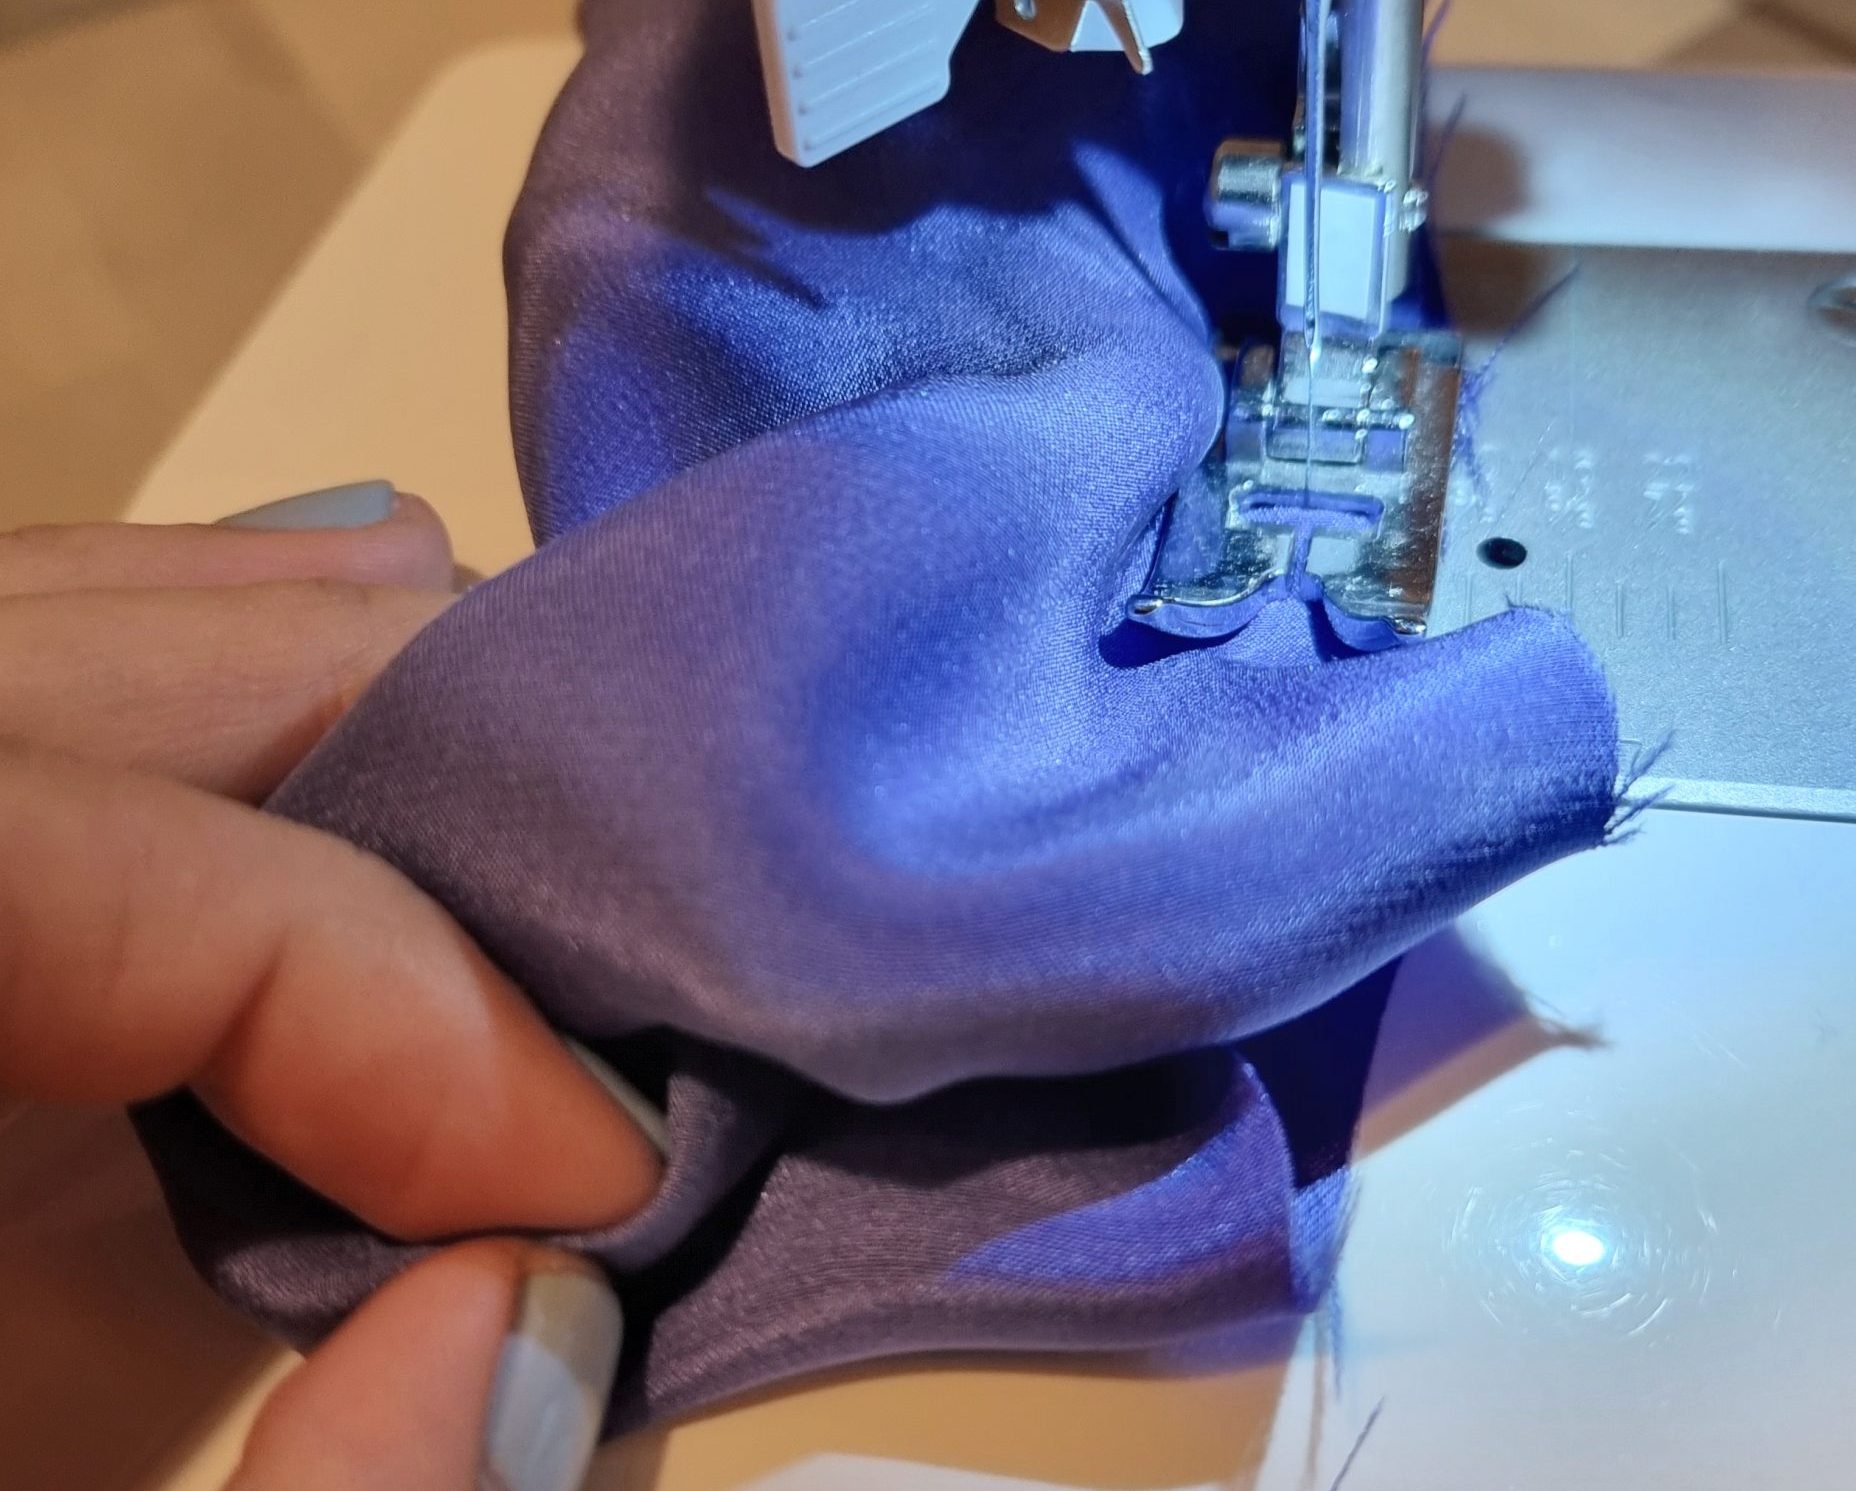
- Keep sewing until you have 1 and 1/2” left before meeting the point where you started. This leaves a hole for you to pull it out through
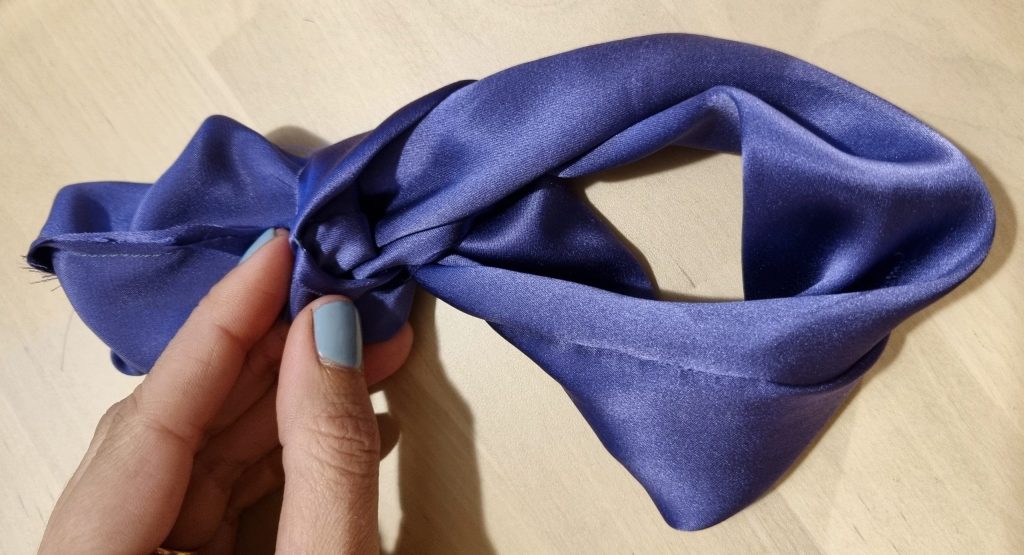
- Turn the scrunchie out through the hole you’ve left – it should look like this
- Feed the elastic through using the safety pin method above, and join it with hand or machine stitching
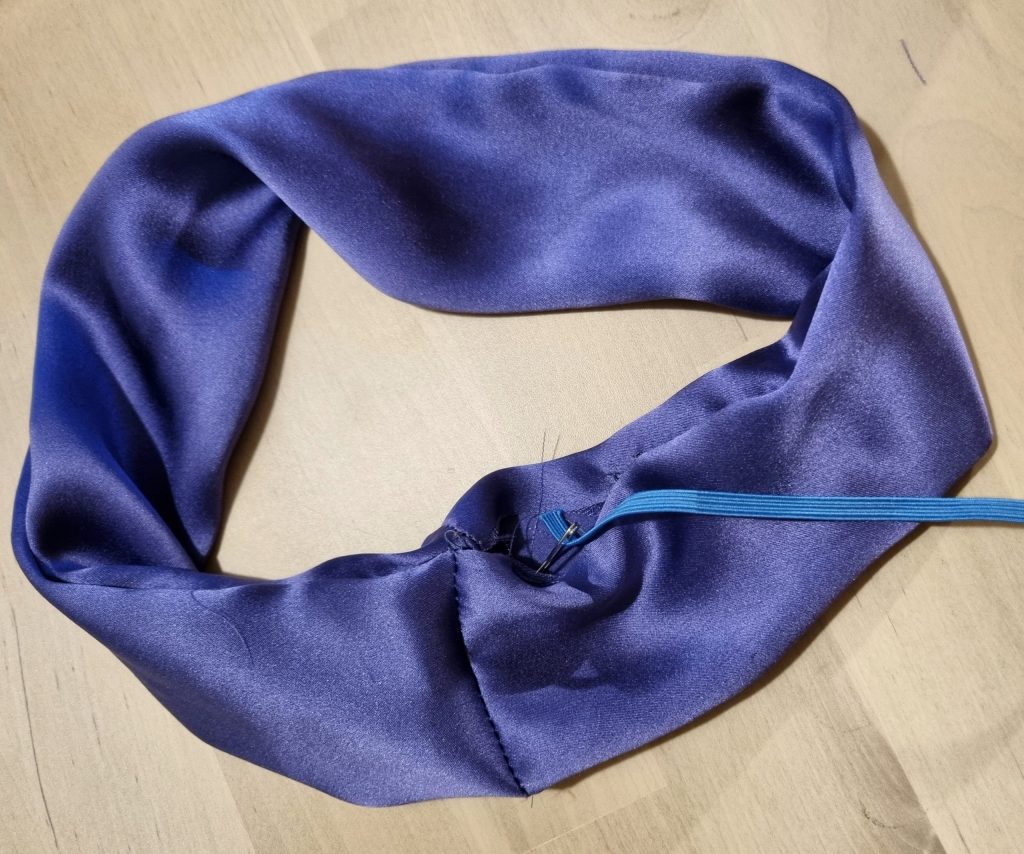
- Pin and stitch down the hole along this line, as close to the edge as you can.

You’re all done! Enjoy your new scrunchies. They make excellent little gifts too!
Don’t forget, you can find all the things you need to turn your scraps into scrunchies at William Gee:





 We’re thrilled to announce that we’ve partnered with Tree Nation, the platform to reforest the world & fight climate change! Home to over 90 planting projects in 33 countries, Tree Nation is a non-profit organisation that helps people & companies offset their CO2 emissions.