The 10th and final dress of this series is a self-drafted high neck dress, inspired by the ever growing, sports-lux fashion trend.
Unlike the other posts in this series I won’t take you through each step of the construction (as it isn’t a pattern you can purchase yourself, so I am unsure how helpful going through each step would be). Instead I will talk about how I made this pattern from cloning a dress and adapting a bought pattern – call it a pattern hack if you will.
Bardot Dress | Slip Dress | Maxi Dress | Shift Dress | Overlay Dress | One Shoulder Dress | Strapless Dress | Long Sleeve Dress | Cold Shoulder Dress | High Neck Dress
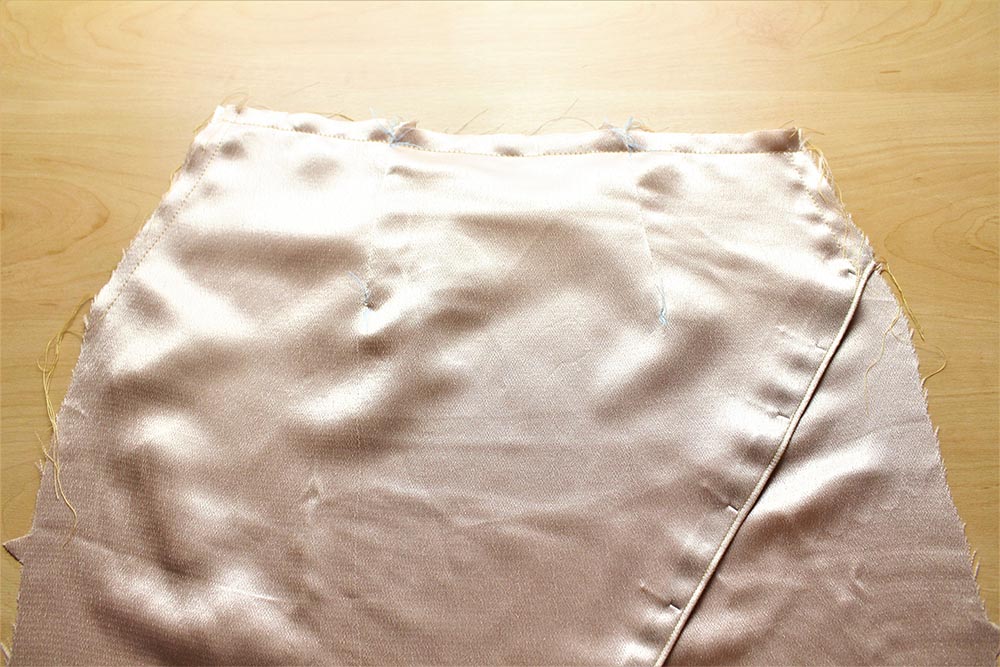
To get the pattern for the skirt, I unpicked the seams of an old dress. I Ironed all the panels of the dress flat, glued them onto cardboard, cut out the cardboard and traced them out onto pattern paper. Once they were traced out I was then able to make the adjustments to the skirt.
It was always an asymmetric skirt that crossed over at the centre front. But I wanted to lengthen the skirt, lower the split in the centre front and slightly close the split. To lengthen the skirt I followed the original lines of the skirt, making sure to check the waist and hip points against my body measurements. To lower the front split, and slightly close it, I increased the coverage of the left side of the skirt. This is the side that lay against the body, so the wider and longer it is, the more concealed the split would be. Once I was happy with the amendments, I neatened the edges and did a final check on measurements and seam allowances.
I didn’t need to make any amendments to the back of the skirt. I just checked the measurements at the waist and hip, and added a little extra at the side seams.
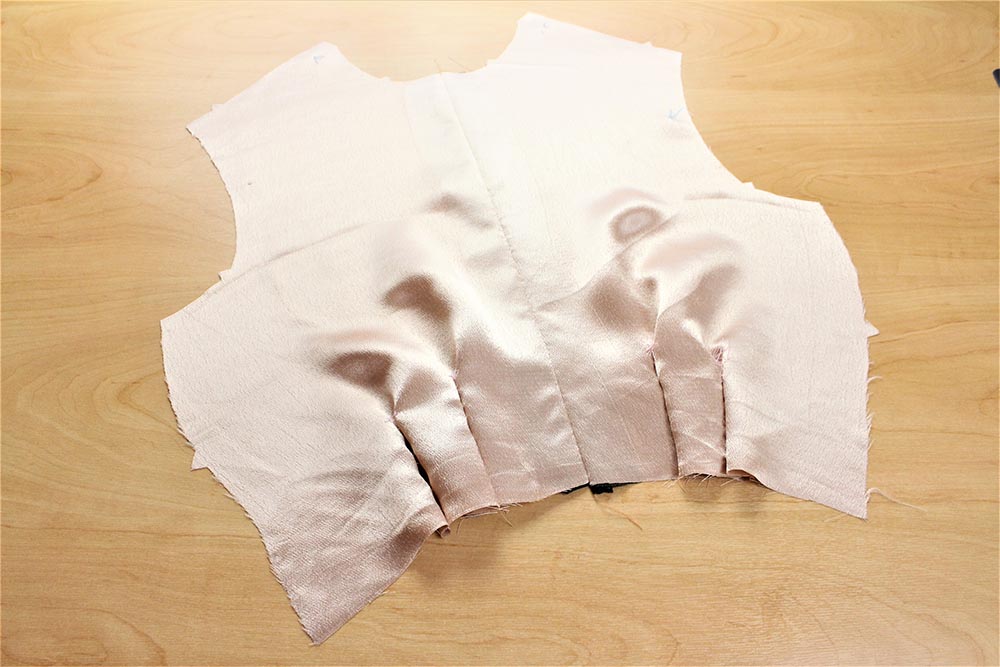
The top of the dress is a modified version of a Butterick pattern (B5890). To modify the pattern I pinned the front and back pieces to pattern paper. I then cut out the desired dress size and length, and transferred all the markings and waistline.
The front of the top has tucks instead of darts, and the waist line is curved to account for how the top will fit when worn. So I drew the waistline, in-line with the other straight line markings on the pattern – instead of drawing the waistline at right angles to the selvage. If I did that, I would have ended up with a waistline that was too high and the front and back pieces would be different lengths.
After shortening the top, I checked the measurements at the bust and waistline, and added a 1.5cm seam allowance under the waistline.
Again the back didn’t need need any amendments- other than shortening to the same length as the top- and adding the 1.5cm seam allowance under the waistline.
Before cutting the dress in fabric, I pinned all the paper pattern pieces together as sewn and fitted this on my dress form to see how the dress would look. Once I was happy with the pattern I began constructing the dress.
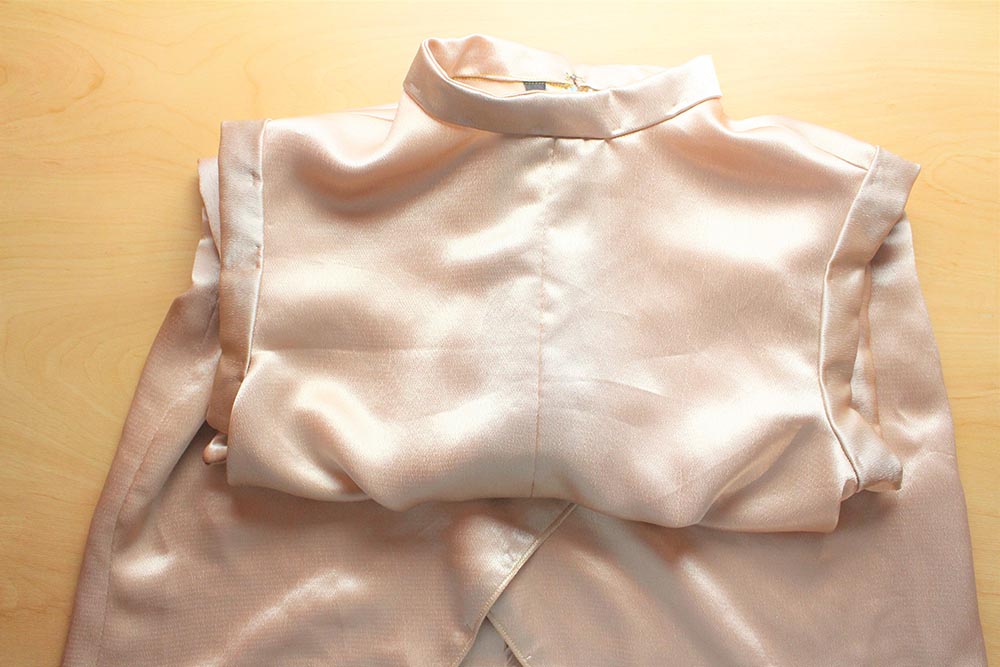
As I am pro self-teach, I strongly believe building up a pattern this way is a good introduction to pattern making. Pattern hacks have helped me understand how darts, tucks and pleats mould the garment to the body, as well as helping me to understand the different markings needed to draft a pattern from scratch. Knowing what the final product is intended to look like helped me spot errors in a drafted pattern and accurately amend them.
I also learnt more about how a garment is constructed. By unpicking seams of bought garments I was able to understand why staystitching, topstitching and understitching was so important. This gave me a better understanding of construction rather than just following the instructions from a shop-bought pattern.
This dress isn’t perfect. I damaged the fabric by ironing over pins – rookie error. And I didn’t sew the neck collar as straight as I would have liked, meaning one side is slightly taller than the other at the back (the dress was like an end of term exam!). After spending several weeks learning different techniques to construct dresses, I was left at my own devices to put them to good use.
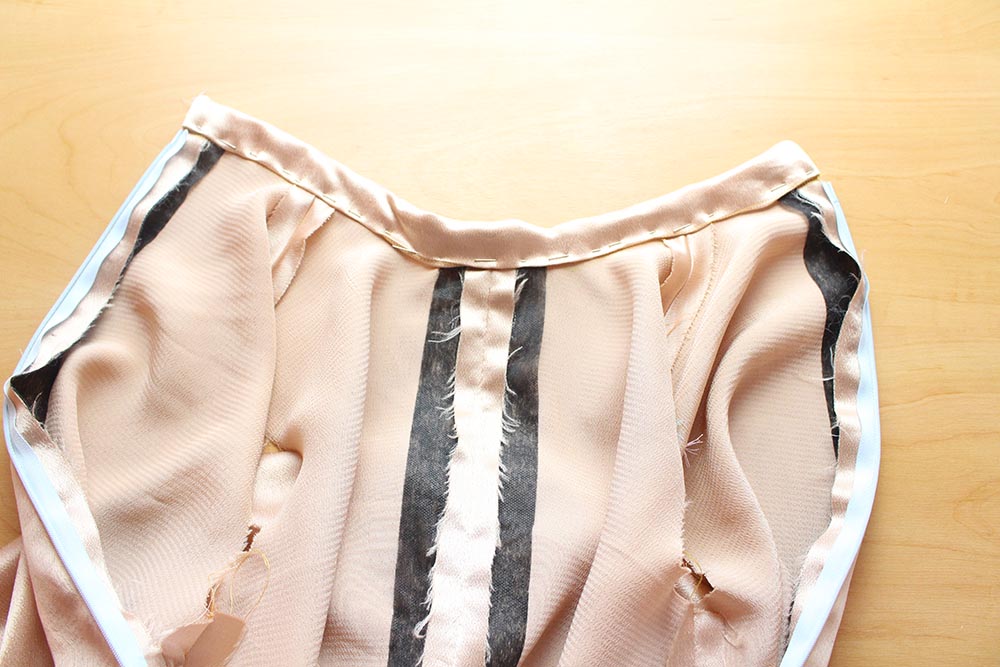
I encourage you all to test your sewing skills and do your own DIY patterns. Use an item of clothing you don’t wear anymore, so you know any measurement adjustments will be minimal. And pair it with a frequently used pattern that you are confident using and know how it fits.
It’s better to start with something you know. So that you know that it will fit. And once you build your confidence making patterns that way (and continue to build on your sewing knowledge) you will soon be drafting patterns from scratch.
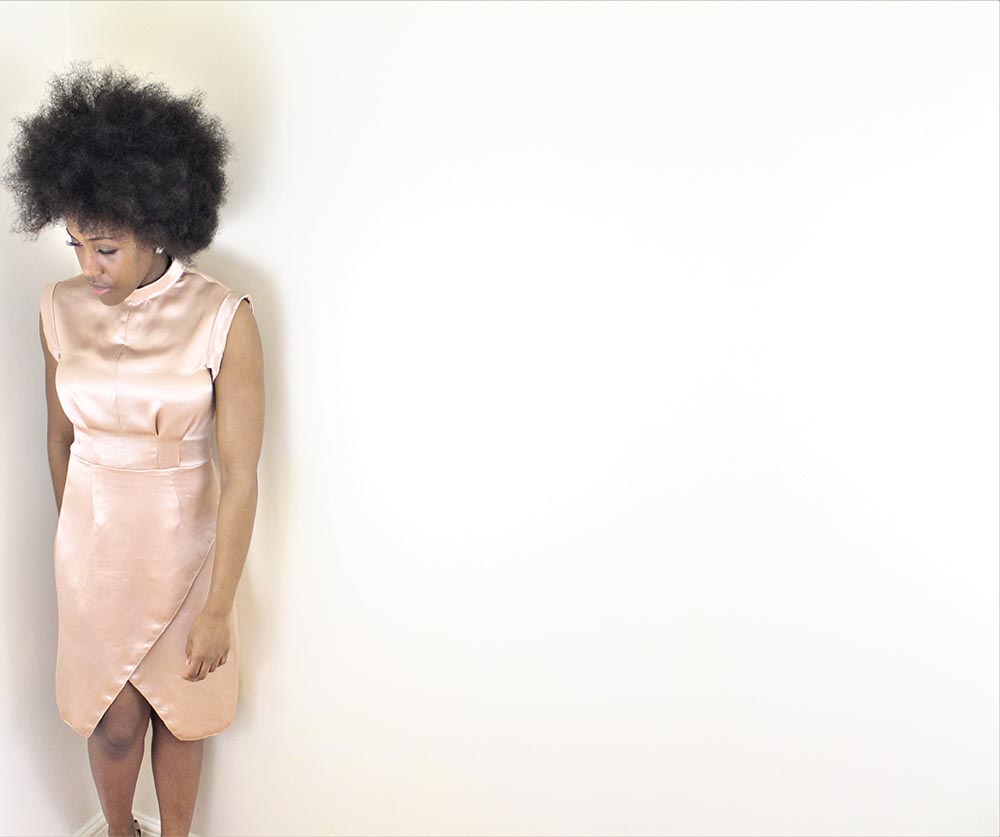
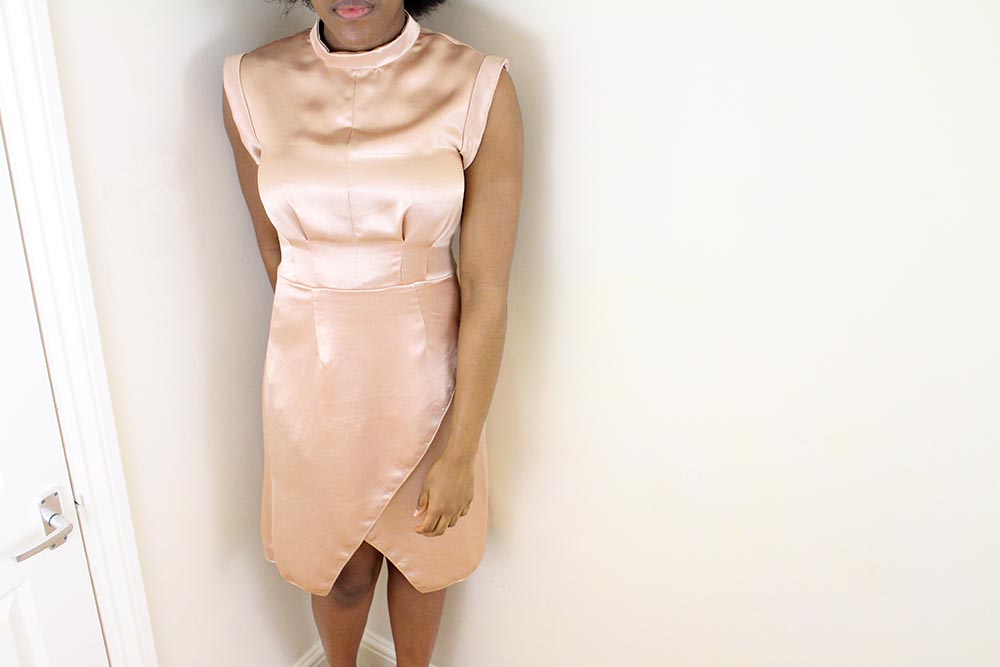

I hope you have enjoyed my 10 Dresses blog series and that it has given you some inspiration for a make or two. I look forward to seeing all your makes!
Until next time.
A


 We’re thrilled to announce that we’ve partnered with Tree Nation, the platform to reforest the world & fight climate change! Home to over 90 planting projects in 33 countries, Tree Nation is a non-profit organisation that helps people & companies offset their CO2 emissions.