Next on the list, the Maxi dress.
When I think 70’s fashion I instantly think of two things: jumpsuits and maxi dresses. As the swinging 60’s drew to a close and a new subculture began it’s rise, the hems of dresses went from mini to maxi! However, it potentially wasn’t the right time for the maxi dress. As the 70’s drew to a close, the mini length became prominent once more, this time in a skirt. Maxis were also replaced by trousers, jeans and leggings. Fast forward to the 00’s and the maxi dress makes a comeback, with the help of online retailers offering more maxi variations than a twenty-something in the 70’s could have ever dreamed of. And then there’s the growth in social media, where everyone and anyone can share their fashion buys and inspiration. The maxi dress has all bases covered. From the red carpet to graduation, picnic-in-the-park to date night – there is a maxi dress for us all.
Bardot Dress | Slip Dress | Maxi Dress | Shift Dress | Overlay Dress | One Shoulder Dress | Strapless Dress | Long Sleeve Dress | Cold Shoulder Dress | High Neck Dress
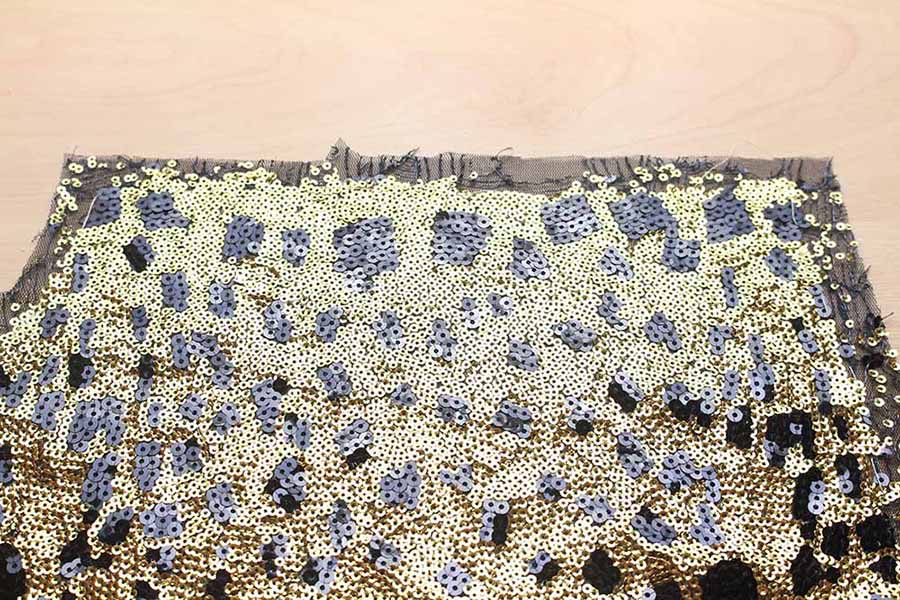
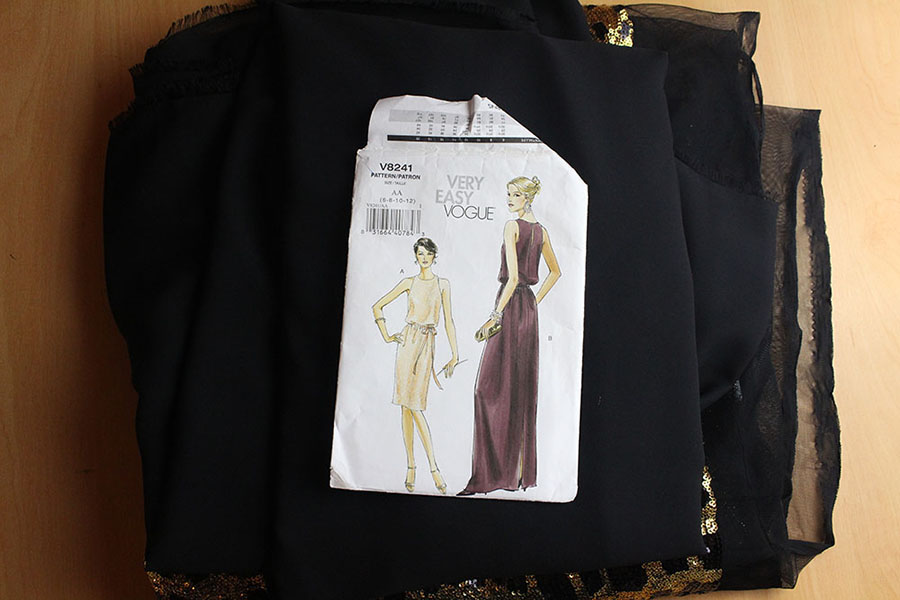
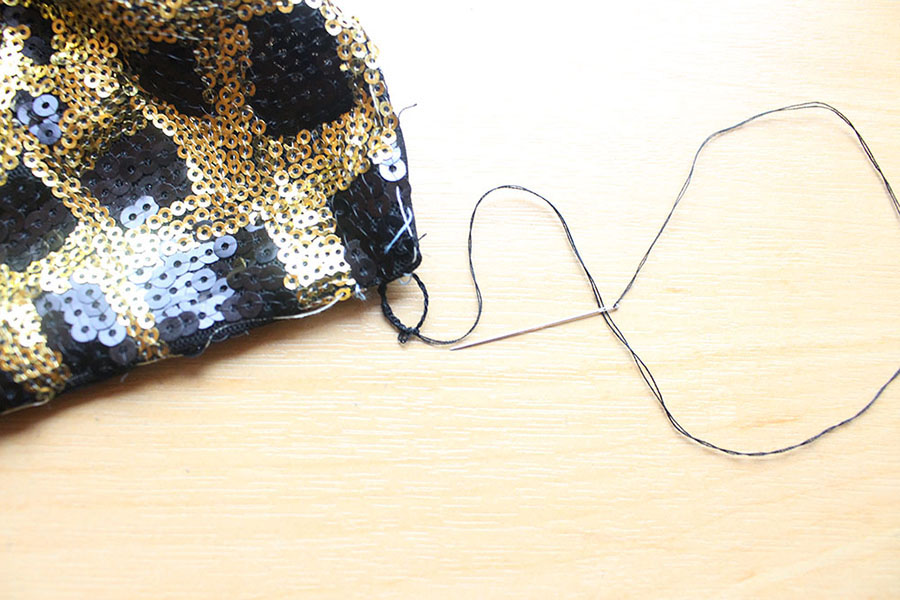
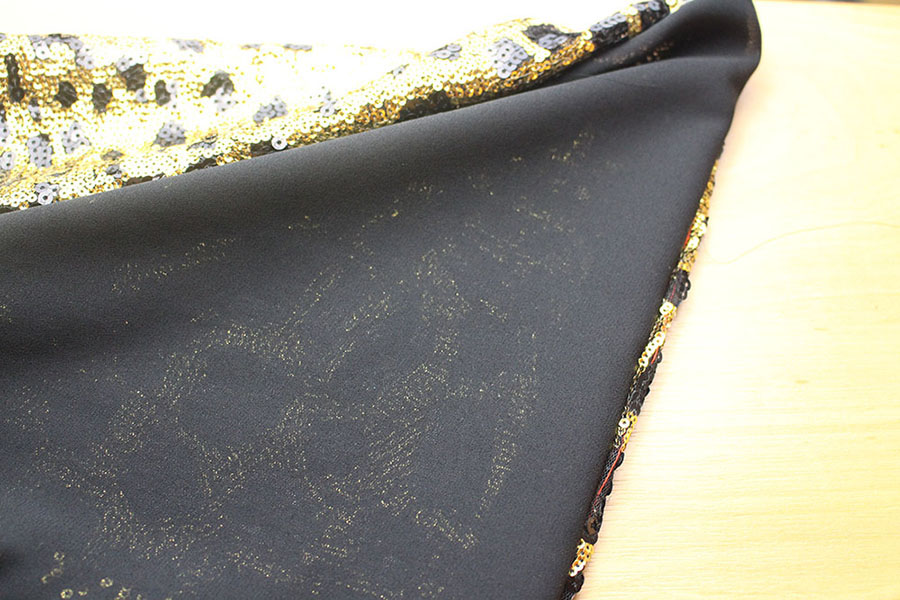
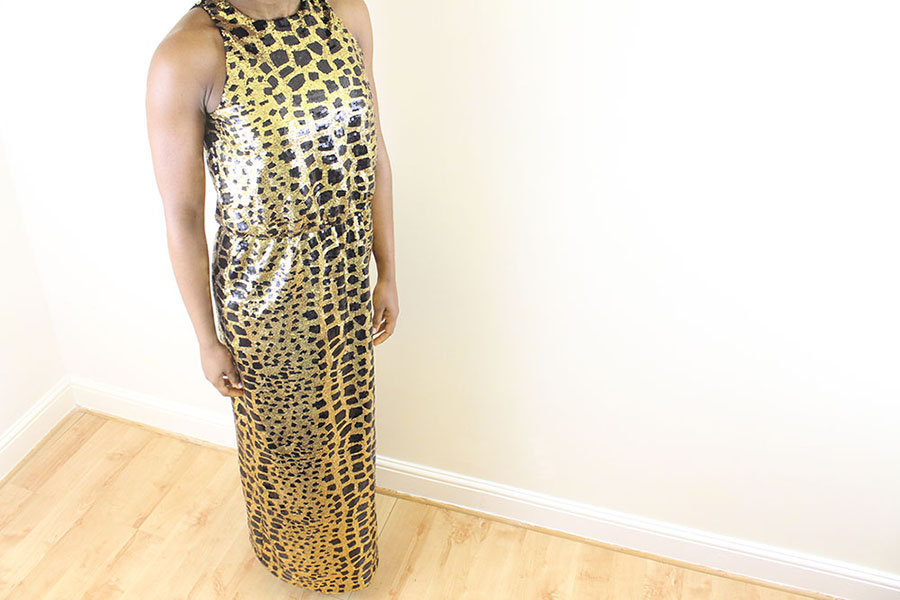
For this dress I used Vogue pattern 8241. I chose to do this dress in sequin fabric. It is a very simple pattern which leans itself well to being used with standout, statement fabric. When sewing with sequins you need plenty of time to prepare the fabric before sewing, as well as plenty of time to clean up after. Lots of people recommend covering your surfaces when sewing or cutting out sequin to aid the clean up process, but in my opinion it’s not really worth it. Sequins will get everywhere when you work with them – there is no way around it. Think of it like glitter. Remember when you used the loose glitter at school/ home to decorate a poster, and for days afterwards you would find speckles of glitter laying about the place? Or sand! After a relaxing time on the beach, sand always wants to come home with you. And it gets into all the places you tried so hard to protect. The best practice when sewing with sequins is to remove the sequins from the seam allowance. This will prevent the sequins breaking your sewing machine needle as well as give you nice smooth seams.
Materials:
– 2.5m of fabric (I used Sequin)
– 2m of lining
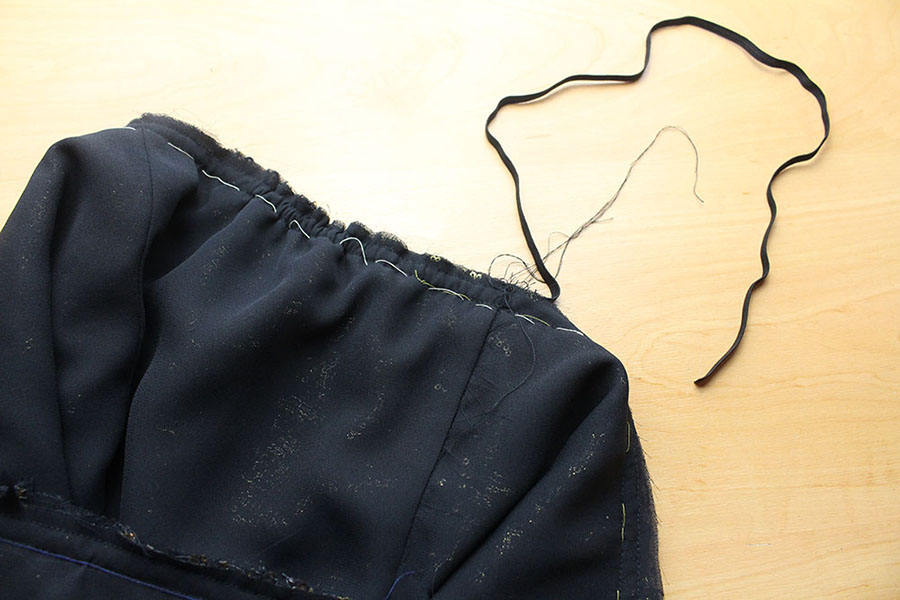
– 3/8″ wide elastic
The pattern also has a belt to pair with the dress that I chose to miss out being that the sequins can speak for themselves. But if I were to make the dress again in a plain fabric I might add the belt to give it a point of difference.
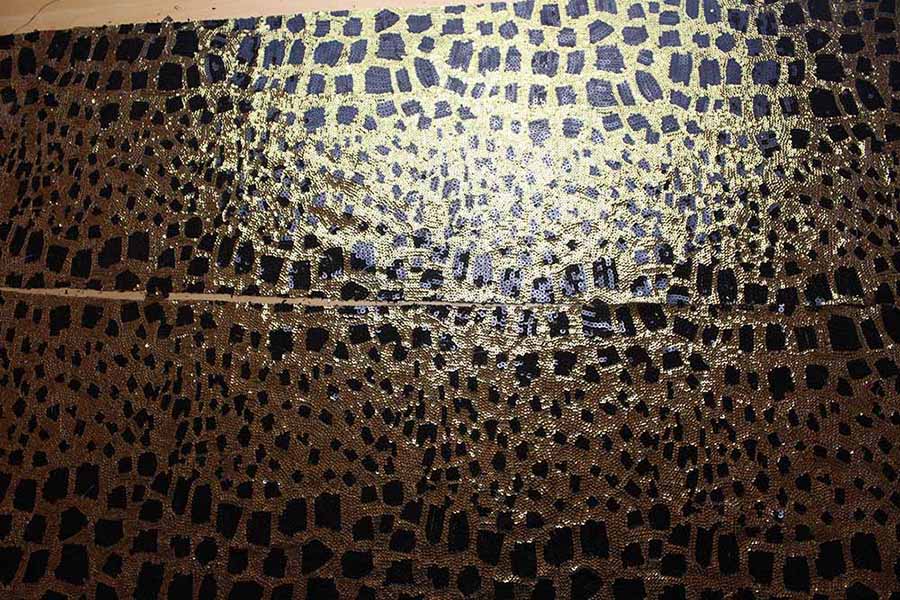
I was fortunate enough to get a beautiful leopard print inspired sequin fabric as a gift (so I’m unsure as to where it came from) but no doubt there will be versions of it out there. The pattern of the fabric is actually horizontal, from selvage to selvage, but I wanted it to go vertically to add length. So cut the fabric through the grain. Similar to cutting on the bias, I had to be careful not to stretch the fabric while cutting to avoid having one side longer than the other.
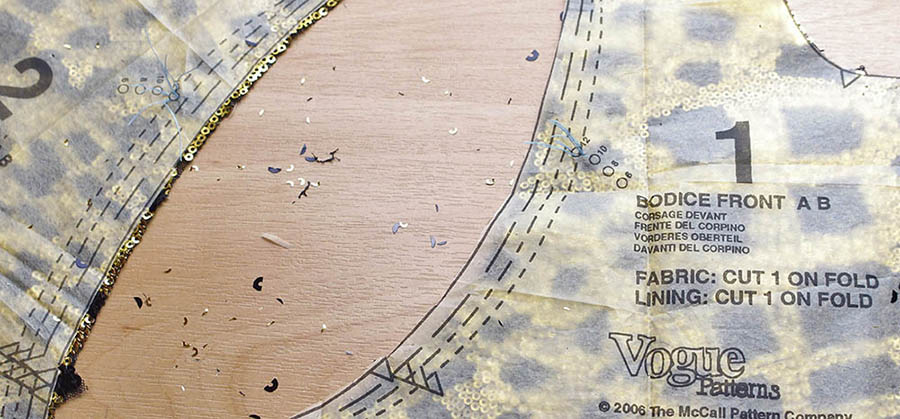
Because the sequin fabric is printed, I had to pattern match as much as possible to give the illusion of a continuous print. To do this I needed to cut out the pattern pieces individually. First, I traced out the mirror image of the front and back skirt and bodice pattern pieces onto pattern paper. And then I placed the two skirt back pieces onto the fabric to find a faux middle of the pattern (I say faux because I didn’t follow the natural pattern of the fabric so there wasn’t a middle point that it repeated around). Usually the bodice of the dress dictates the lay of pattern pieces but because the print is so big I decided to let the skirt dictate the lay of the dress, as it would be the part of the dress that would have the largest amount of fabric.
After cutting out the mirror image of the front skirt, I stuck the two pieces together at the centre front that would have otherwise been placed on the fold. I then tried to match the pattern at the sides with the corresponding side of the back skirt. Because I did not follow the natural pattern of the fabric, finding exact matching point was quite difficult so instead I made sure I had a black spot running into another black spot, and that the print started at the same point at the top of the skirt.
I followed the same logic with the bodices, making sure the waist seam would match as closely as possible and transferred the markings from the pattern using tailors tacks.
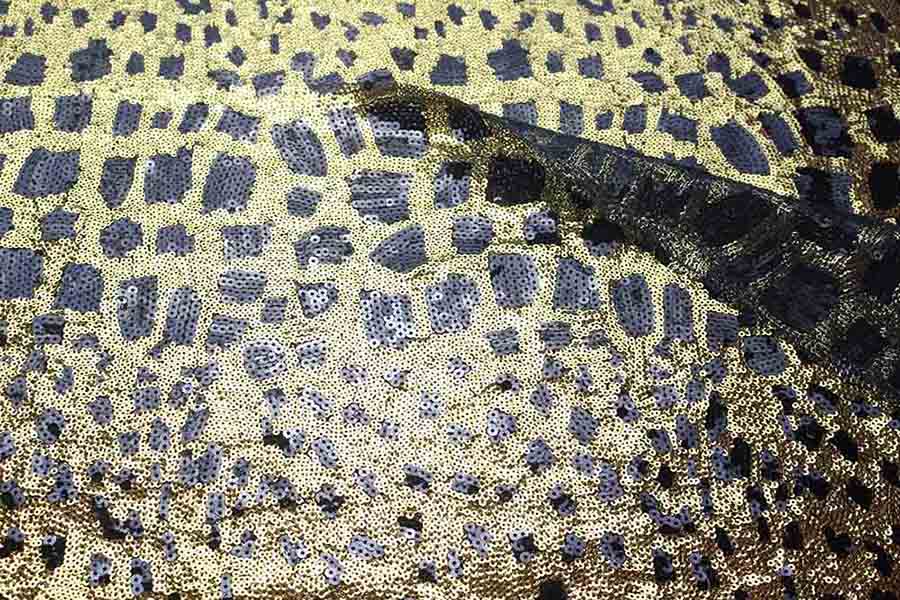
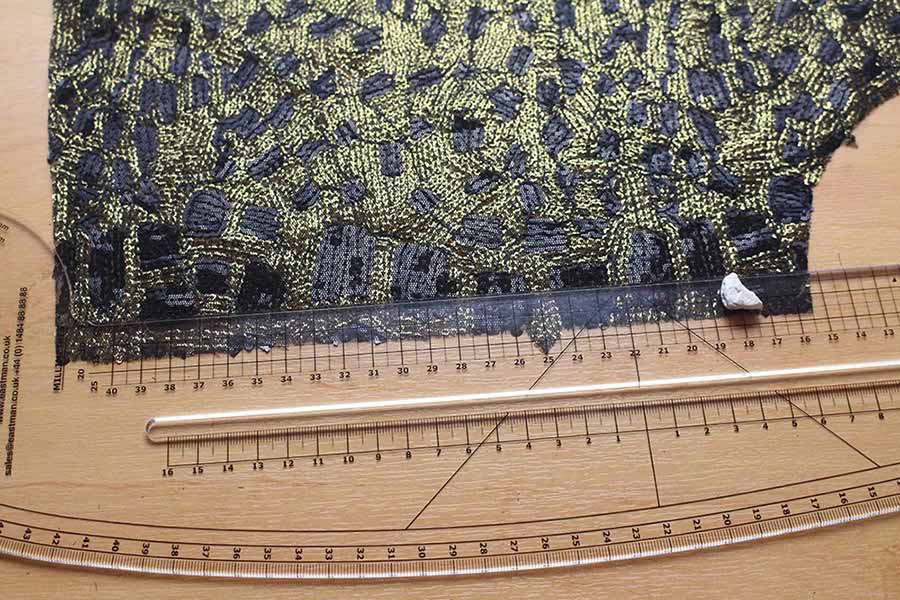
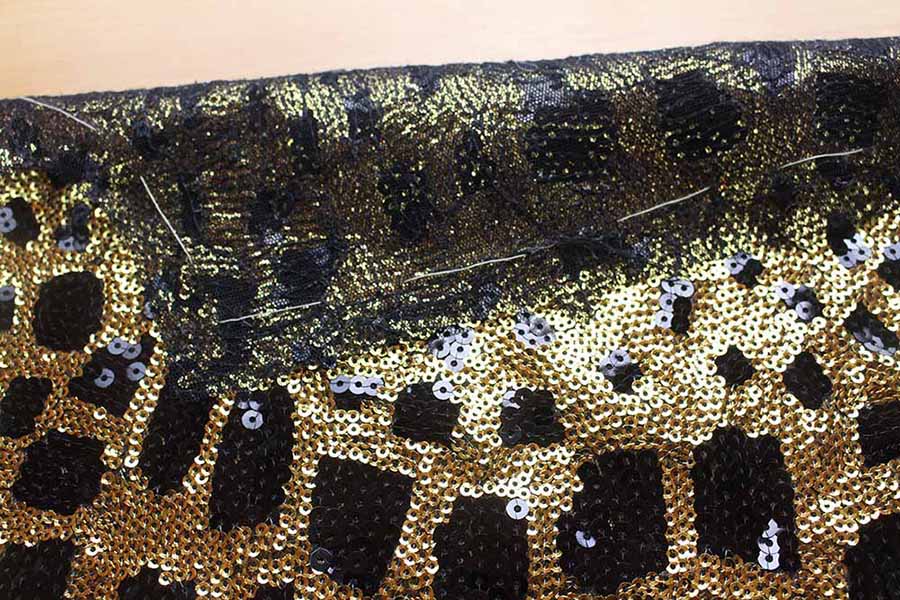
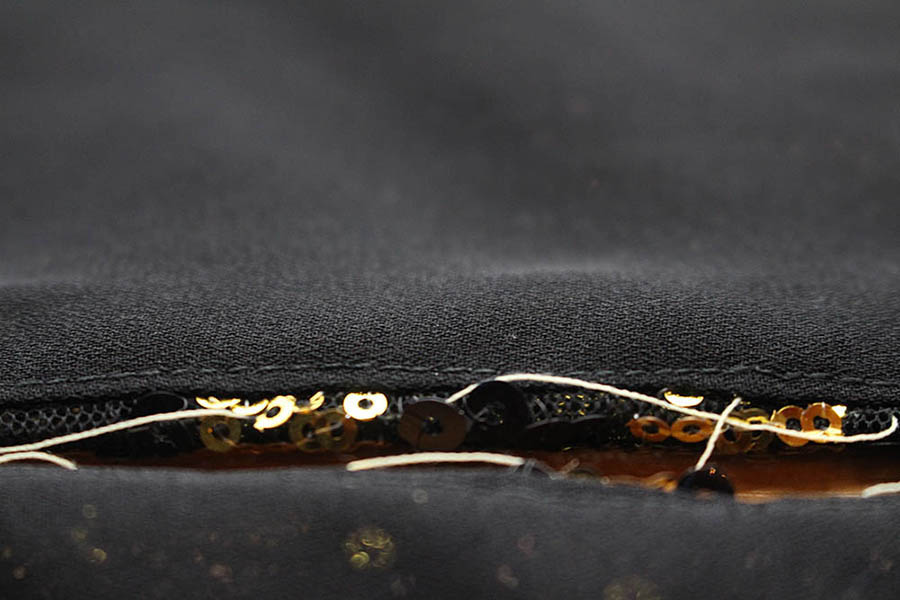
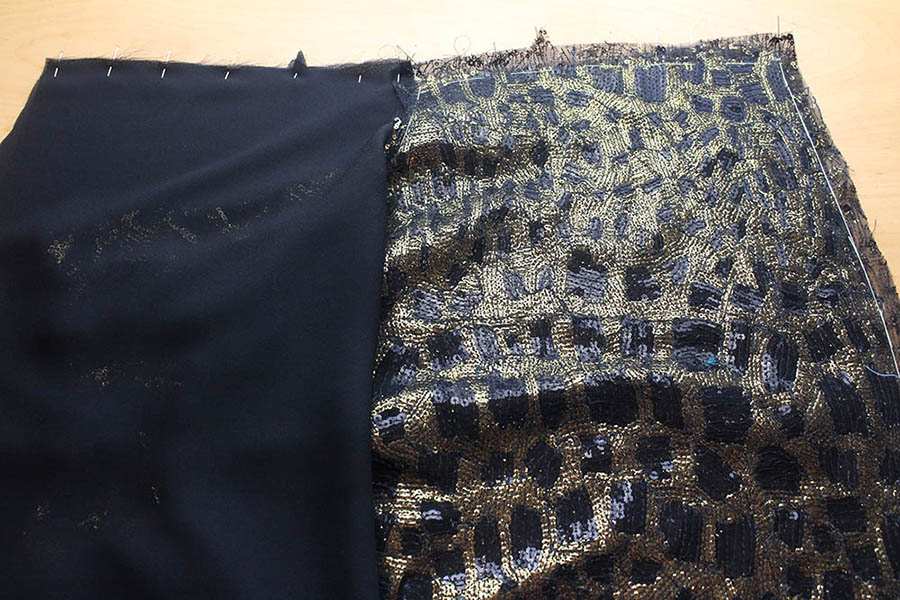
Once all your pattern pieces are cut out, you need to remove all (or as many as possible) of the sequins from the seam allowance. To do this you will need to mark on your seam allowance onto the wrong side if the fabric. I used tailors chalk and my grade and rule to mark the allowances and then I did a long running stitch- by hand- along this line so that I could see where the seam allowance ended when cutting the sequins off.
Find out more about seam allowance in our post about seamless stitching here.


 We’re thrilled to announce that we’ve partnered with Tree Nation, the platform to reforest the world & fight climate change! Home to over 90 planting projects in 33 countries, Tree Nation is a non-profit organisation that helps people & companies offset their CO2 emissions.