It’s officially under 4 weeks to the big day, Black Friday madness has been and gone, the weather is getting colder and the Coca Cola advert has been spotted. Yes that’s right it’s the end of November. Where has this month gone?
If you want to take shelter from the hustle and bustle on the high street and calmly decide on a dress to wear to any social event you have coming up in the next few weeks. Sit tight, this 10 Dresses blog series has just what you need.
The second dress in the series is a slip dress.
Bardot Dress | Slip Dress | Maxi Dress | Shift Dress | Overlay Dress | One Shoulder Dress | Strapless Dress | Long Sleeve Dress | Cold Shoulder Dress | High Neck Dress
In a former life it was used as a practical item of clothing. Worn underneath another dress as an extra layer of warmth, to reduce static or to help protect modesty when wearing sheer fabrics, or as an item to sleep in. Fast forward to the 90s and the slip dress has taken on a new meaning. Designers from Yves Saint Laurent to Donna Karen welcomed it onto their catwalks, and ever since, it has been a constant feature. The slip dress’ quick rise to fame and longevity could be attributed to how models, singers, actresses and women of high society were all pictured wearing this style in its infancy. Therefore giving it an official seal of approval as a fashion stable!
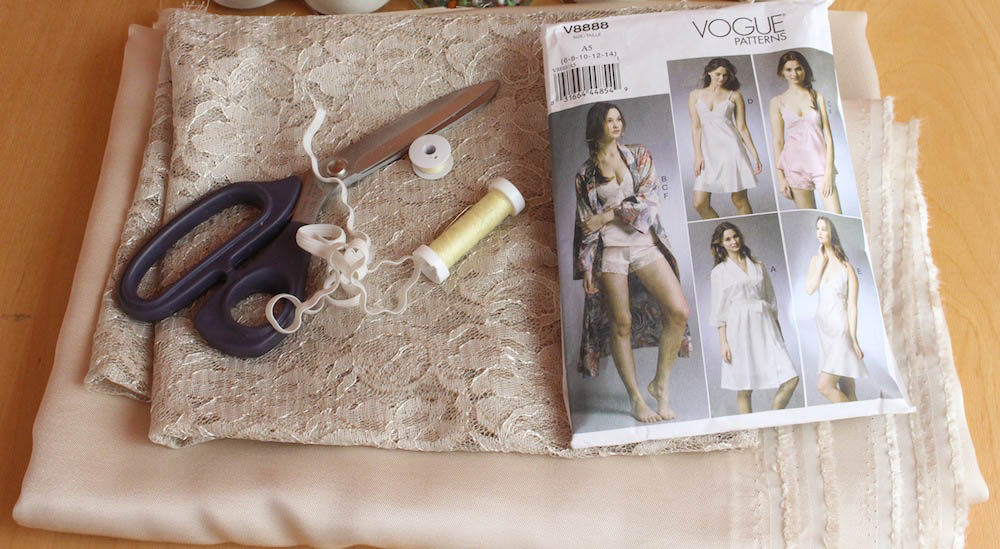
The pattern I have used is a Vogue Pattern 8888, available online. It is a nightwear pattern. I picked this pattern because it is in the style I wanted. I wanted a style with drape and lace, which is exactly what this pattern has. It’s not tight and clingy. It’s elegant, comfortable and a little bit sexy!
Materials:
– 2m of fabric (I used Viscose)
– 0.5m contrast fabric (I used lace)
– 0.7m of 1cm wide elastic
– Dressmakers pins
– Sharp scissors
– Thread
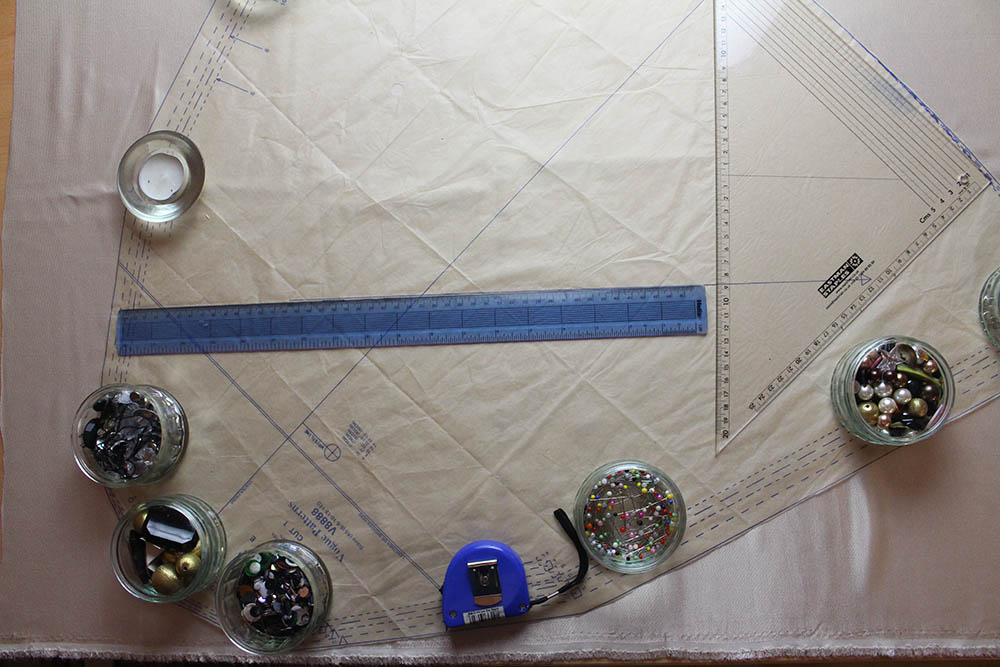
This pattern is almost 100% cut on the bias so I would recommend getting a cutting board, a rotary cutter and fabric/pattern weights. They aren’t essential, I cut out the pattern without them, but it was tricky. I had to be very careful how I pinned the fabric and in the end used my own make-shift fabric/pattern weights to help reduce the fabric from moving around so much as I was cutting it out.
You will also need a lot of patience and time to complete this dress. It is not a 6 hour ready dress as the first one was. The patience is needed for the techniques used when constructing this dress and the time is needed so that you aren’t rushing and end up making mistakes or sew wonky lines. I used option E for this dress and left off the Guipure lace trim as I wanted it to have a cleaner finish.
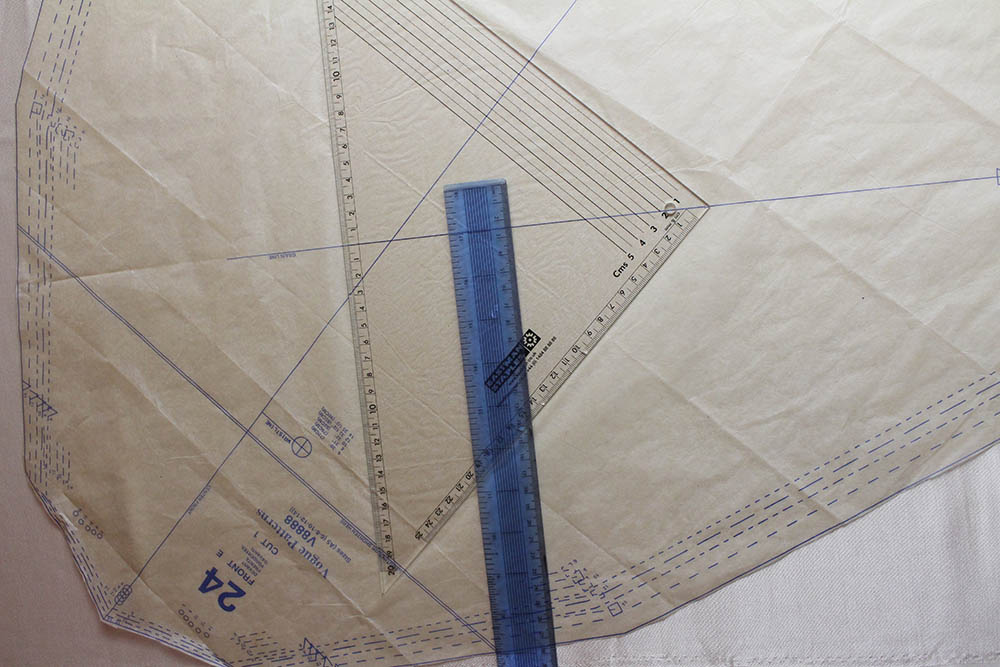
Before you make the first cut ensure the grain line is parallel to the selvage.
By doing this you ensure consistency in the drape and stretch of each piece you cut out and this will help to prevent one side being cut slightly different to the other. Best practice when cutting something on the bias is to cut out all the pieces separately- which takes more time- but also helps maintain consistency between all the pieces. Remember, when cutting out pattern pieces separately, you will need to cut out the second in the mirror image of the first. Or you will end up with two right sides or two left sides.
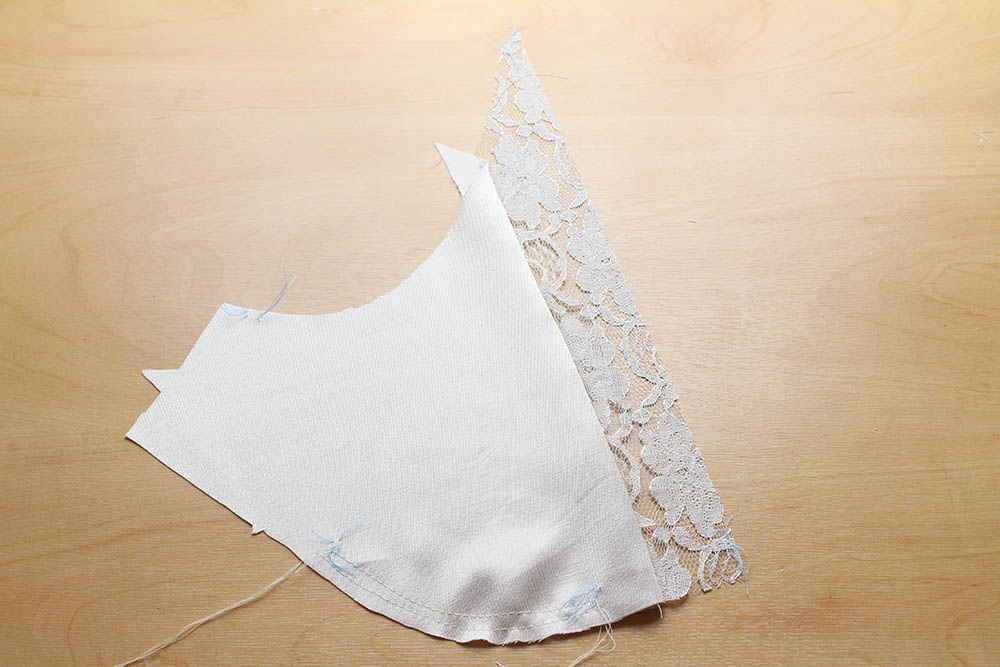
Once you have cut everything out you can begin to construct the front bodice made up of 3 pieces. First you will need to gather stitch between the small dots at the lower edge of the bodice side front. And then stitch the bodice front to the bodice side front. The pattern says to trim the seam to 6mm. Instead I did a second row of stitching 5mm into the seam allowance and then trimmed close to this second row if stitches.
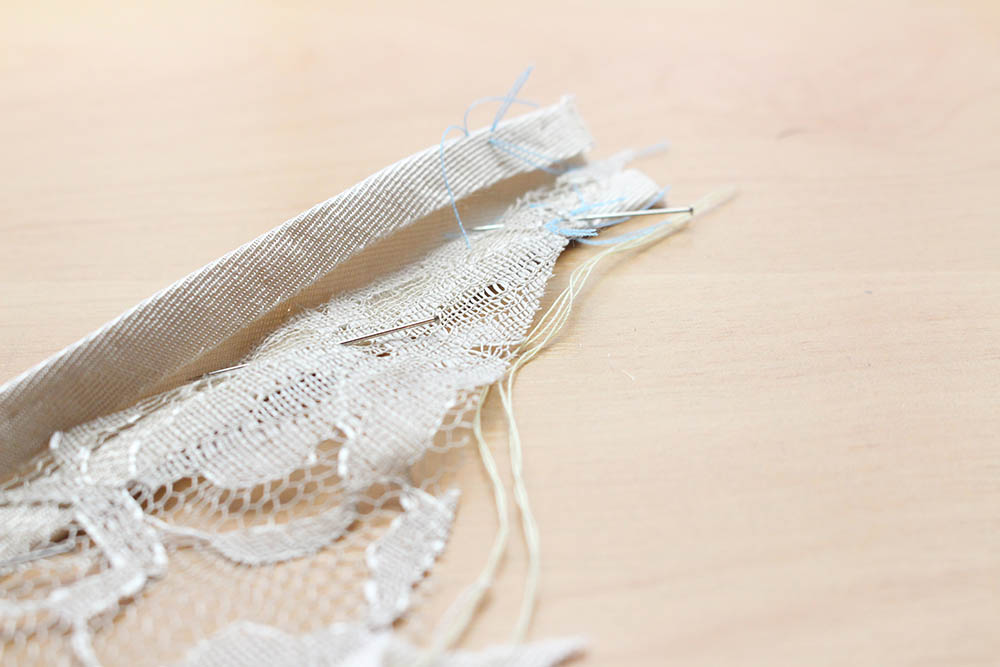
Next up is the front neck binding: Treat this like self-made bias tape. You will need to turn in 6mm of each long edge and press. You will want the pressed edges to be as neat as possible. Then fold the binding in half wrong sides together, keeping long edges even and press.
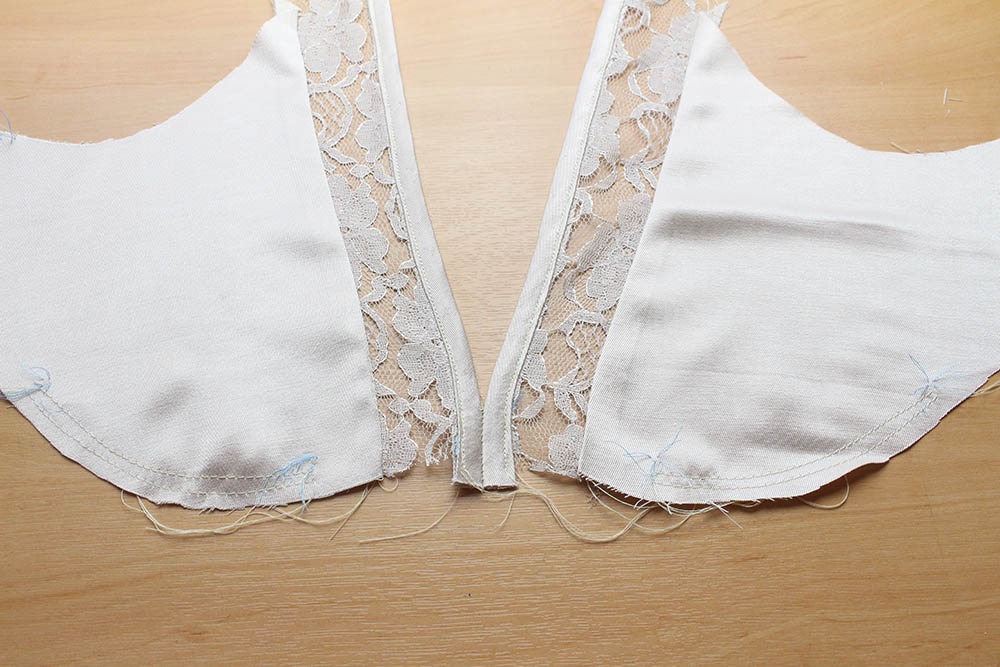
To attach the front neck binding to the bodice front: I first pinned the front bodice to the inside of the binding. Then closed the other side over the bodice front and re-pinned. This helped me to make sure the front bodice was evenly placed inside the binding to avoid any missed sections or gaping. I chose to hand baste- rather than machine baste- before edge stitching for extra control as the fabrics were quite slippery and I wanted it to be as neat as possible.
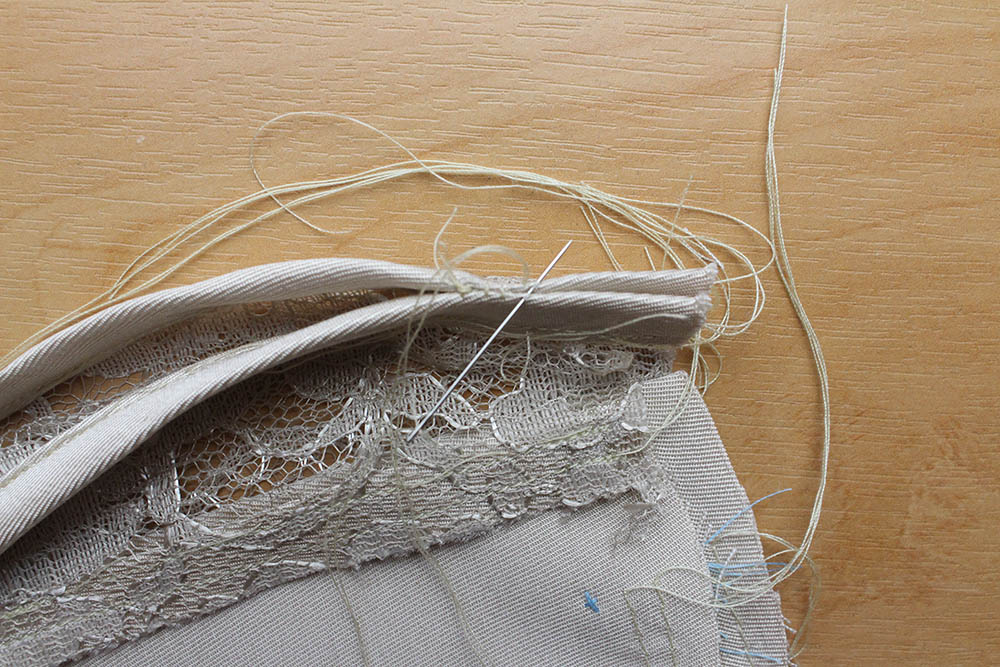
To join the two bodice sections together you will need to whipstitch on the wrong side at the centre front.
When attaching the yoke front-to-front, I did the seams the same way as the bodice side front. I stitched an additional row 5mm into the seam allowance and trimmed close to the second row of stitches.
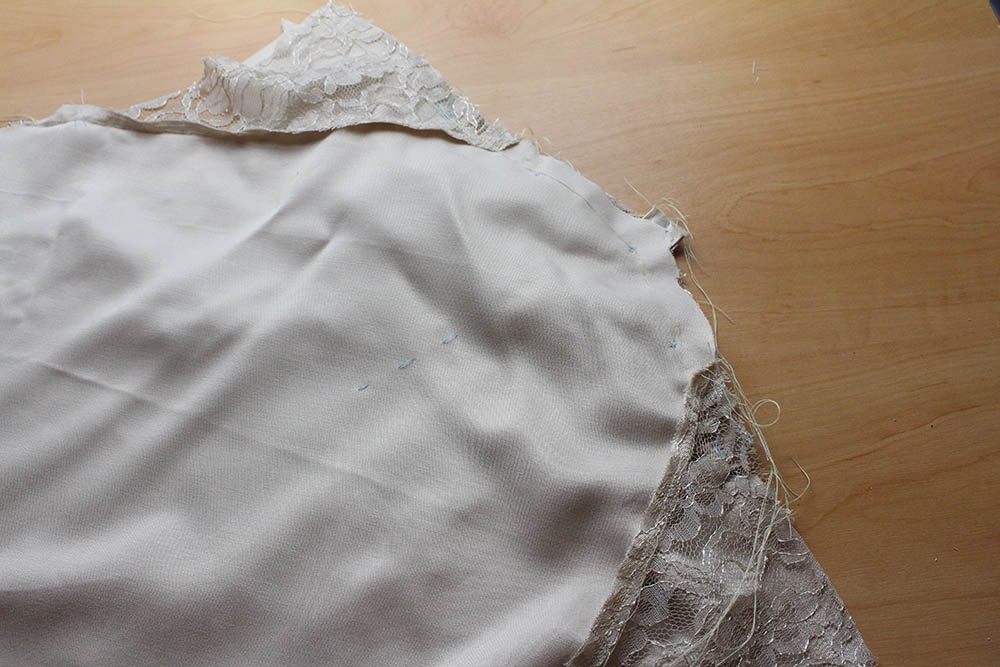
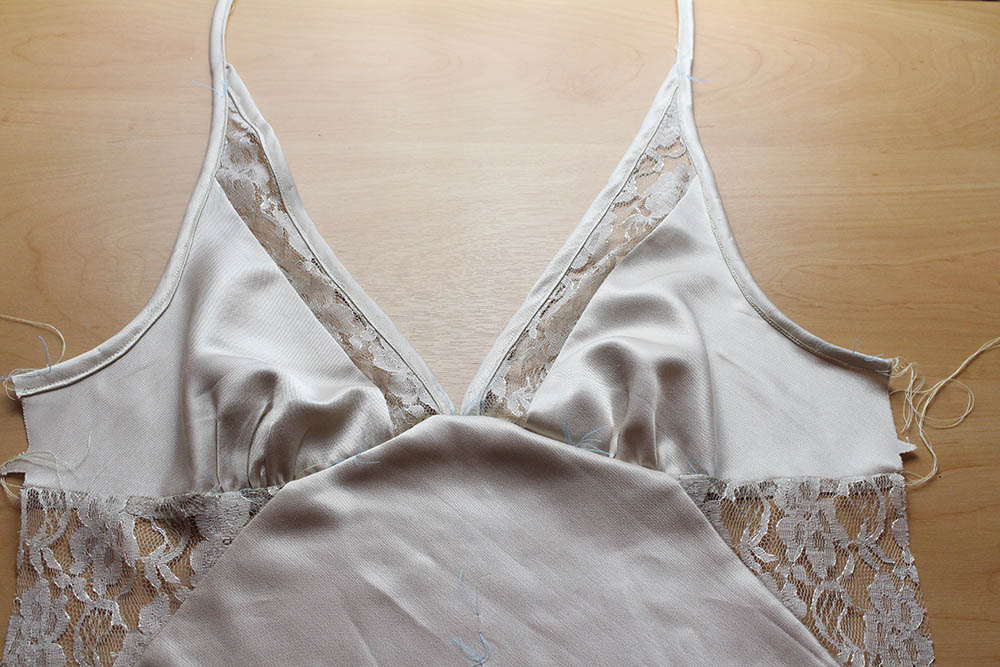
When attaching the bodice to the front, it is important to take the time to baste first. By doing this you will be able to mock up what the final front of the dress will look like. And make the necessary adjustments to the gathers, to make them as even as possible. Once happy with the gathers, you can use your basting as a guide for the seam. Making sure to pivot at the centre front and stitch a second row 5mm into the seam allowance and trim close to the second row.
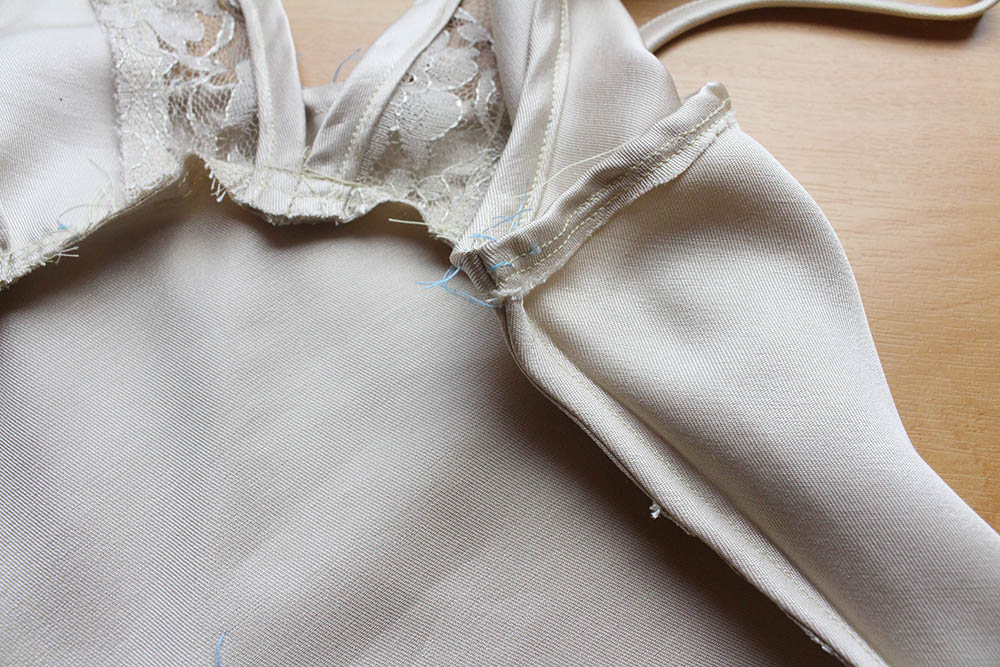
You will then need to make and attach the armhole binding in the same way as the front neck binding. The extra binding that will continue beyond the top of the bodice will be used to form the straps of the dress.
All pretty straight forward so far?
Here is where the the patience will kick in. To join the two back sections together you will need to create a French seam. A French seam encases the raw edge of the fabric within the seam itself. As you may know I taught myself how to sew and I wish I knew about French seams earlier on in my journey than I did. They are a great way for someone just starting out to finish a garment. They keep everything neatly tucked away and no need to try figuring out how to get the correct zig-zag stitch to finish the edge.
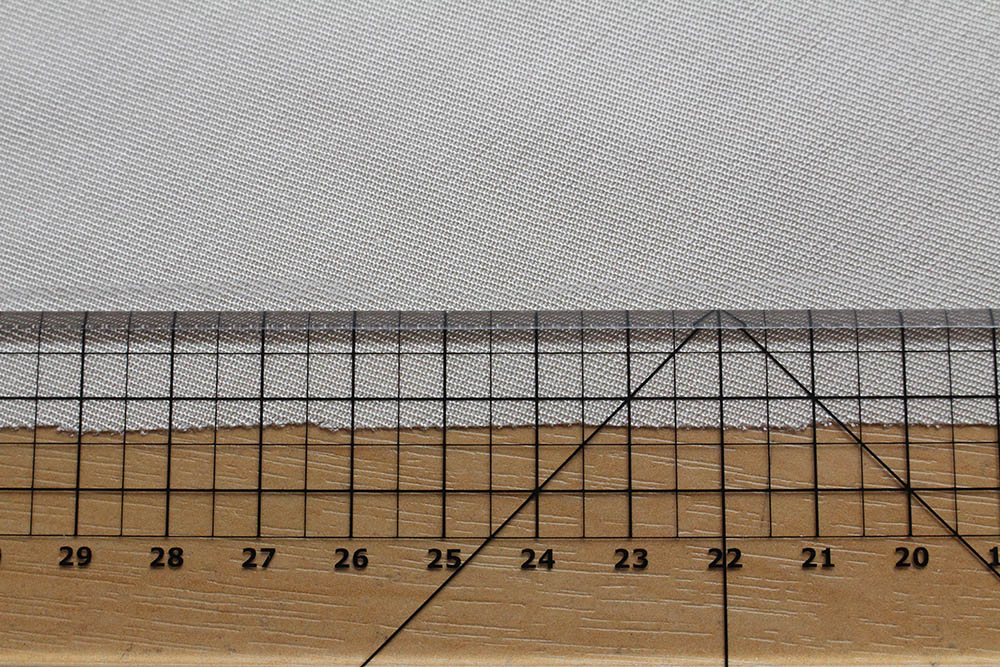
When I make a French seam I always measure out the full width of the seam first and mark this onto the wrong side of the fabric using tailors chalk. I like to do this because it gives me a guide for the seam and the reassurance that I have not made the seam too big or too small.
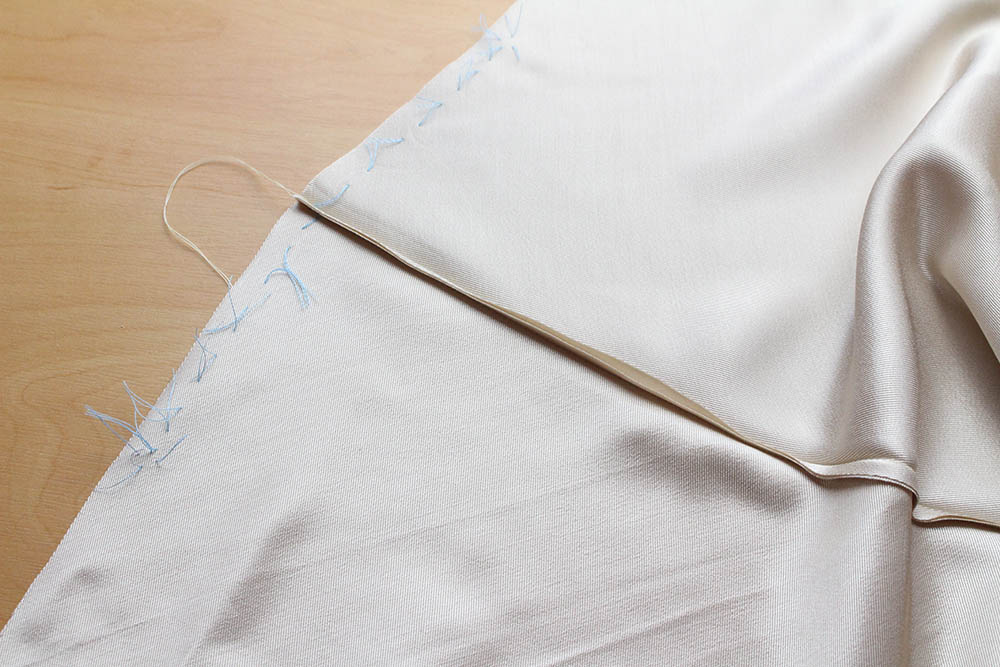
Once this has been marked I am ready to make the French seam. First stitching a 5-6mm seam with wrong sides together, causing the raw edges to be shown on the right side of the fabric.
And then with a second row- right sides together- following the seam line I marked onto the wrong side of the fabric.
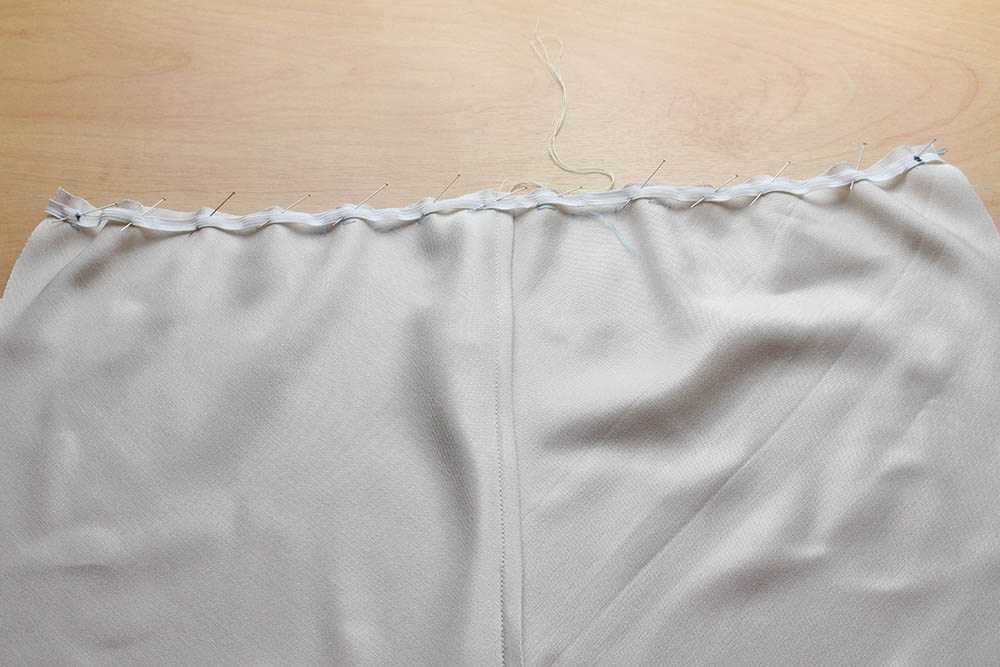
The next step in the construction of this dress is to attach the elastic. Stitching elastic can be tricky because more often than not it wants to do its own thing. But the best way to manage it is to pin it onto the fabric in sections. First find the centre of the elastic and pin this to the centre back. Then find the halfway mark between the centre back and the left side of the dress and pin the matching point of the elastic to that. Do the same for the right hand side, and then pin the elastic to the back at the squares marked on the pattern.
That should be enough to help attach the elastic to the dress. But if you are like me and get a little nervous when attaching elastic to fabric, and want more control as you stretch and stitch. You can continue to pin corresponding points of the dress and elastic together until you feel comfortable.
Once you have stitched the elastic to the edge of the back: Turn the edge in, encasing the elastic and stitch a second row close to the raw edge, stretching elastic while stitching. Then attach the front and back sections together with a French seam, and tacking the upper end of the seam in place.
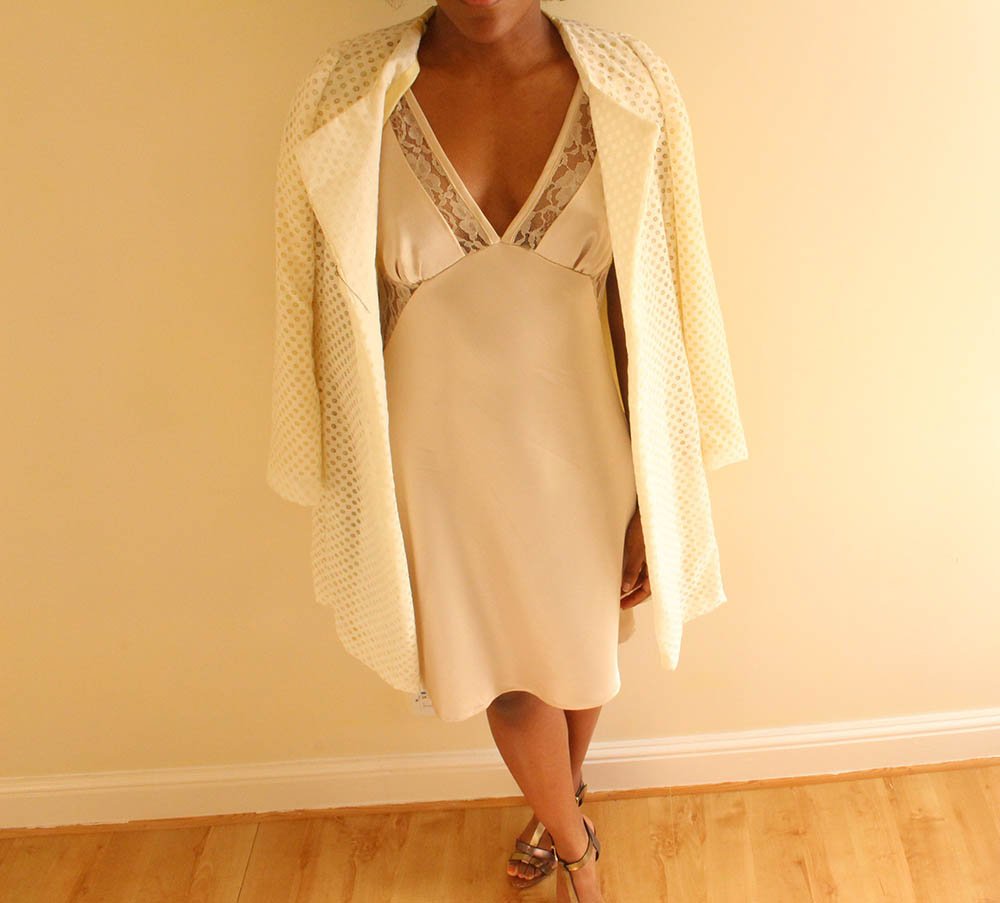
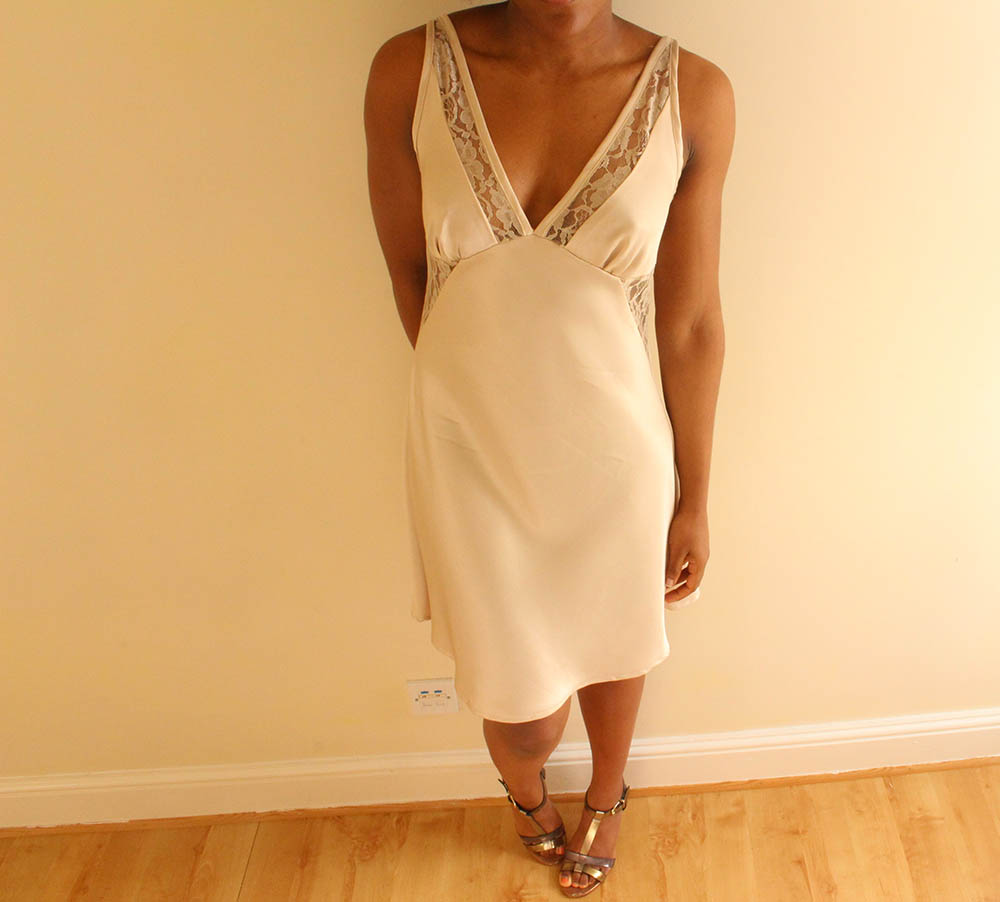
Finally pin the remaining ends of the armhole binding to the back, matching marking on the pattern. Try the dress on and adjust the strap lengths as needed. Cut off excess strap and slipstitch upper edge to straps. And then it’s on to the hem. For the hem I deviated from the pattern once more and turned in 5mm of the raw edge, pressed this and then turned the edge up again, encasing the raw edge and then edge-stitched the hem in place. To reveal the final dress.
The only thing missing from this outfit is a big fur coat and a statement bag!


 We’re thrilled to announce that we’ve partnered with Tree Nation, the platform to reforest the world & fight climate change! Home to over 90 planting projects in 33 countries, Tree Nation is a non-profit organisation that helps people & companies offset their CO2 emissions.